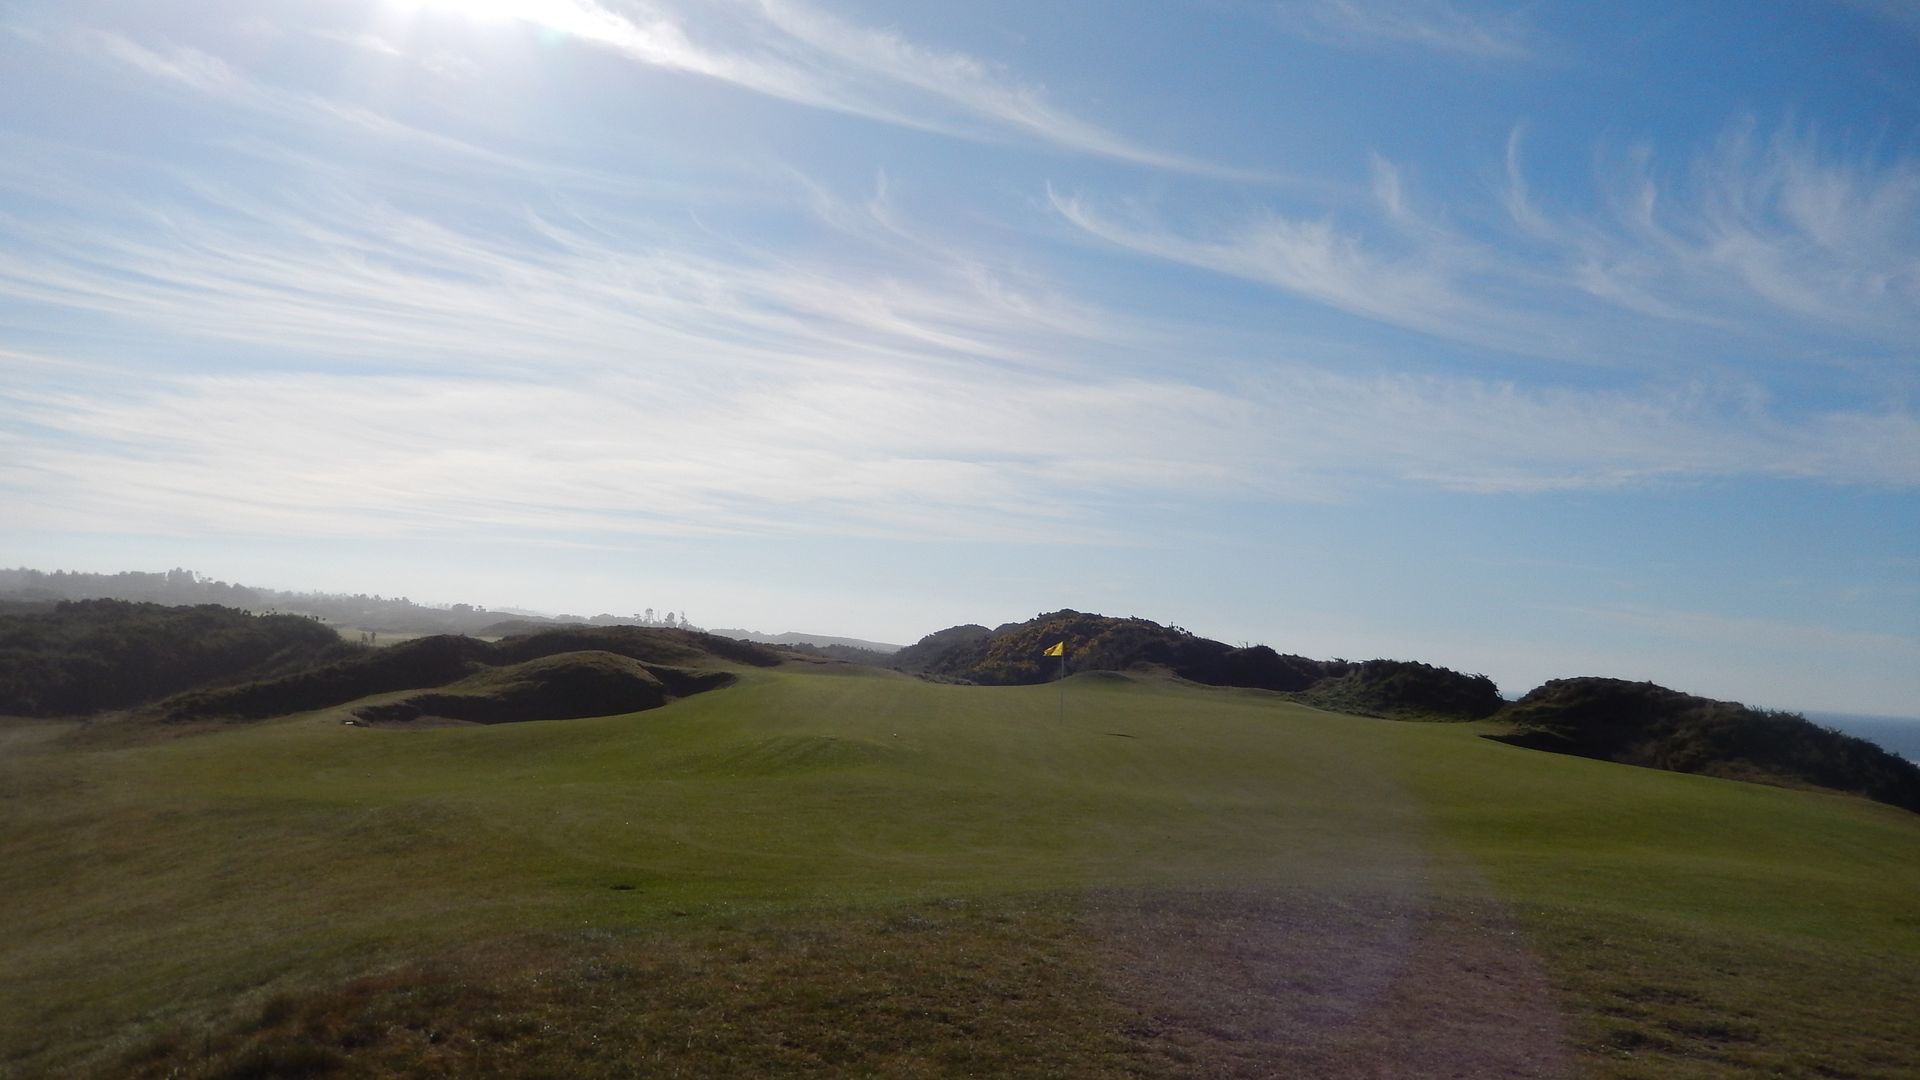
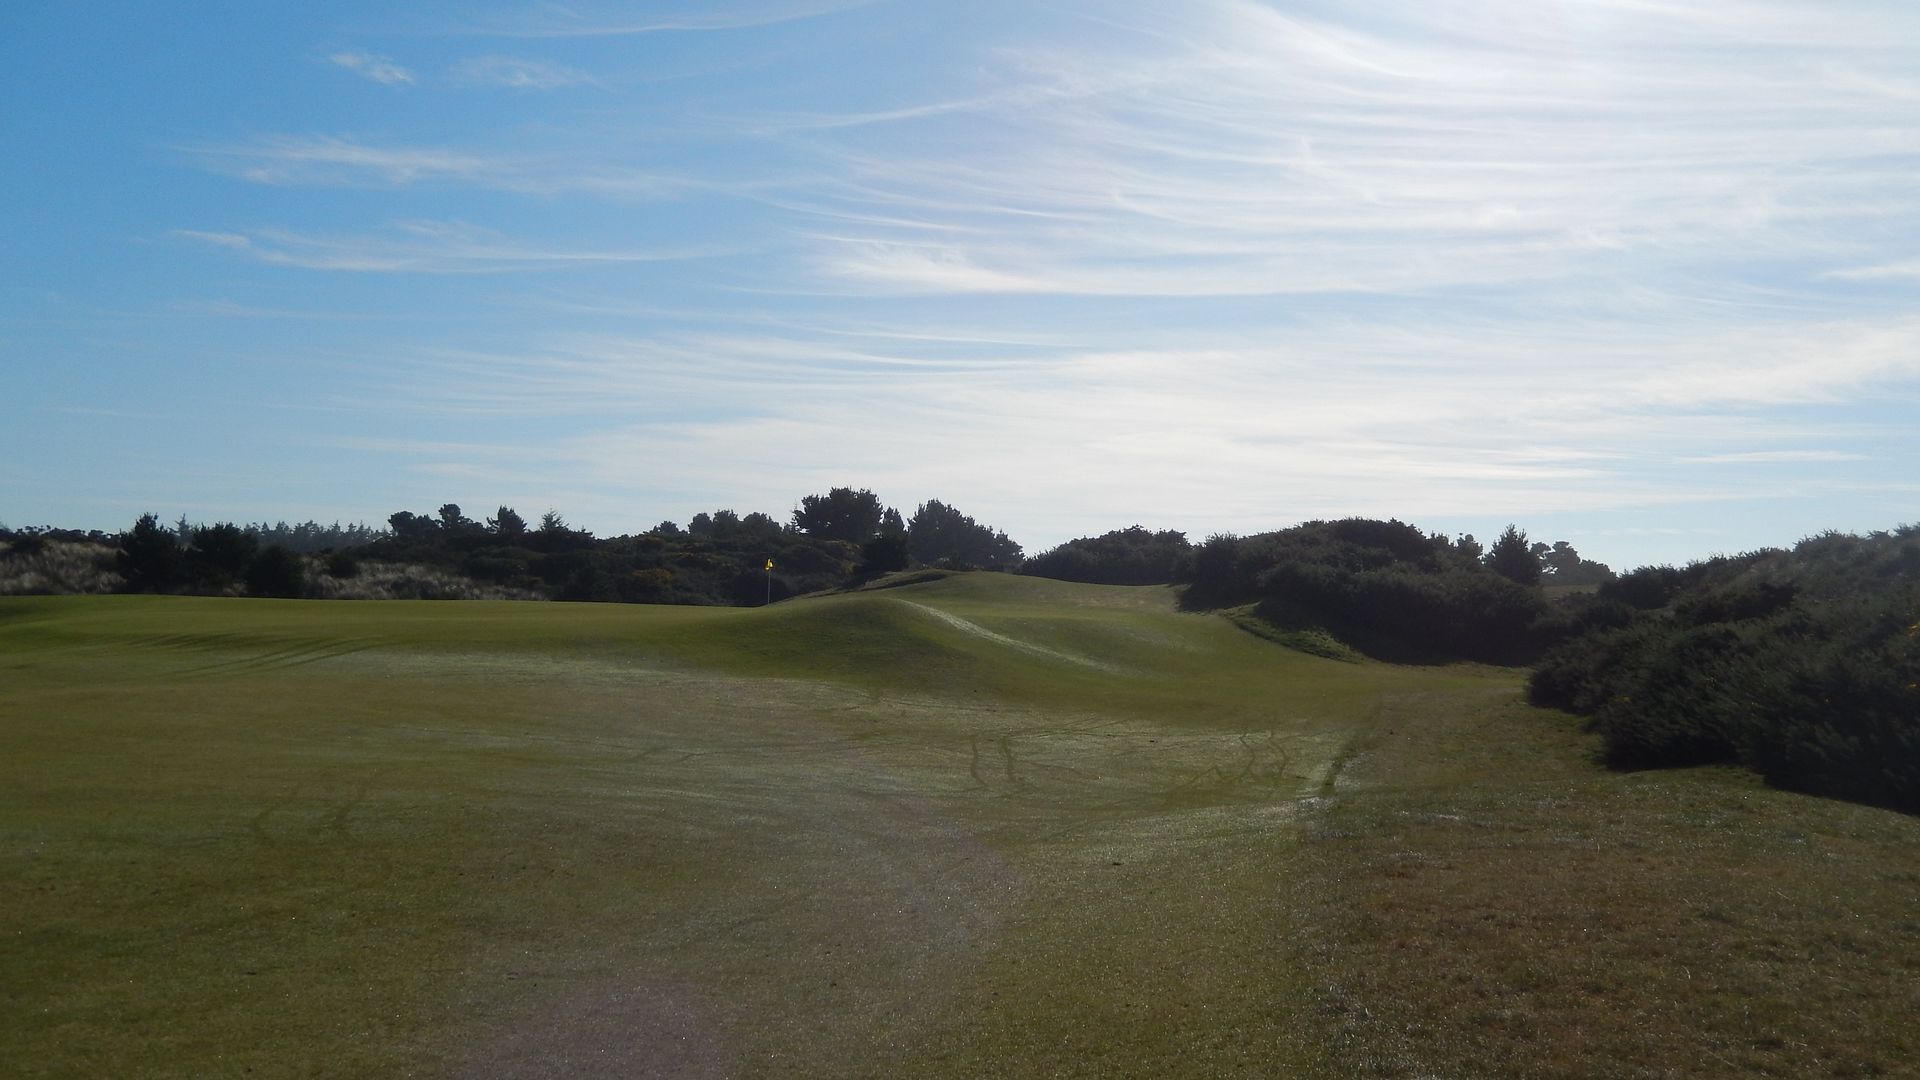
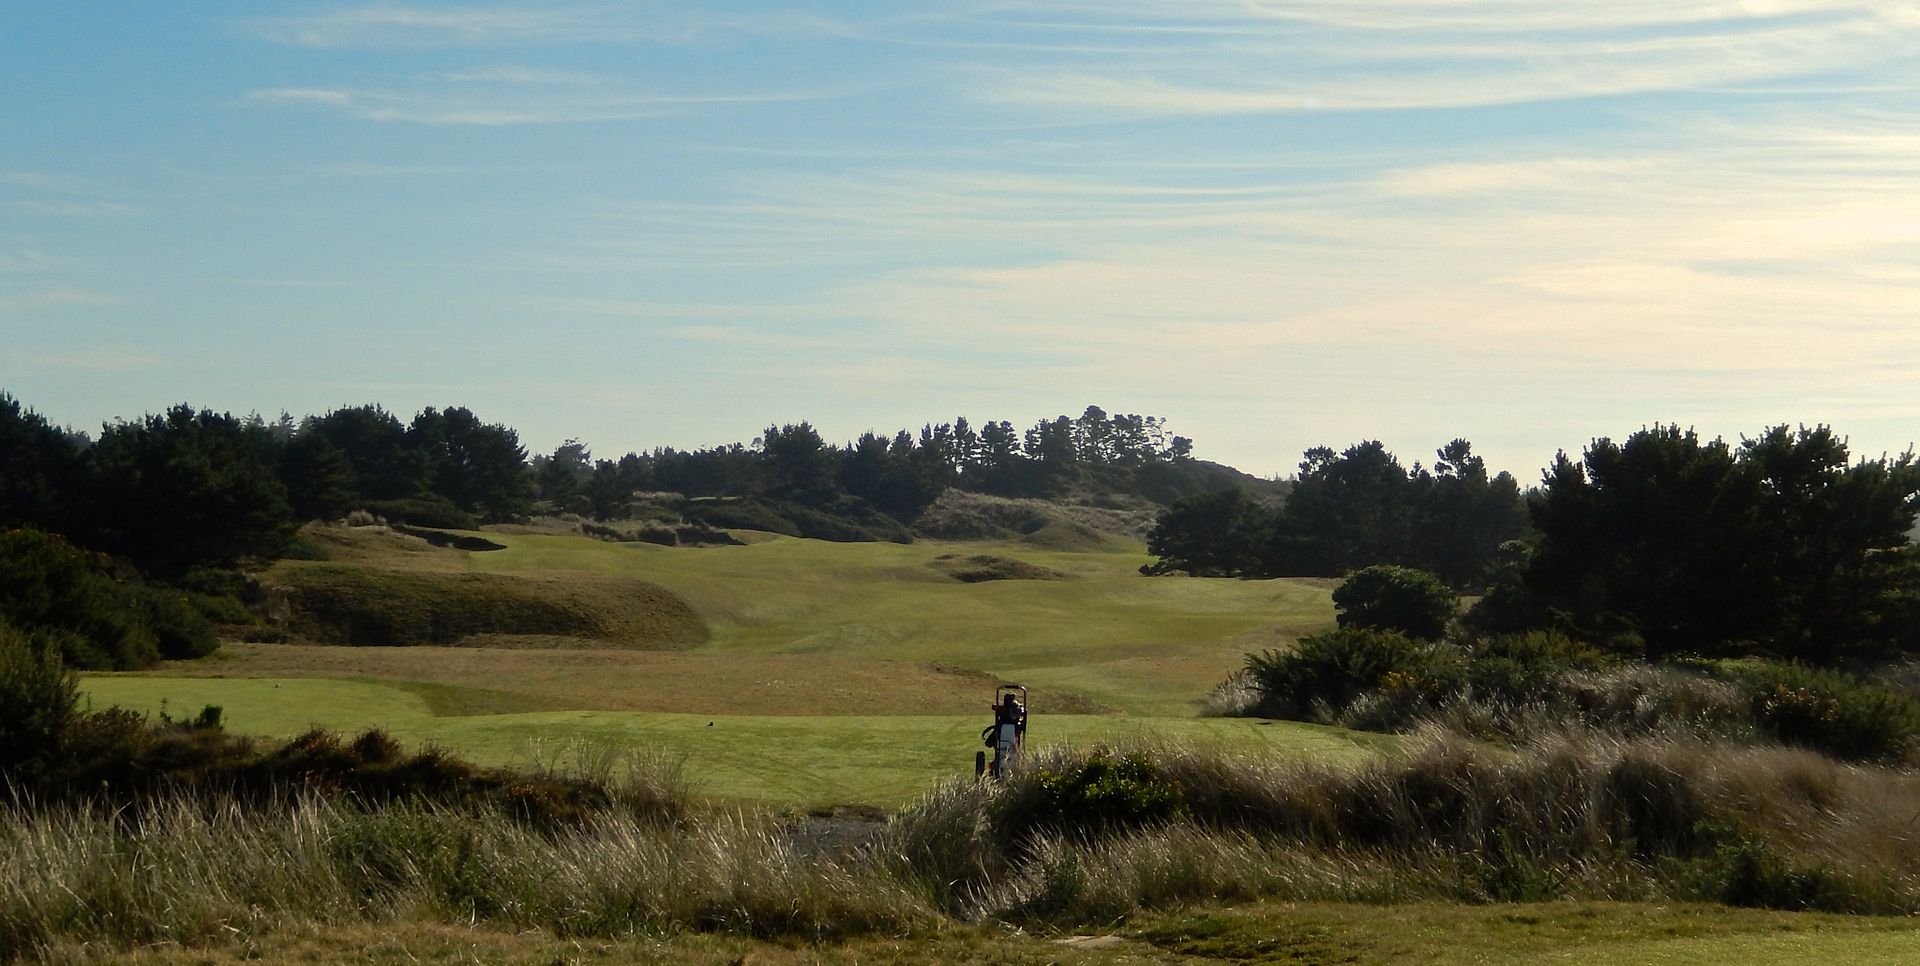
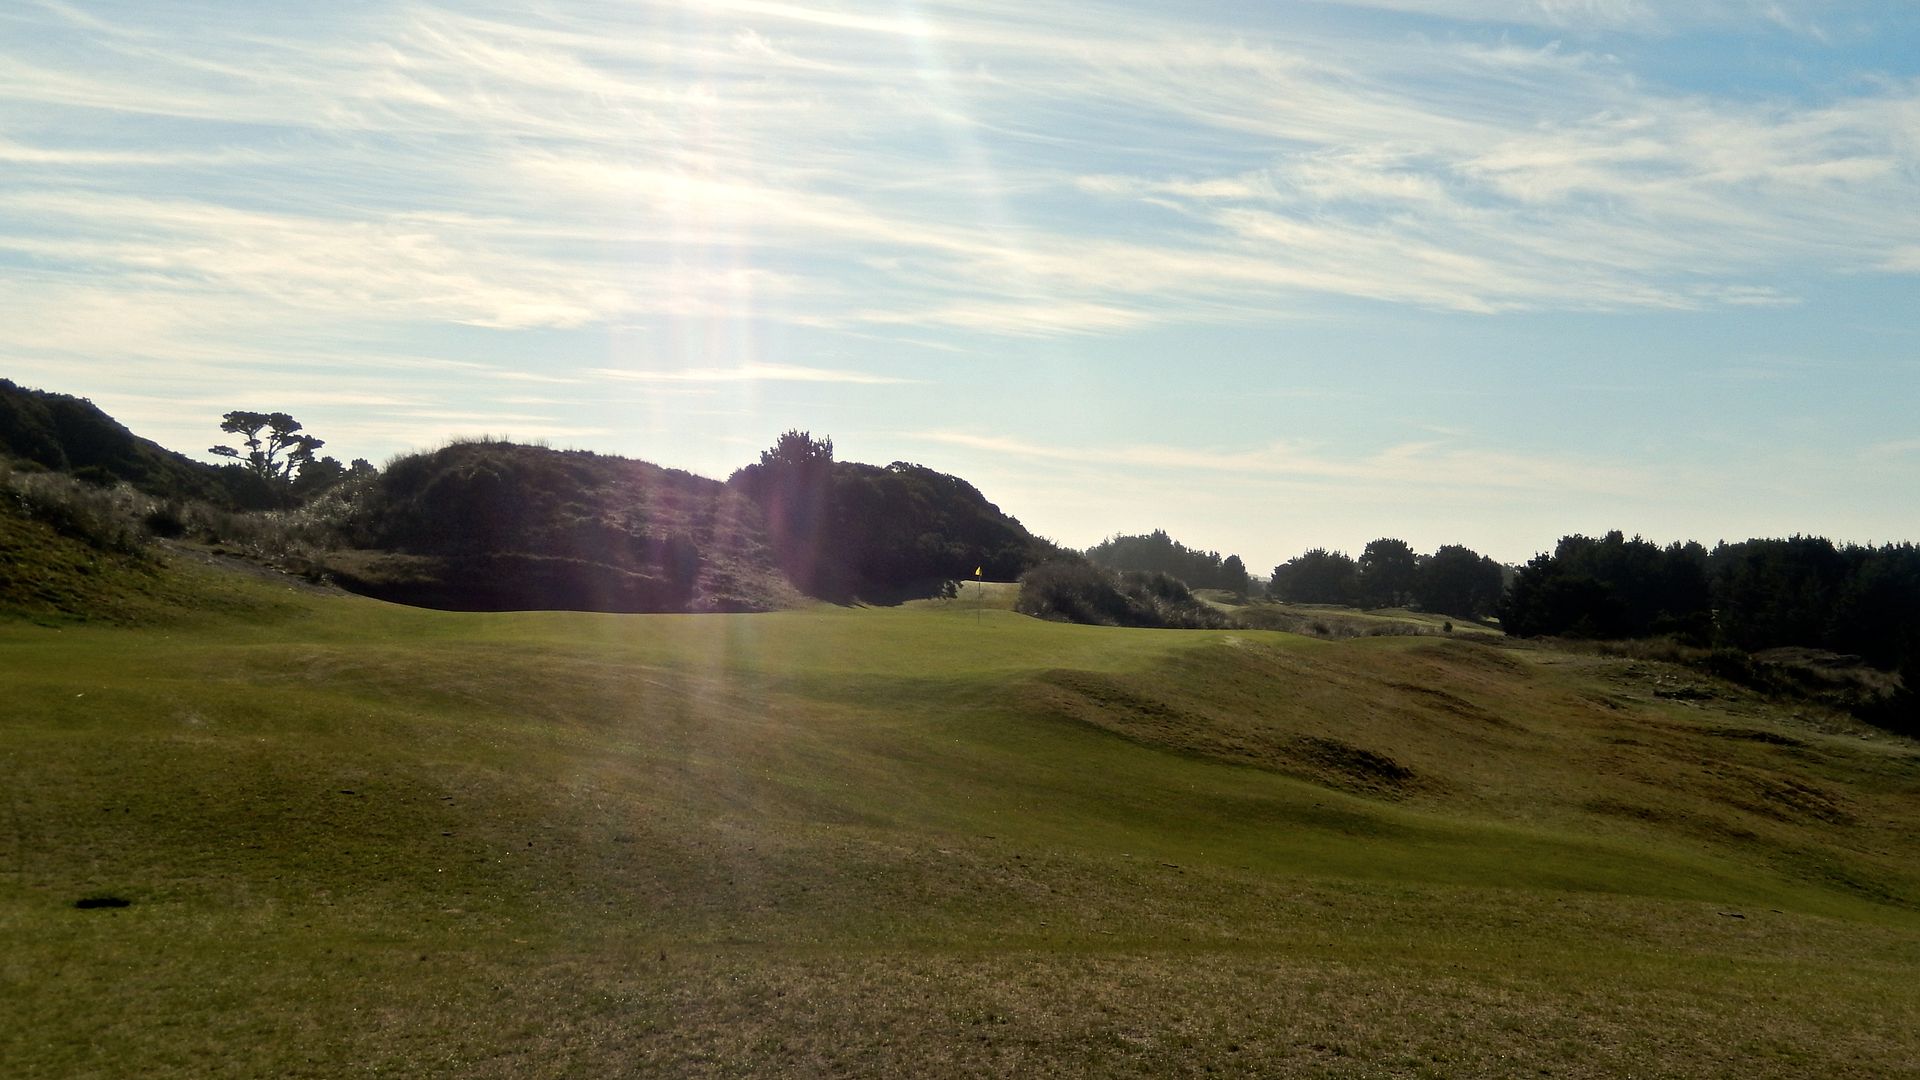
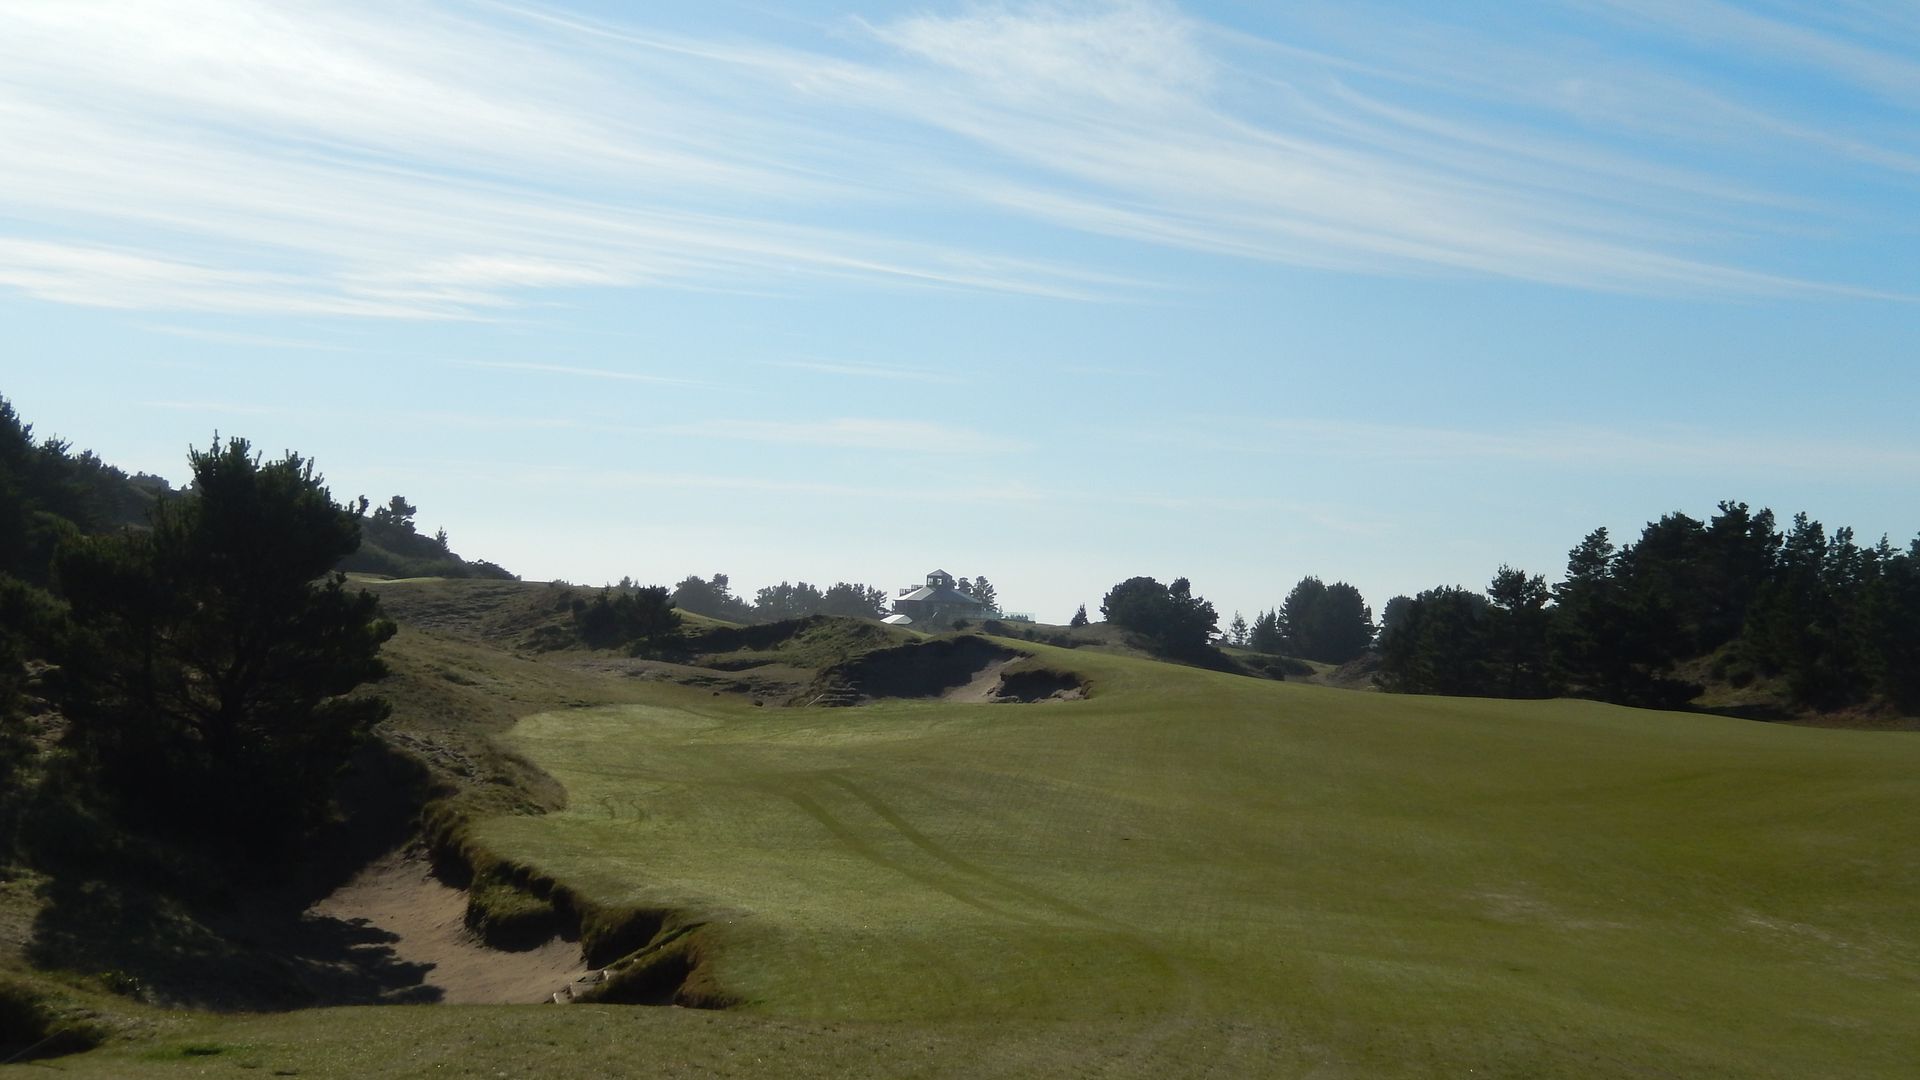
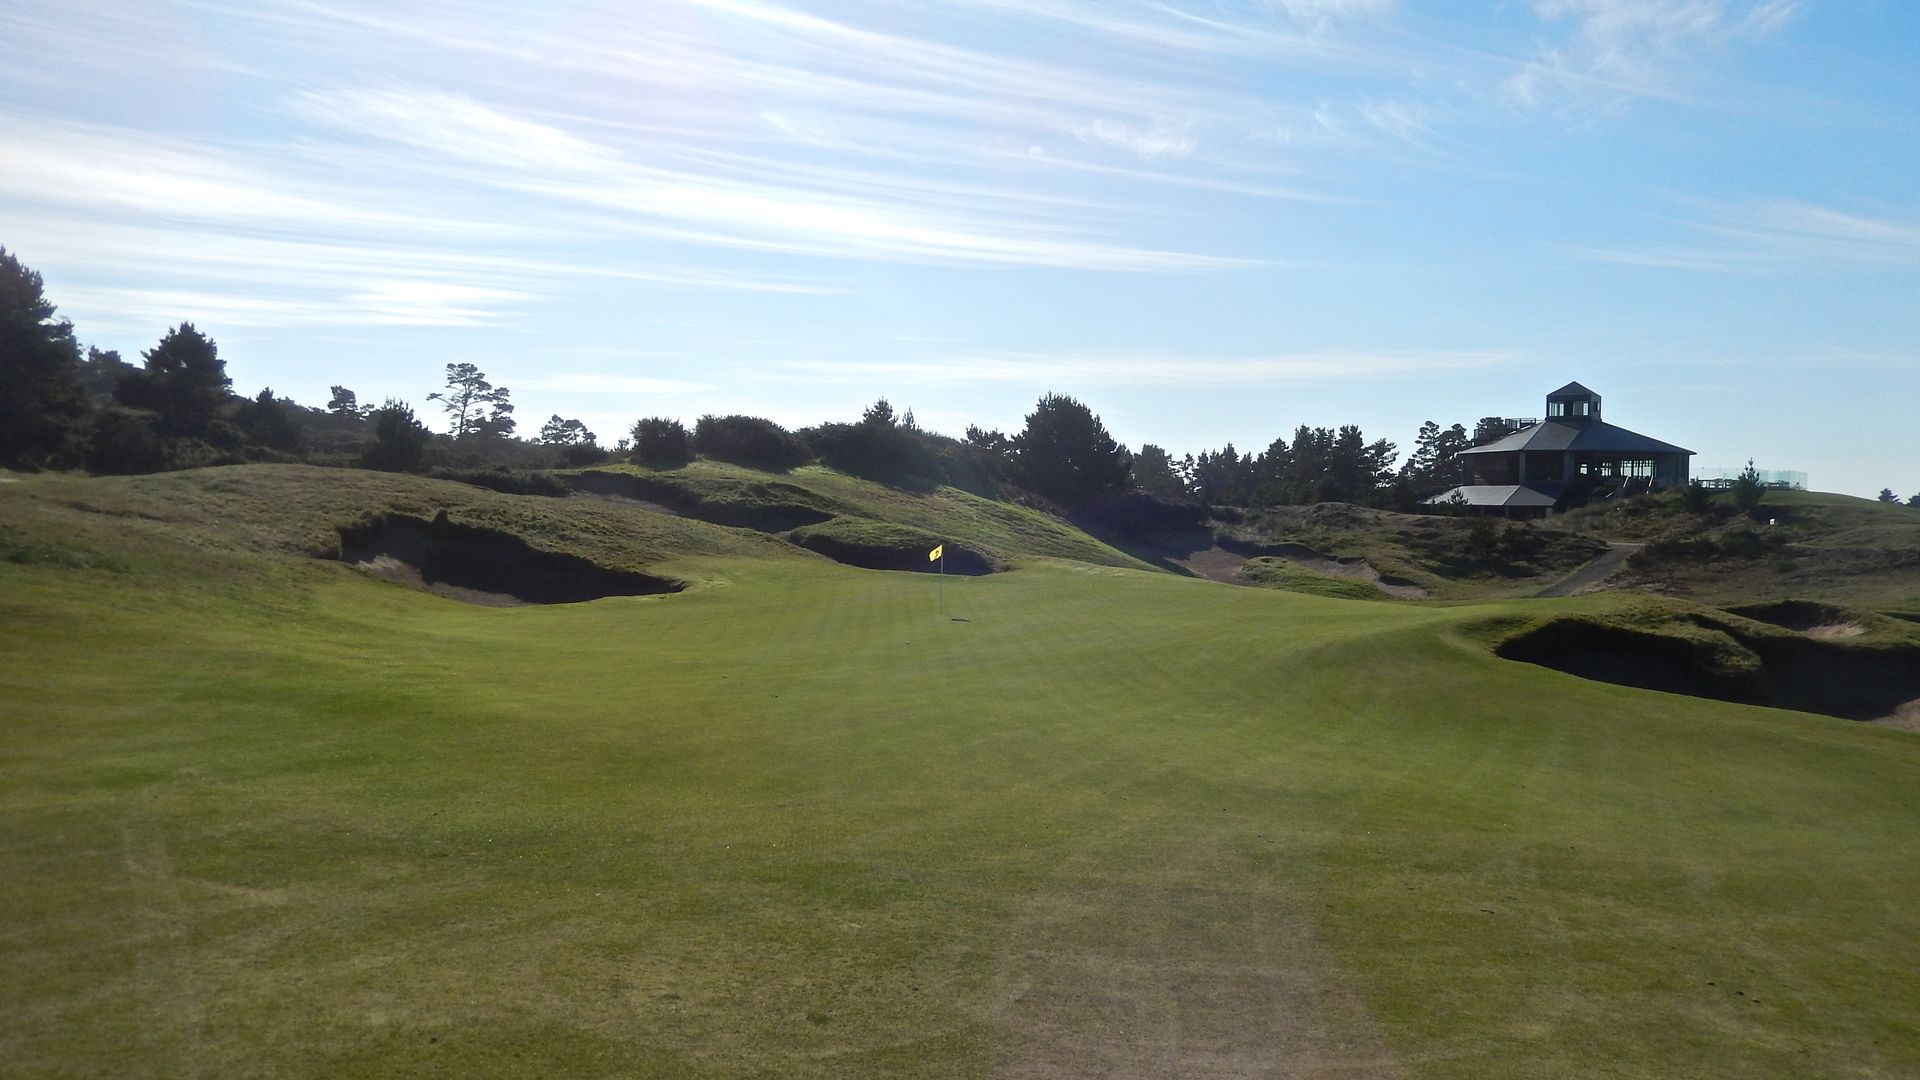
Dundas, Ontario, Canada
Architect: Stanley Thompson (1930)
6,403 Yards, Par-71
Rating/Slope: 71.3/127
My Quick Review: Another Thompson Gem; Dundas Valley is an outstanding mix of rolling land, quirk and fun.
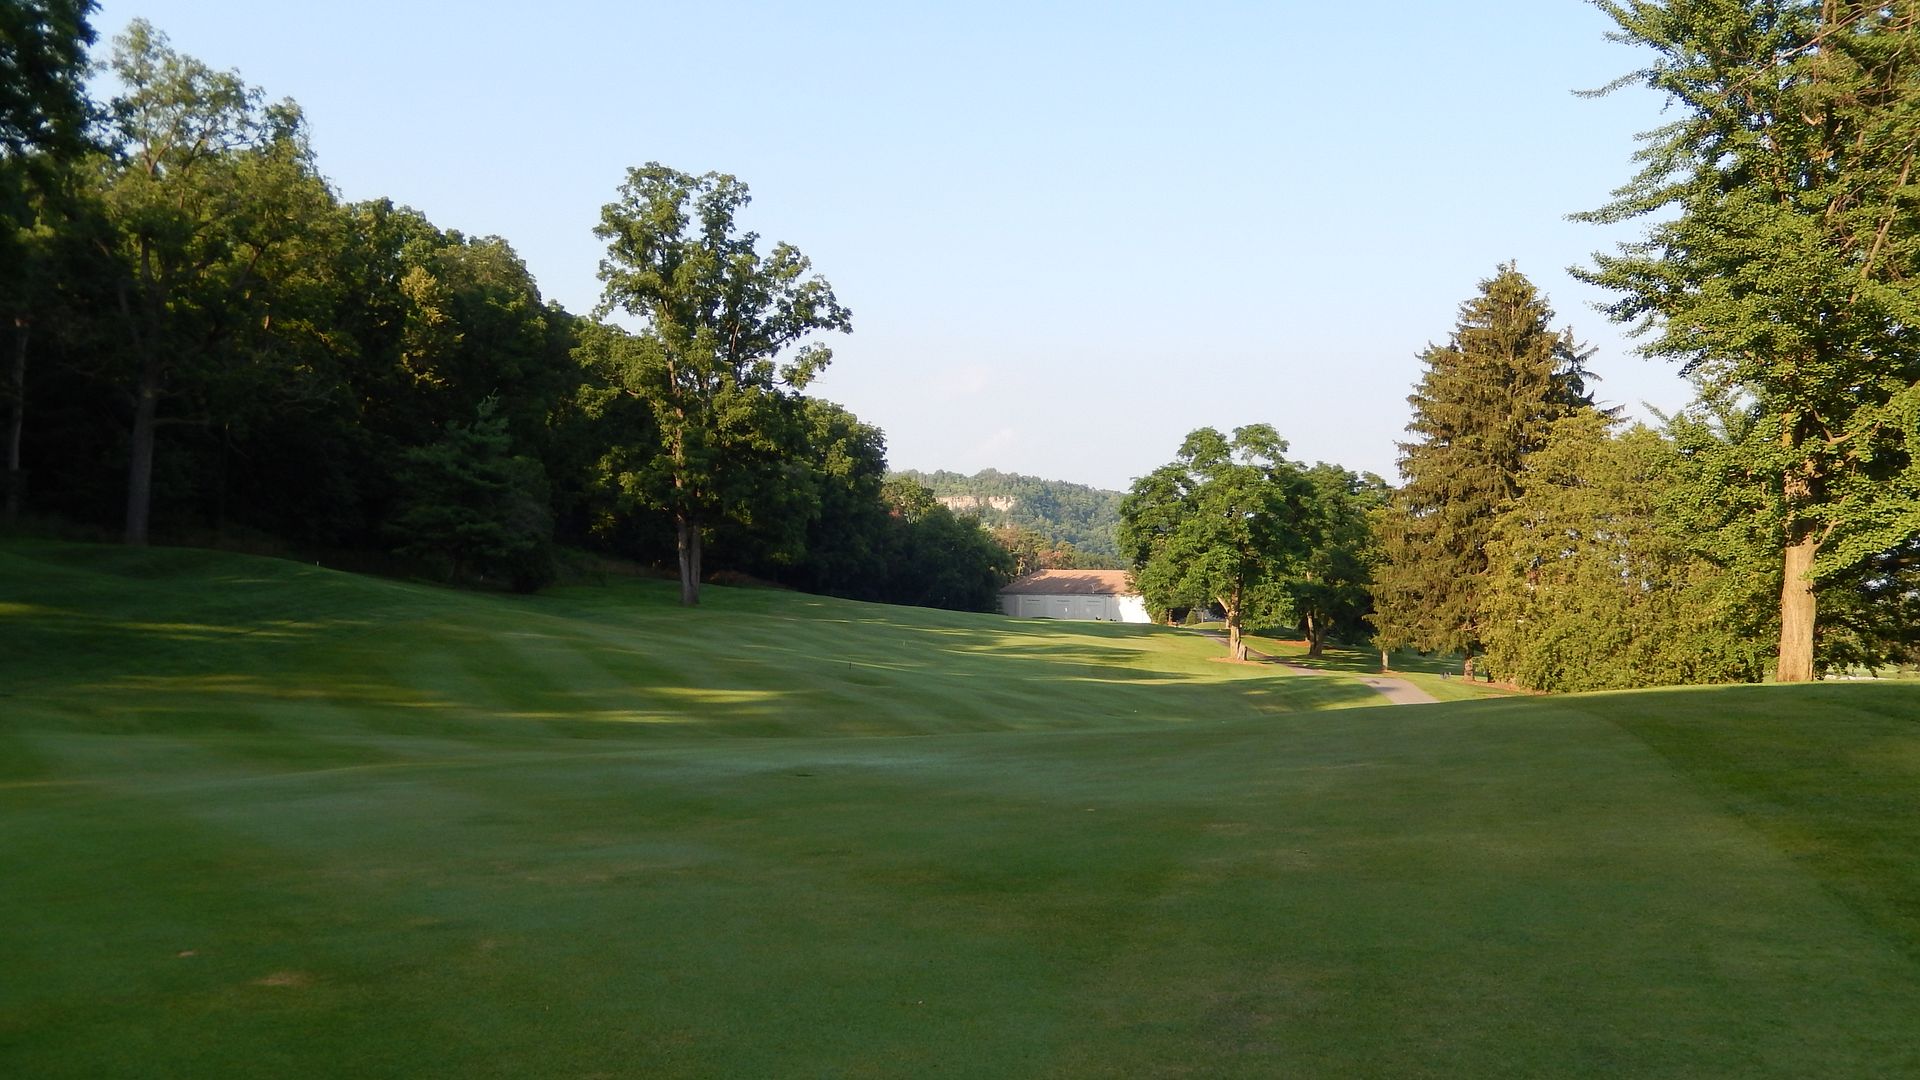
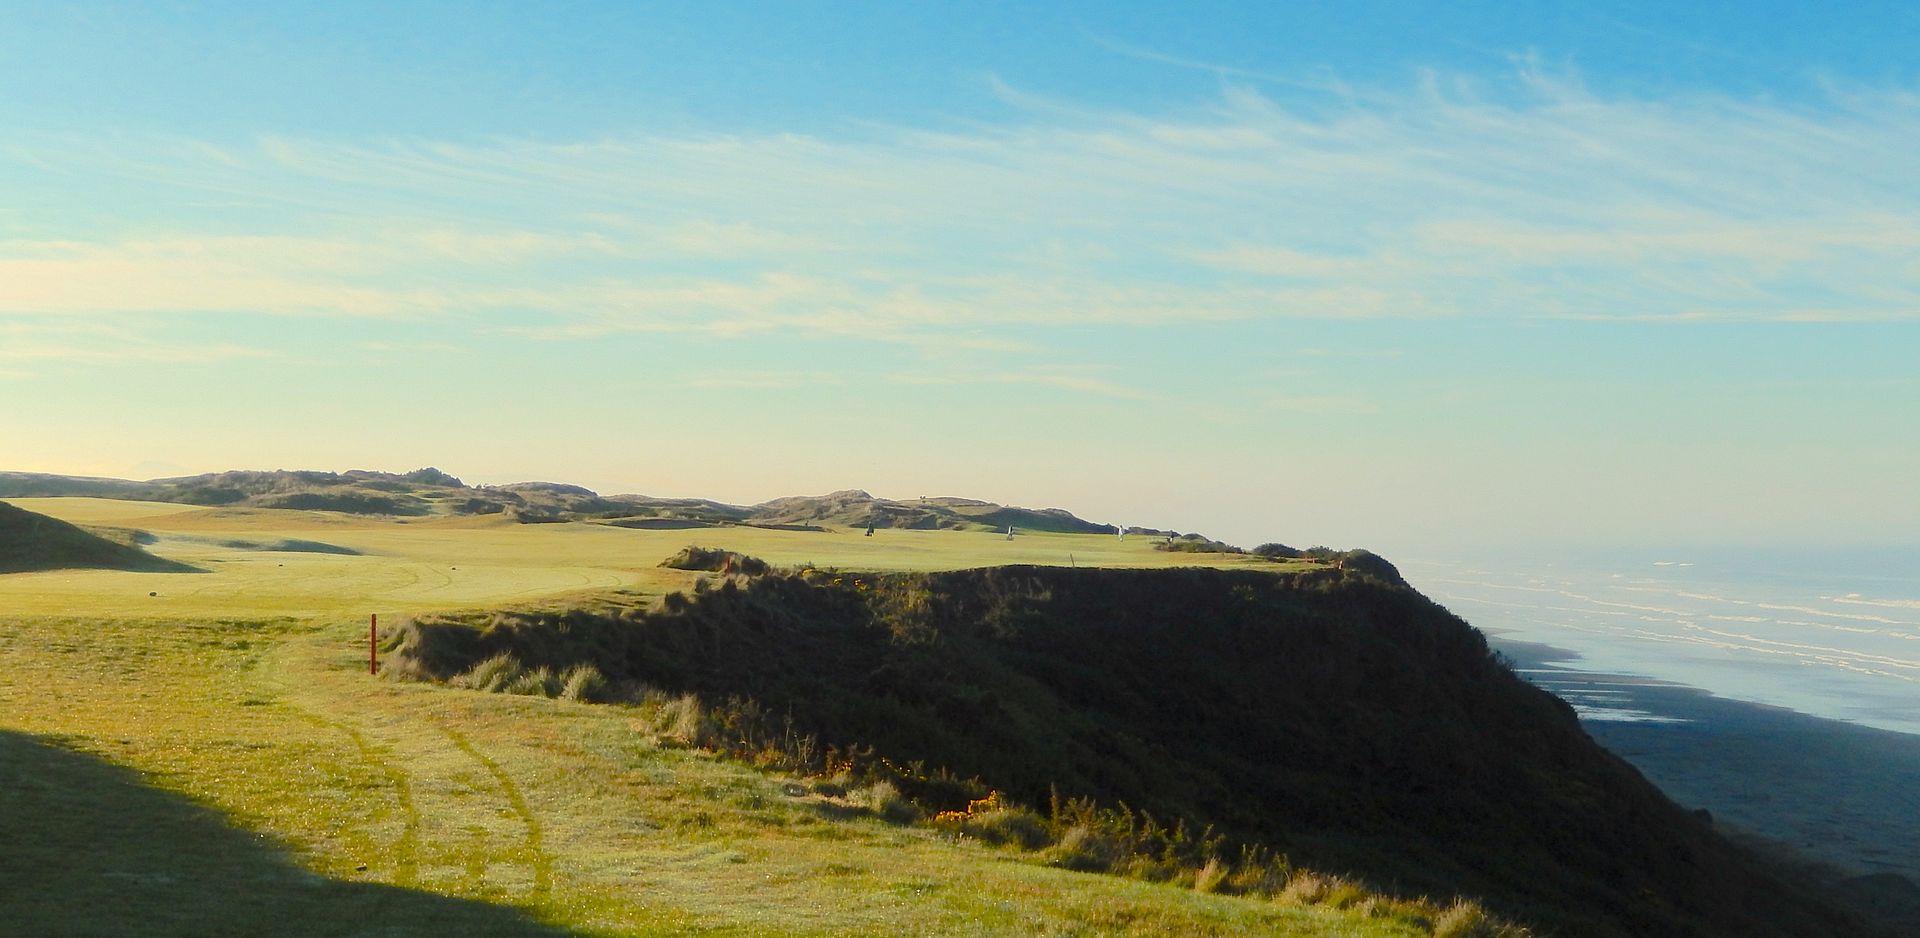
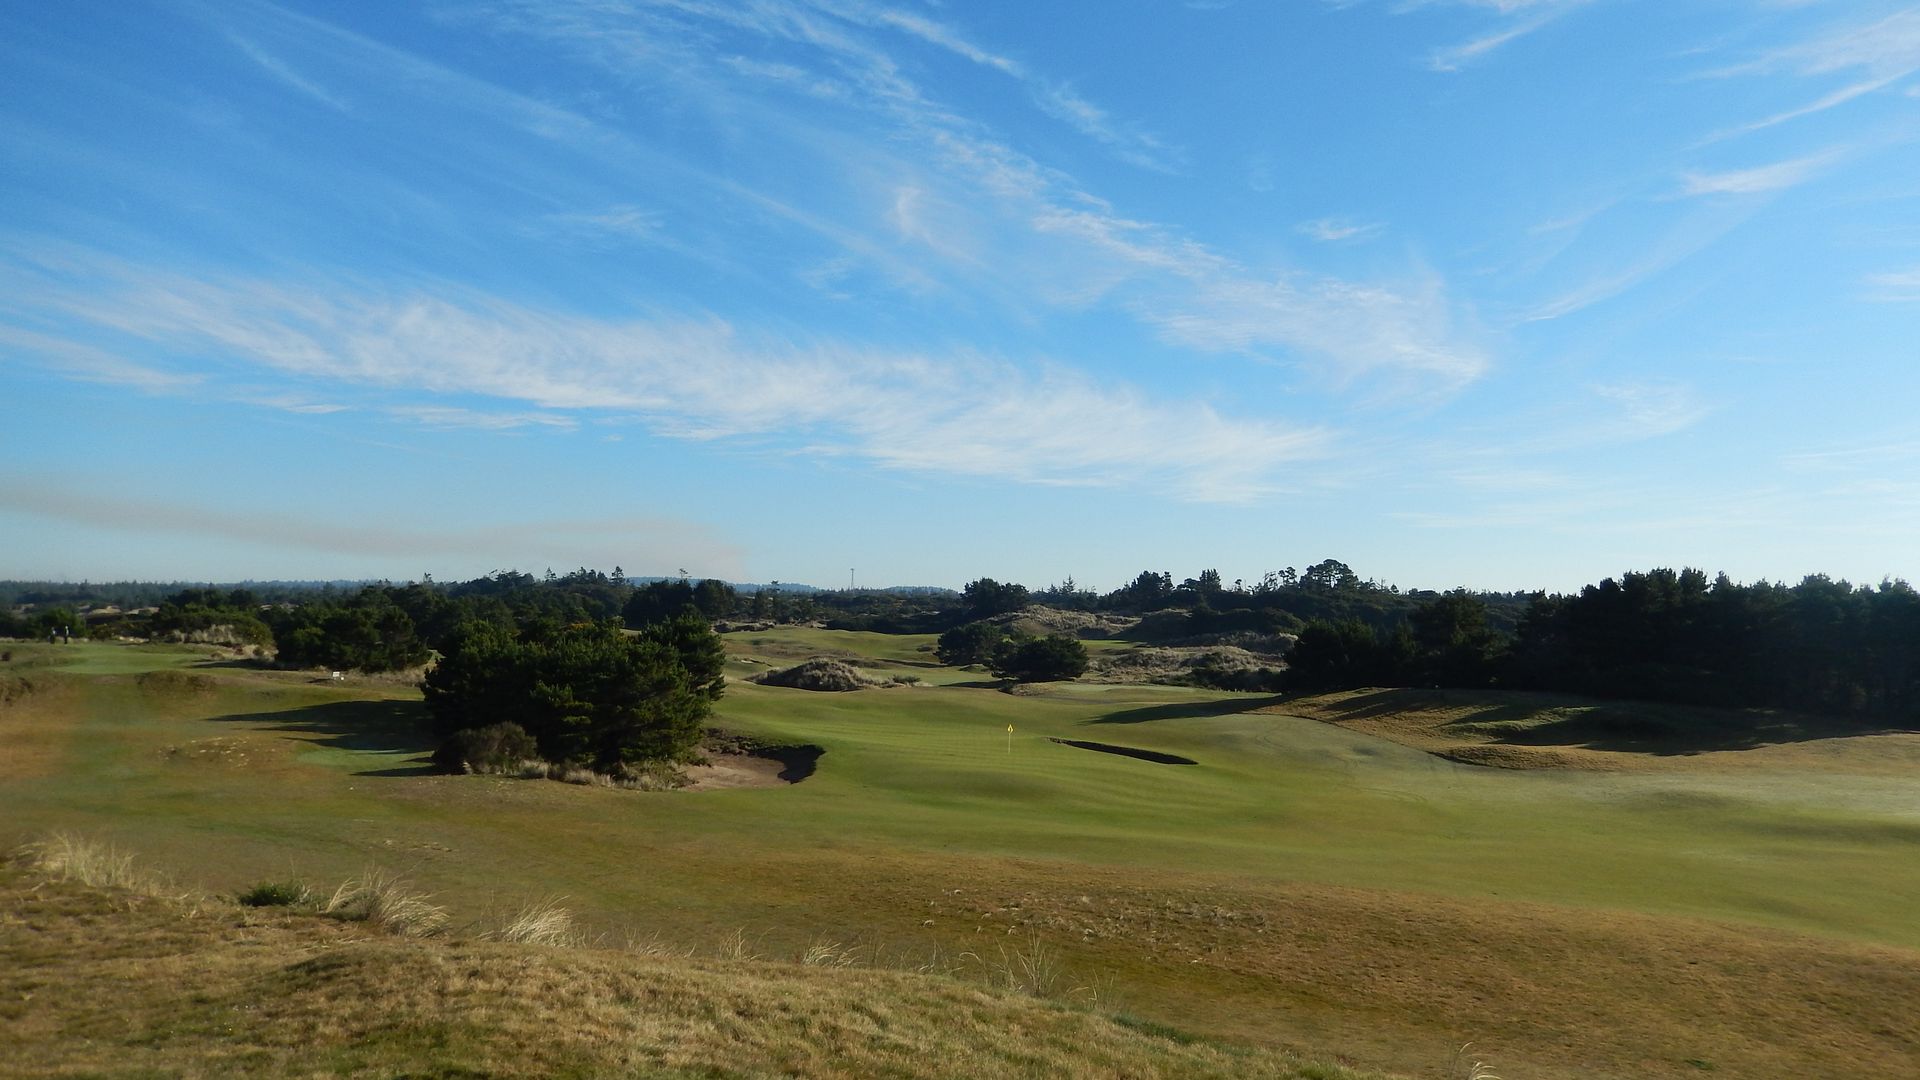
Tee shot at the par-5 first:

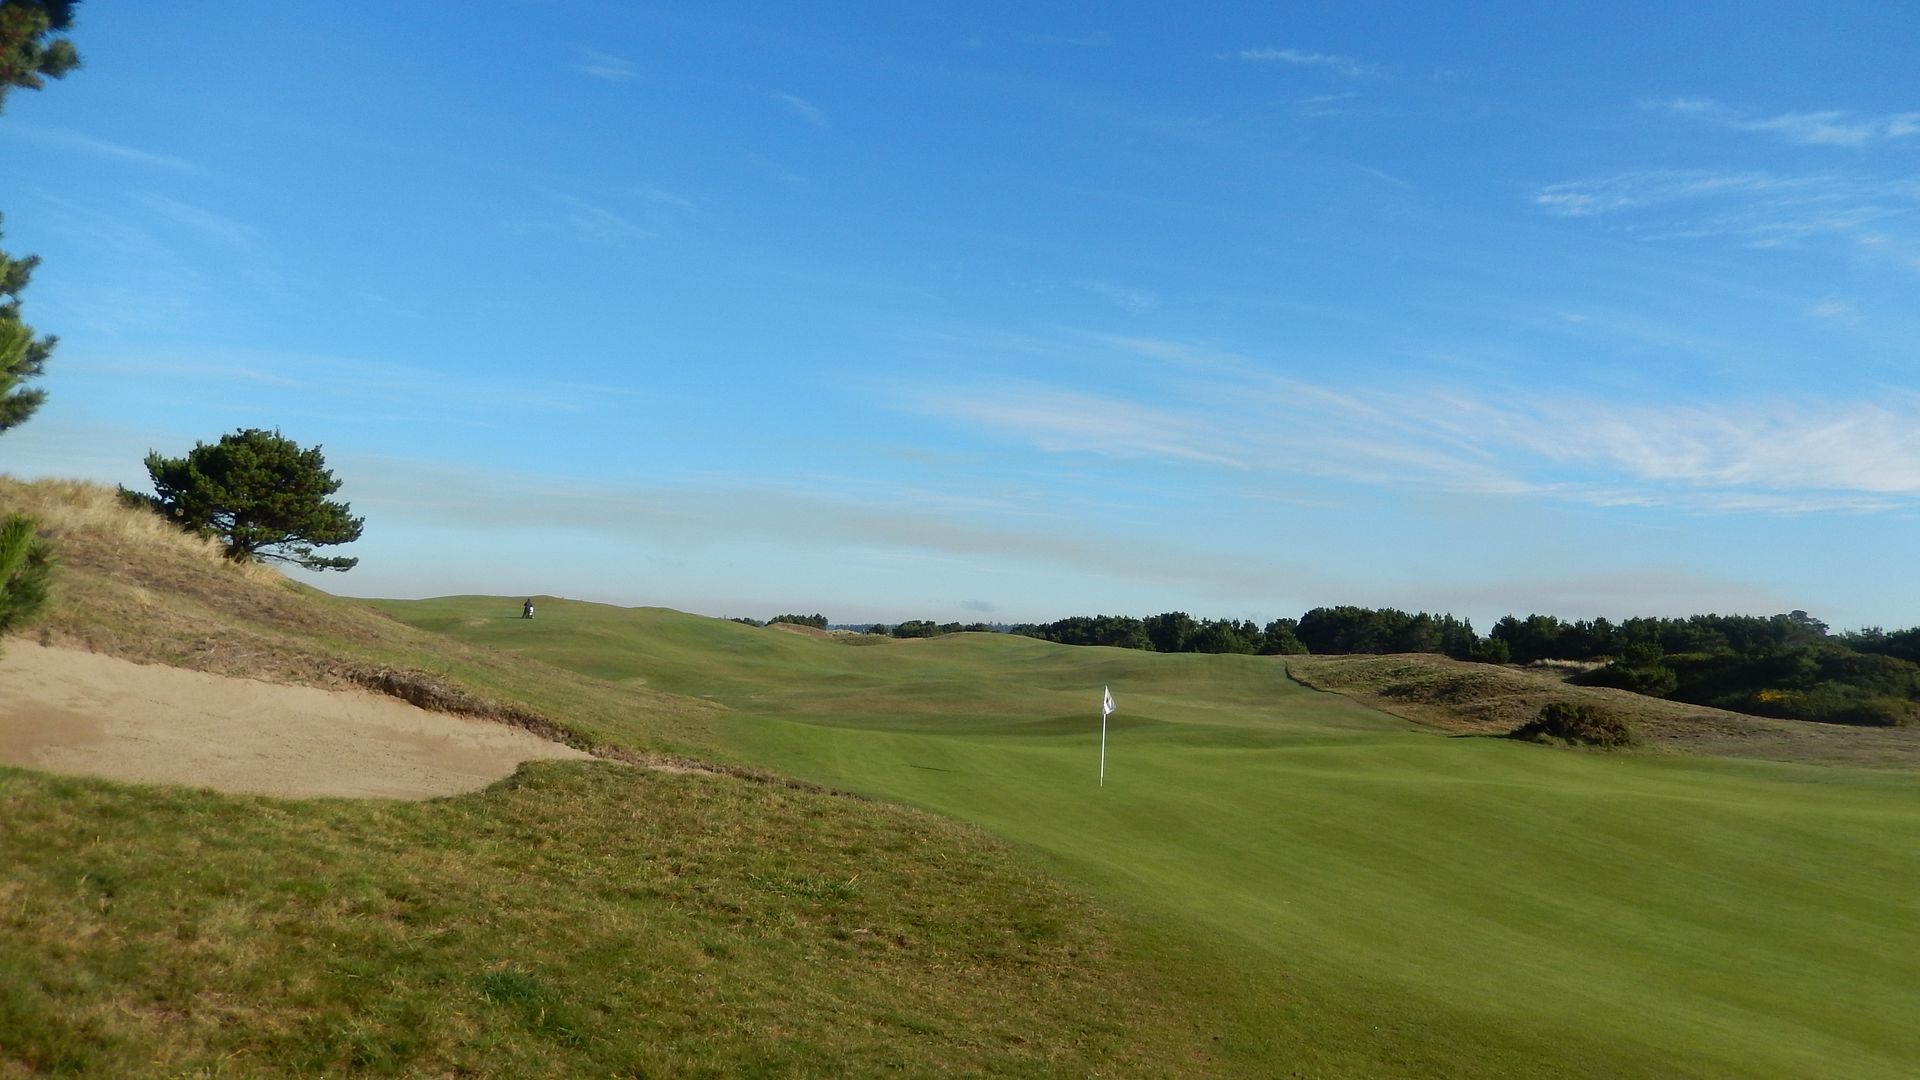
The 150 yard, uphill 2nd:

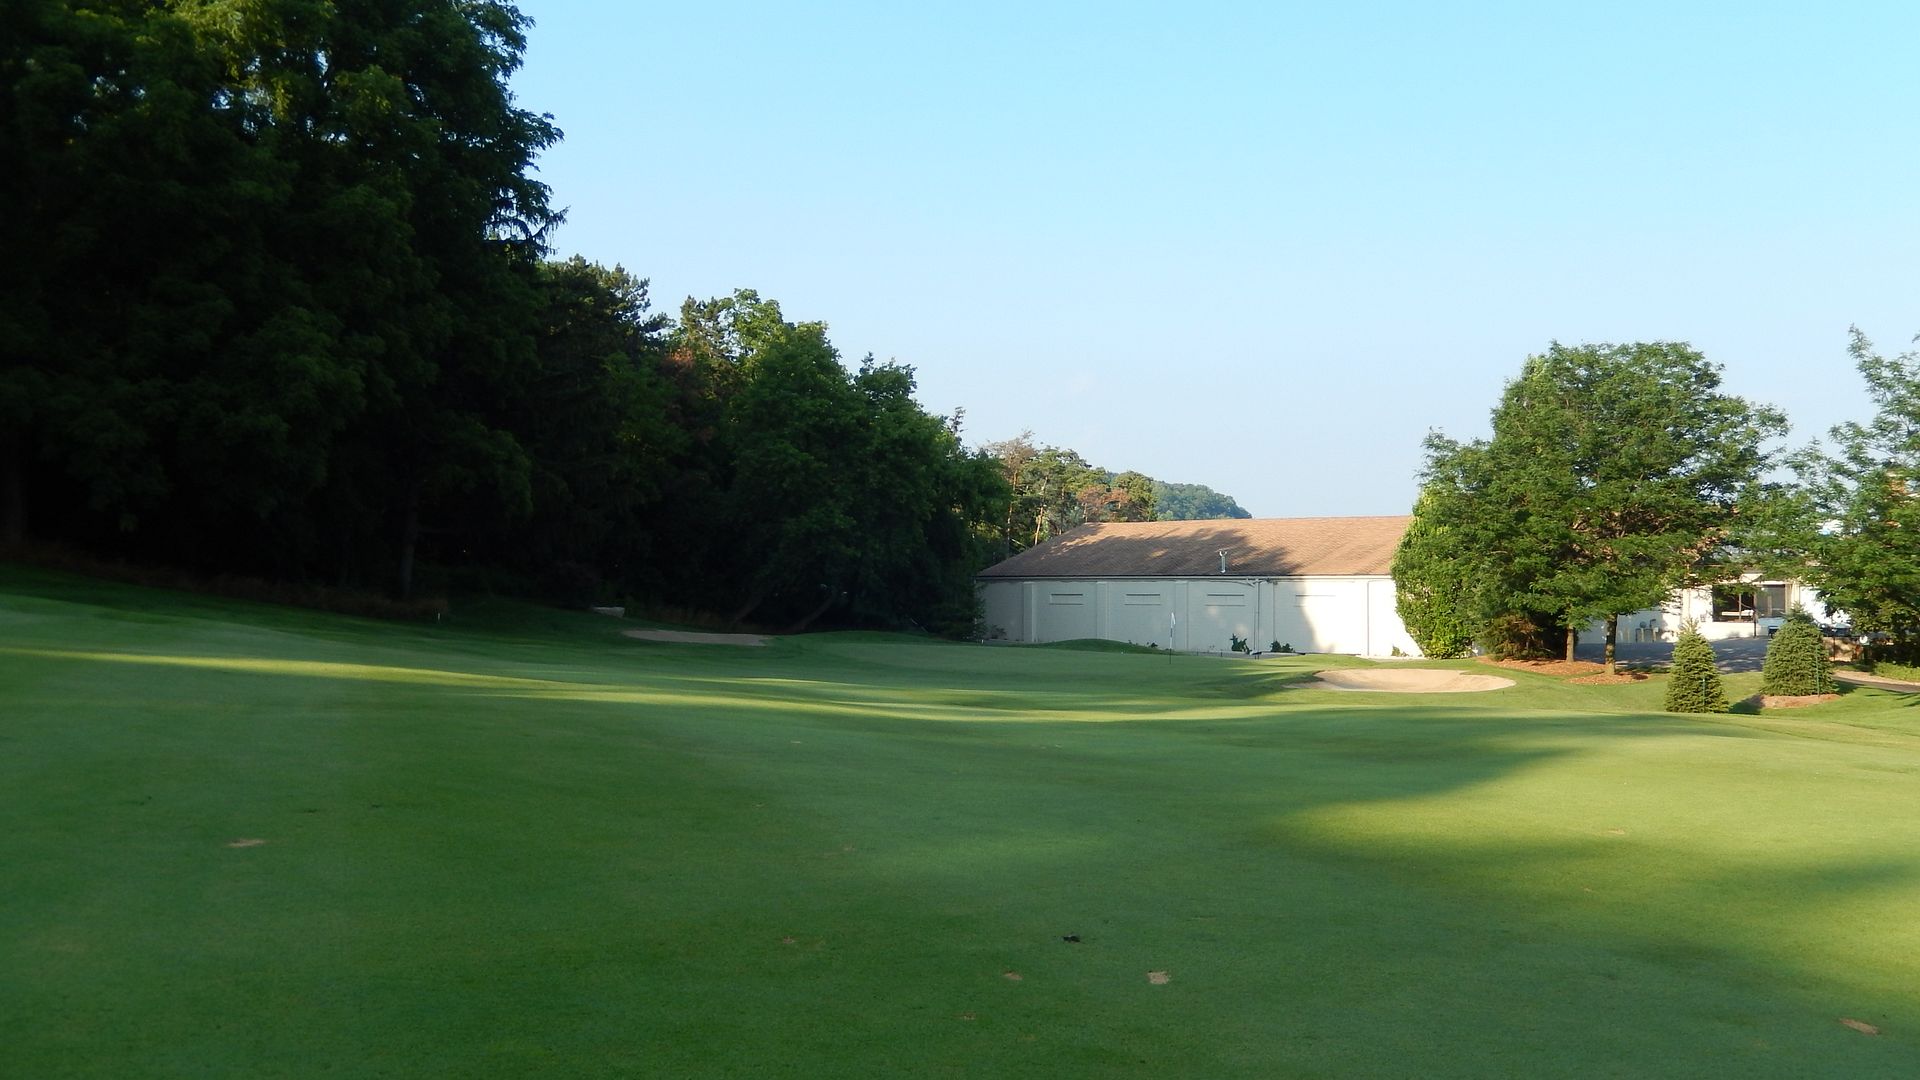
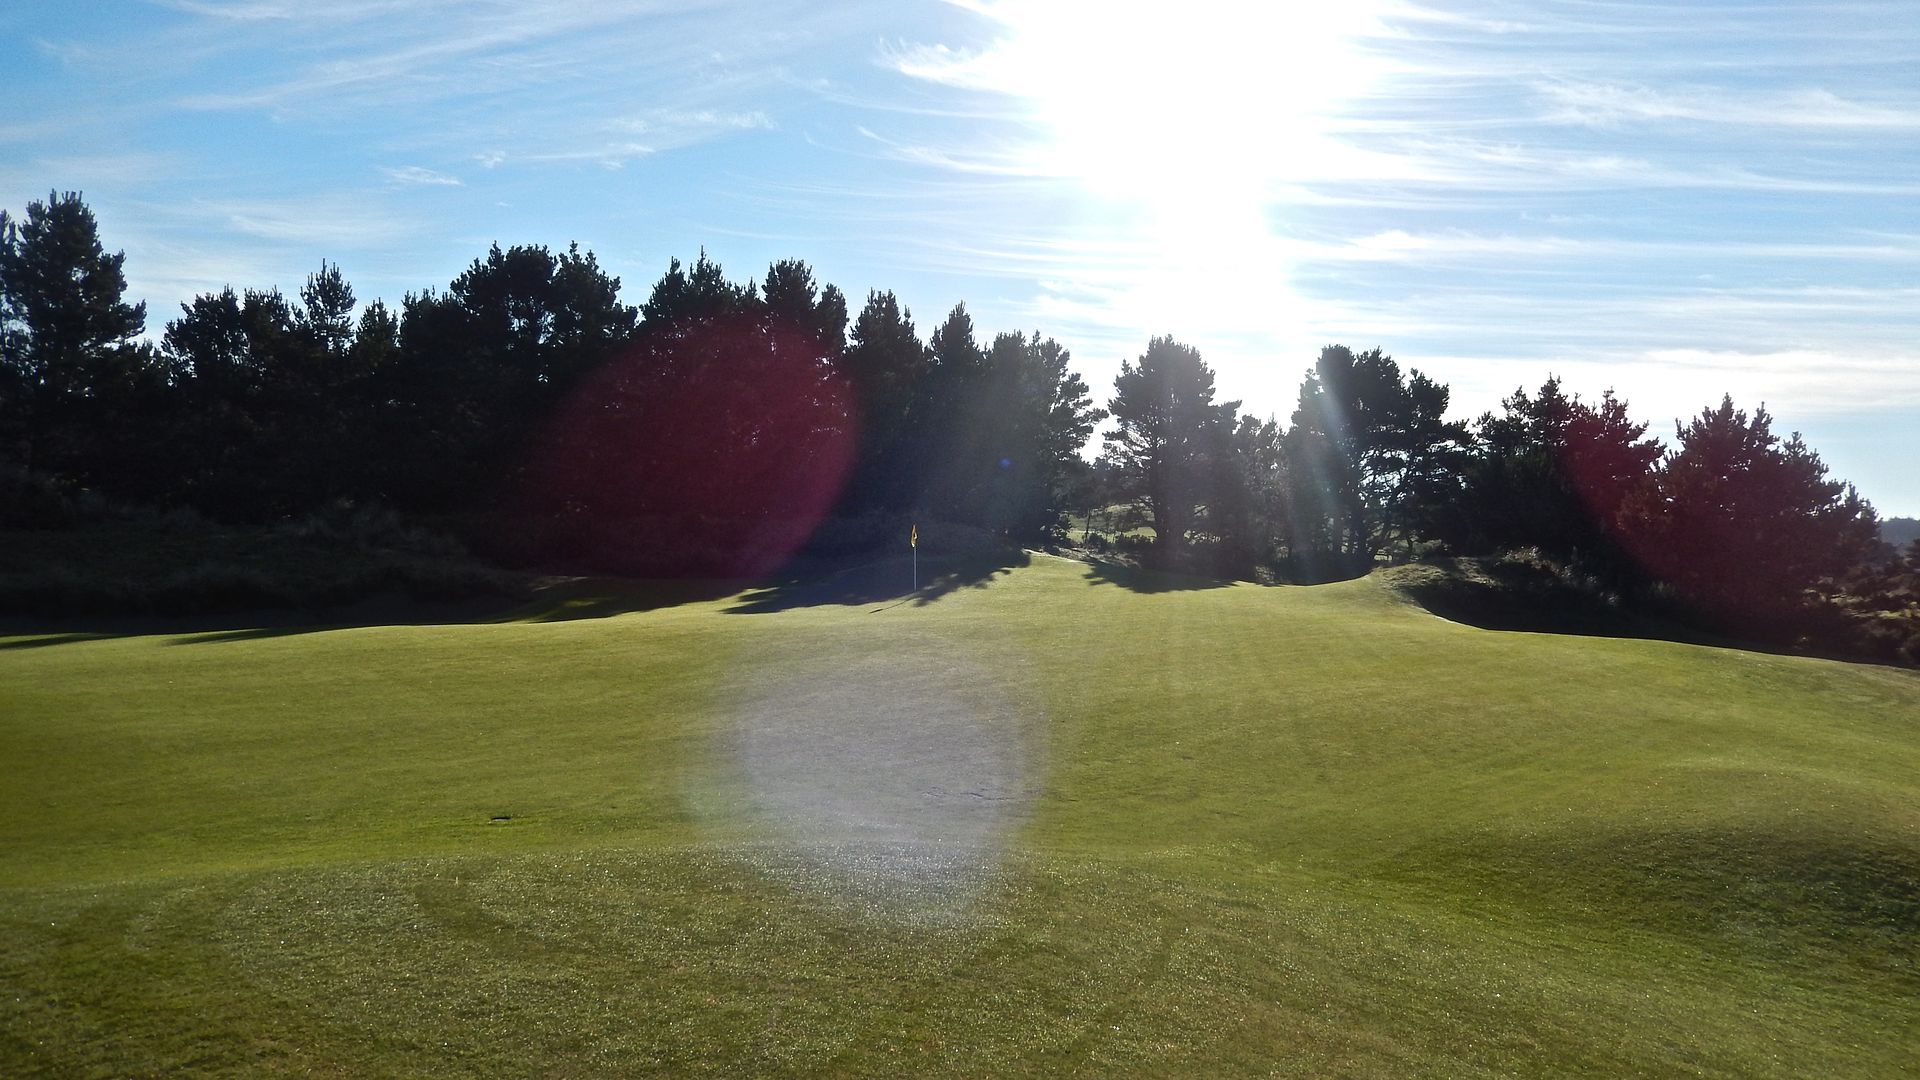
A terrific long view from behind the 2nd green, back down the 1st:
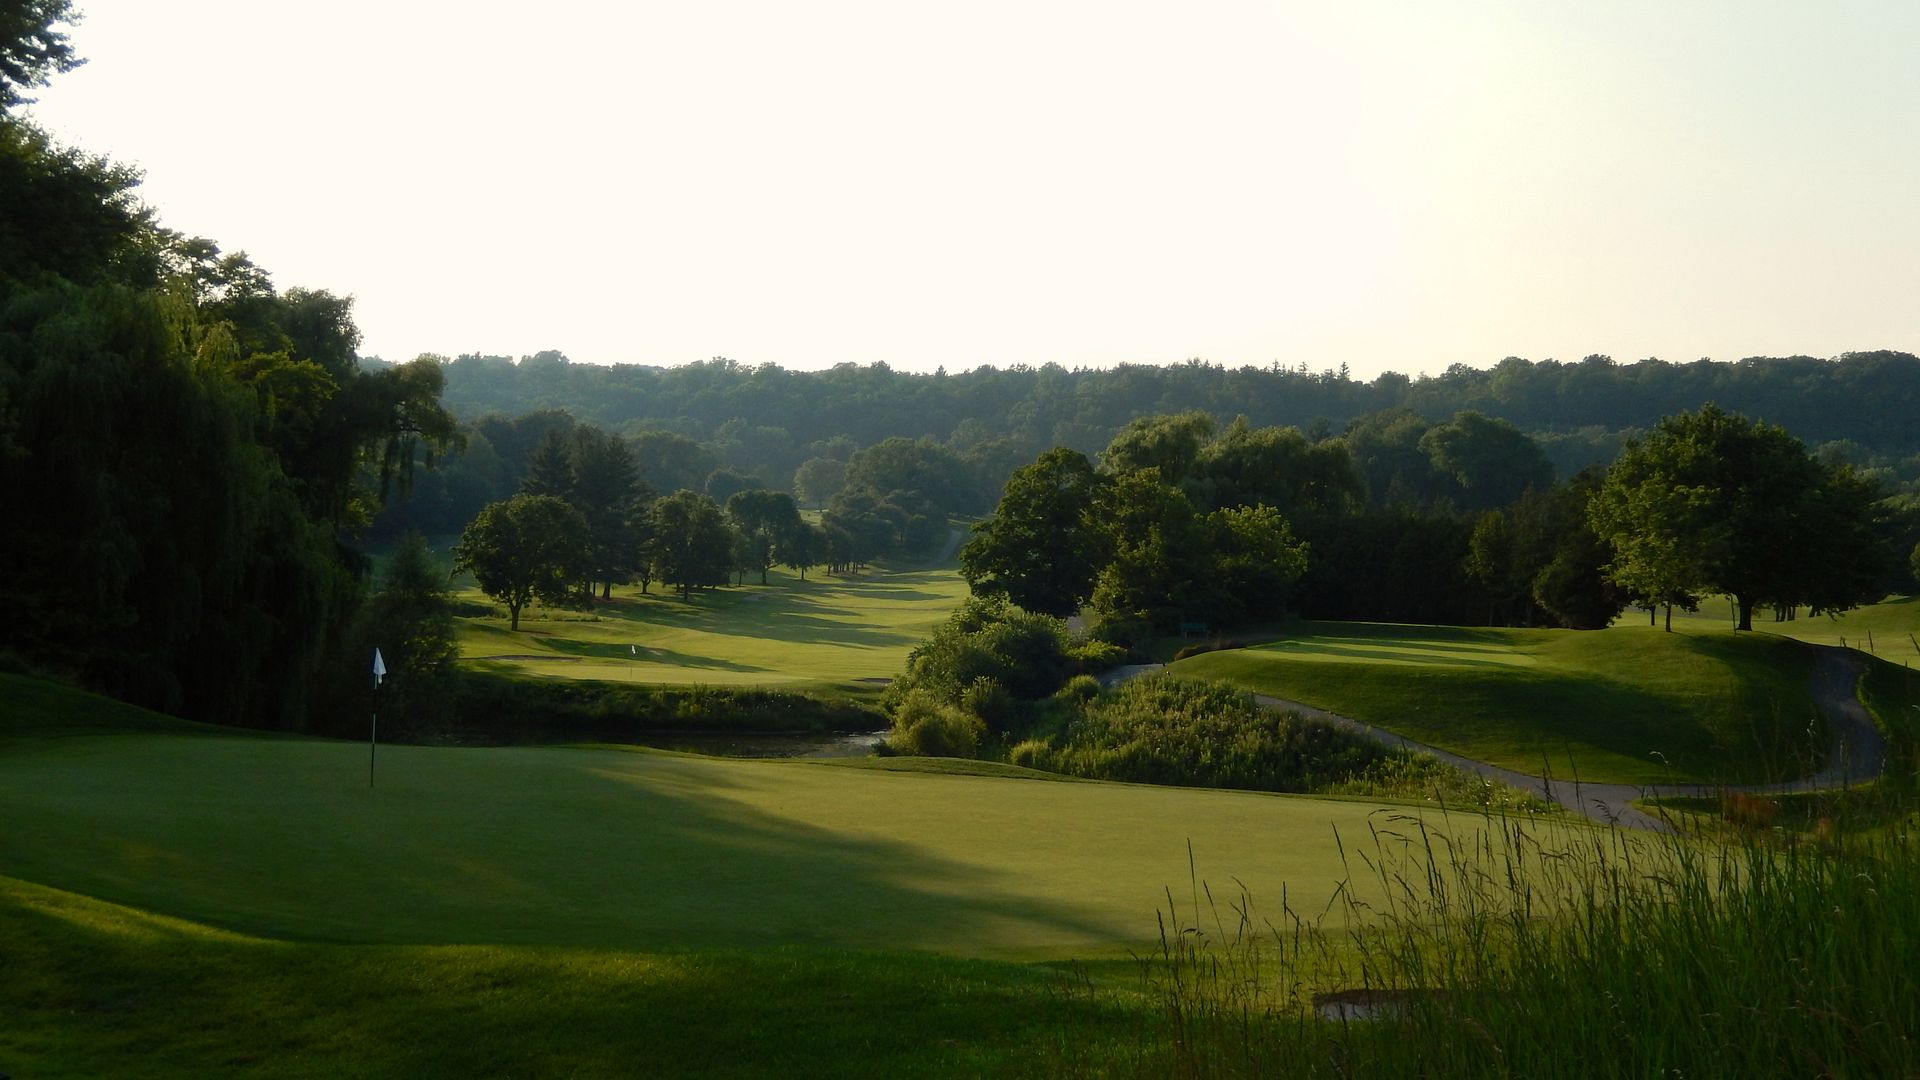
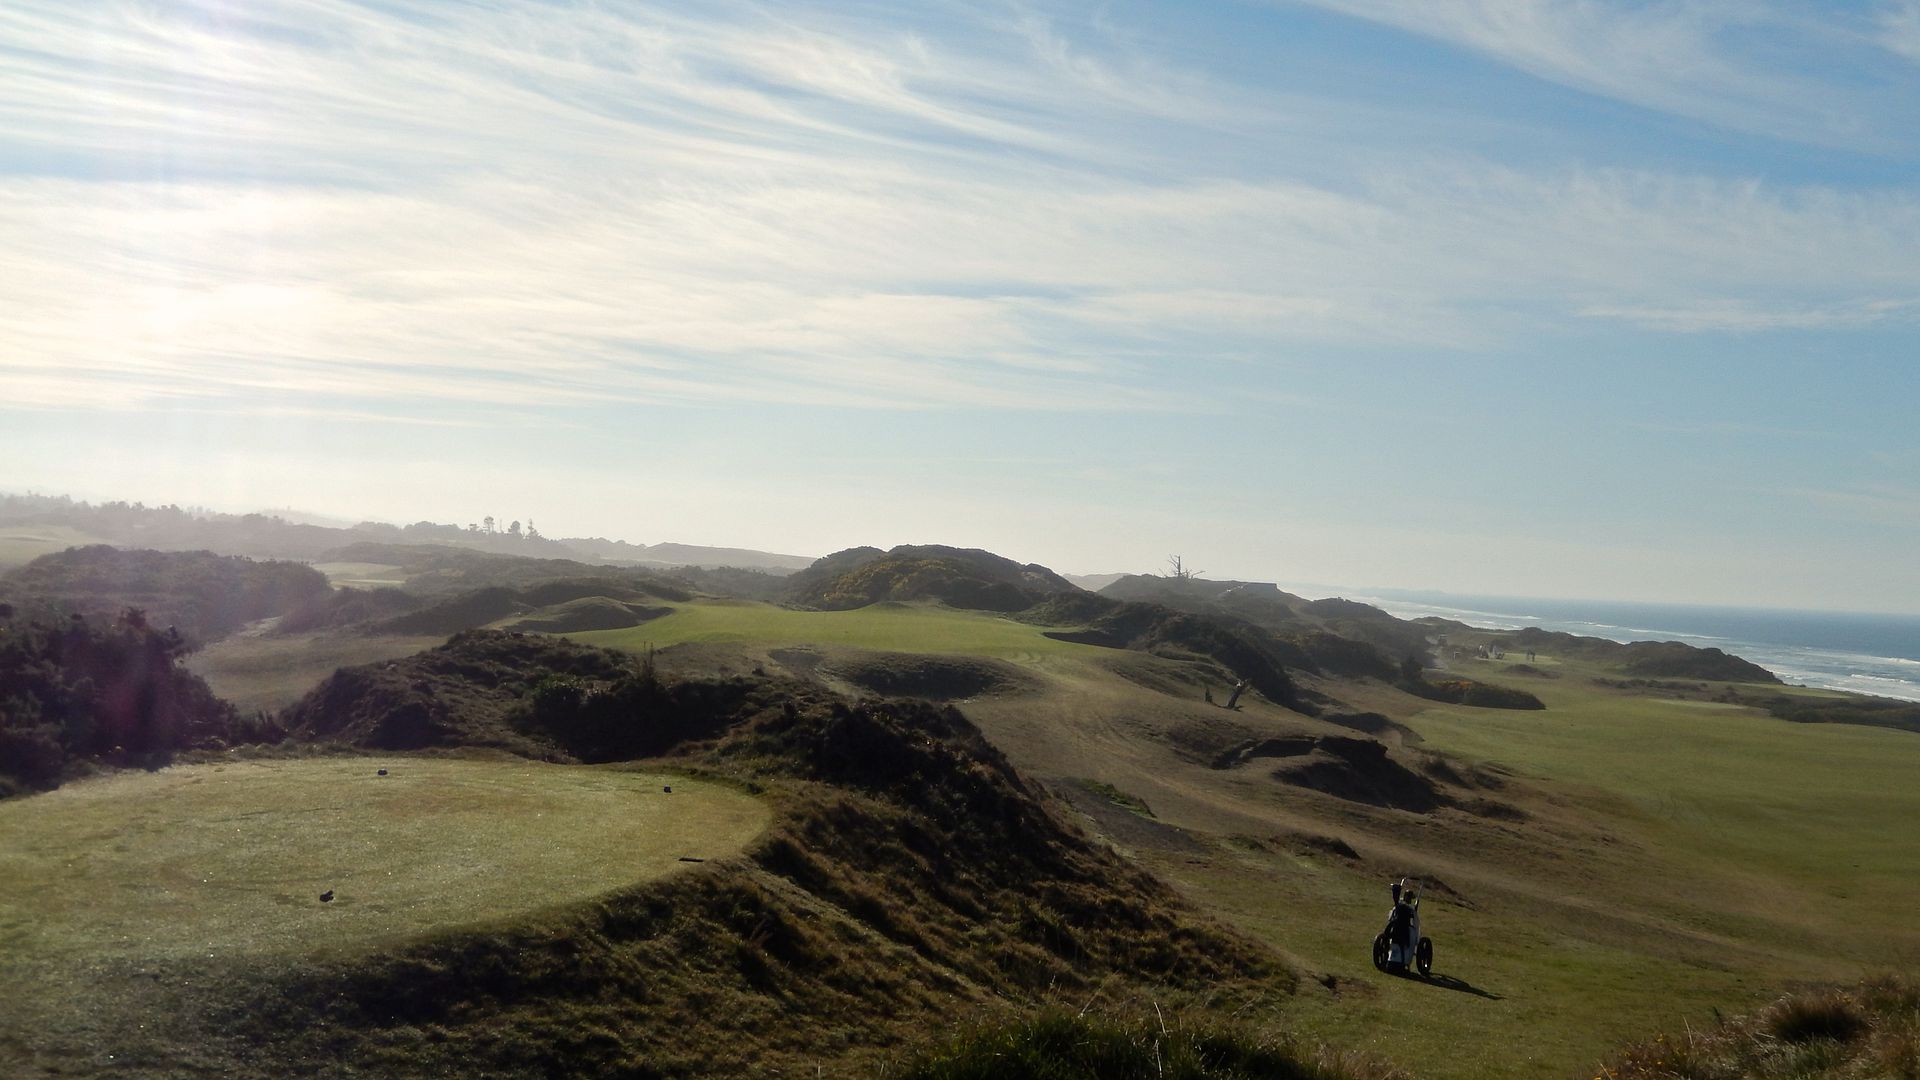
The 3rd drops down before rising to the green, playing alongside one of a series of ridges that run through the course:

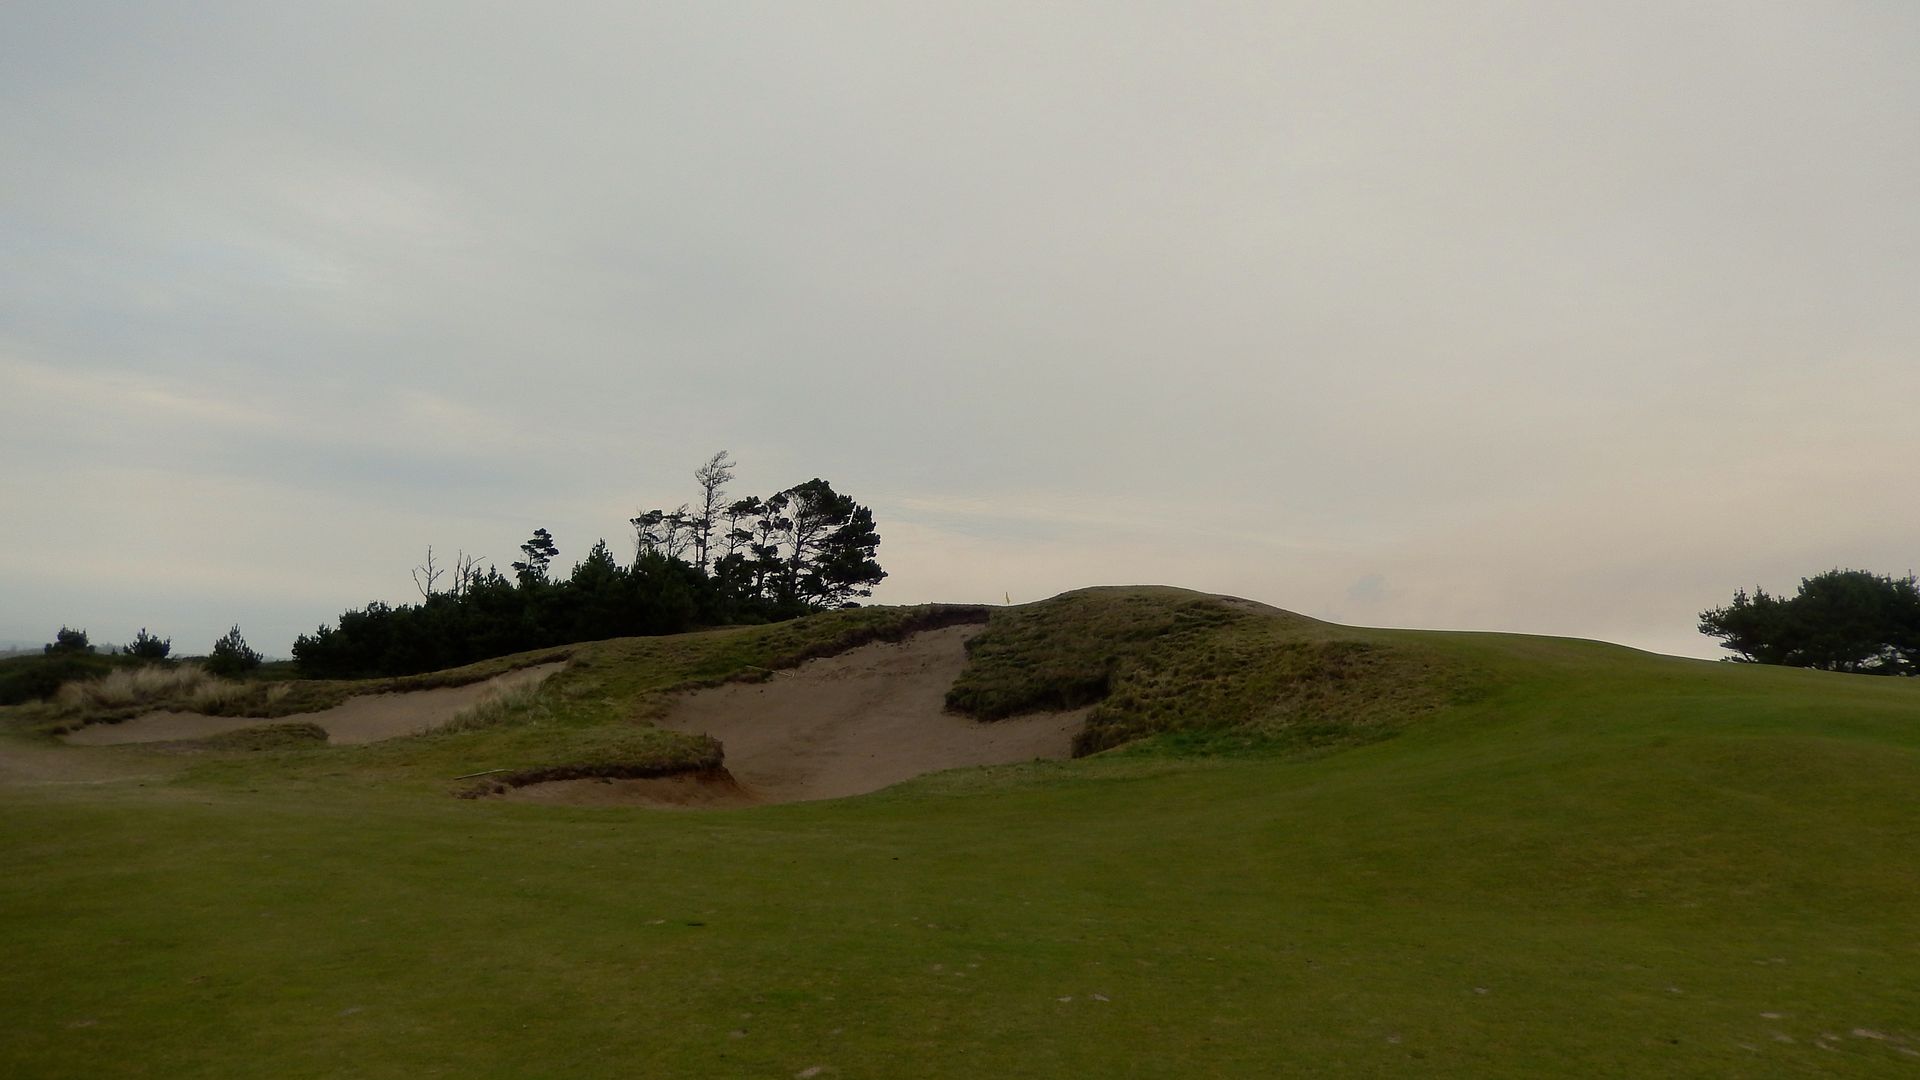
After the remarkably difficult 210 yard 4th, the golfer is offered the opportunity to make a birdie at the 5th, provided he is comfortable with playing a blind approach:
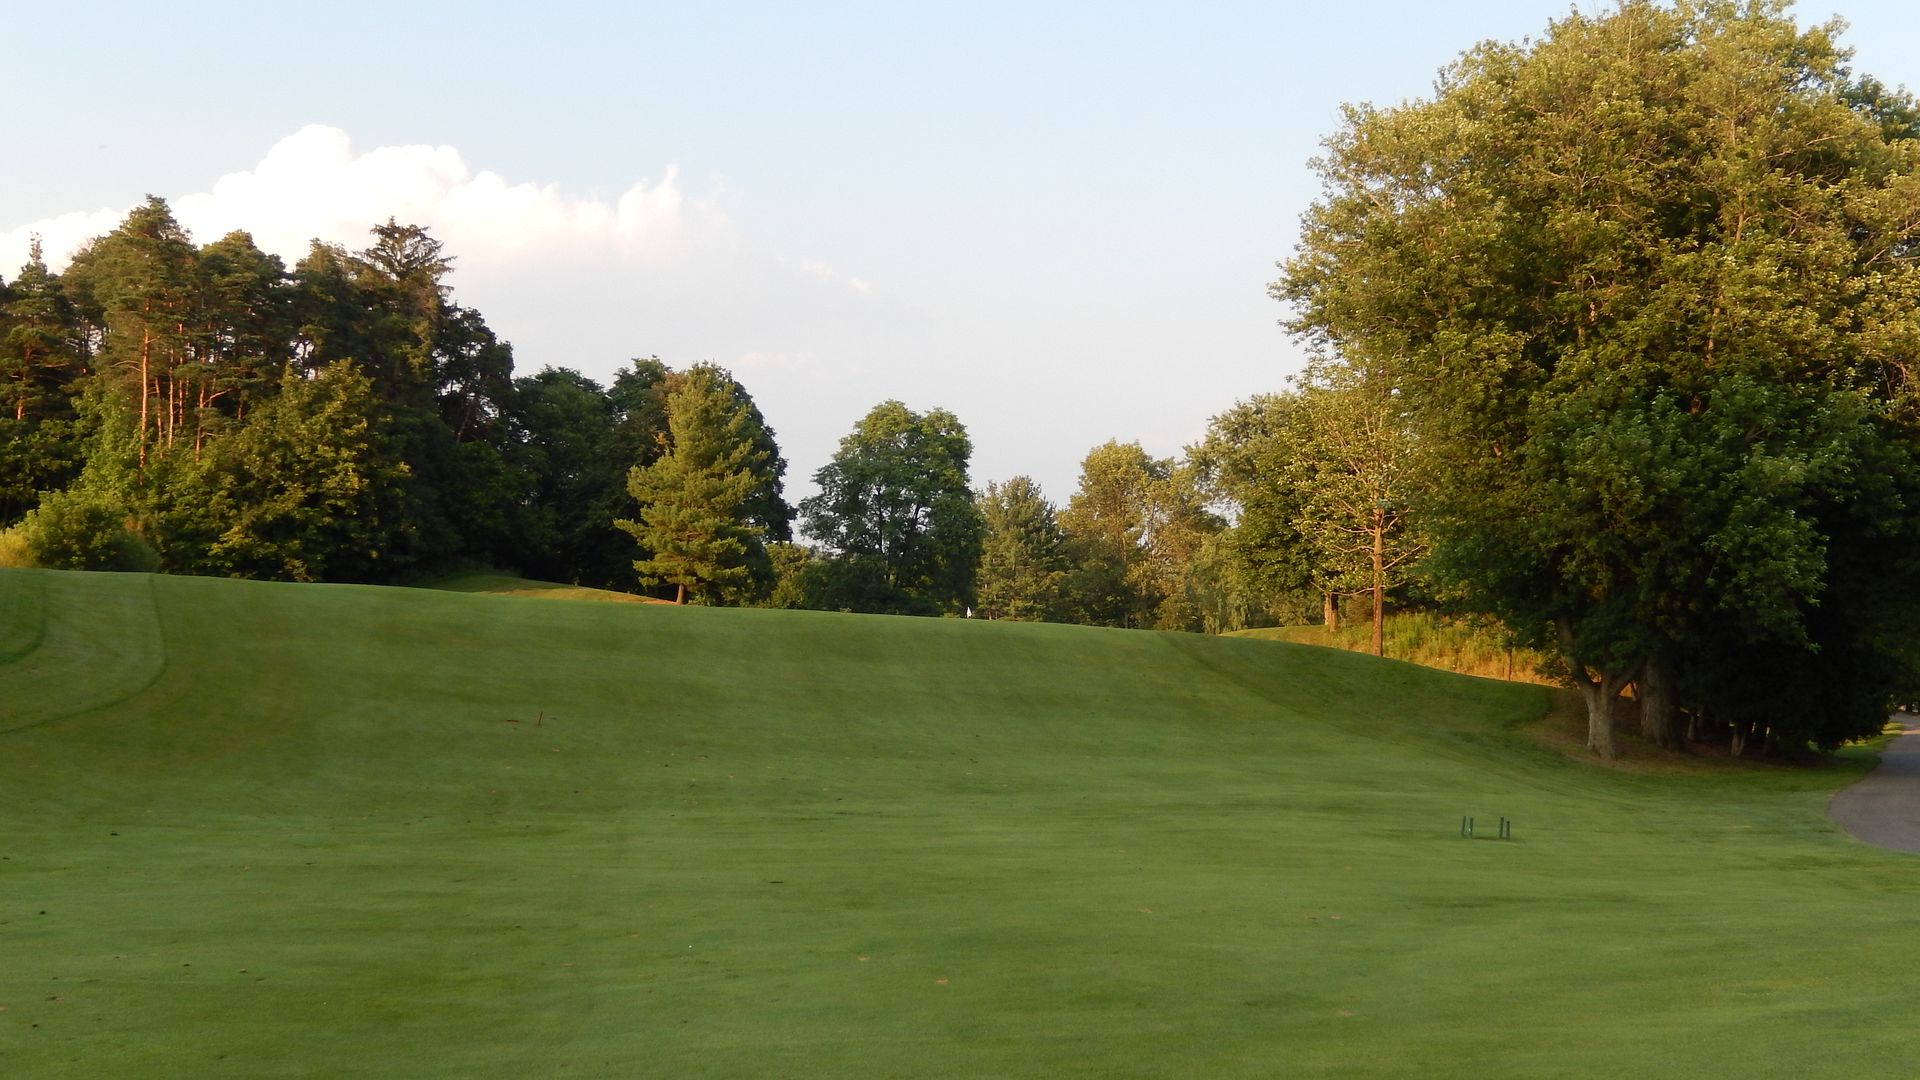
Routed straight up and down a gentle rise, the 6th is a short par-5:
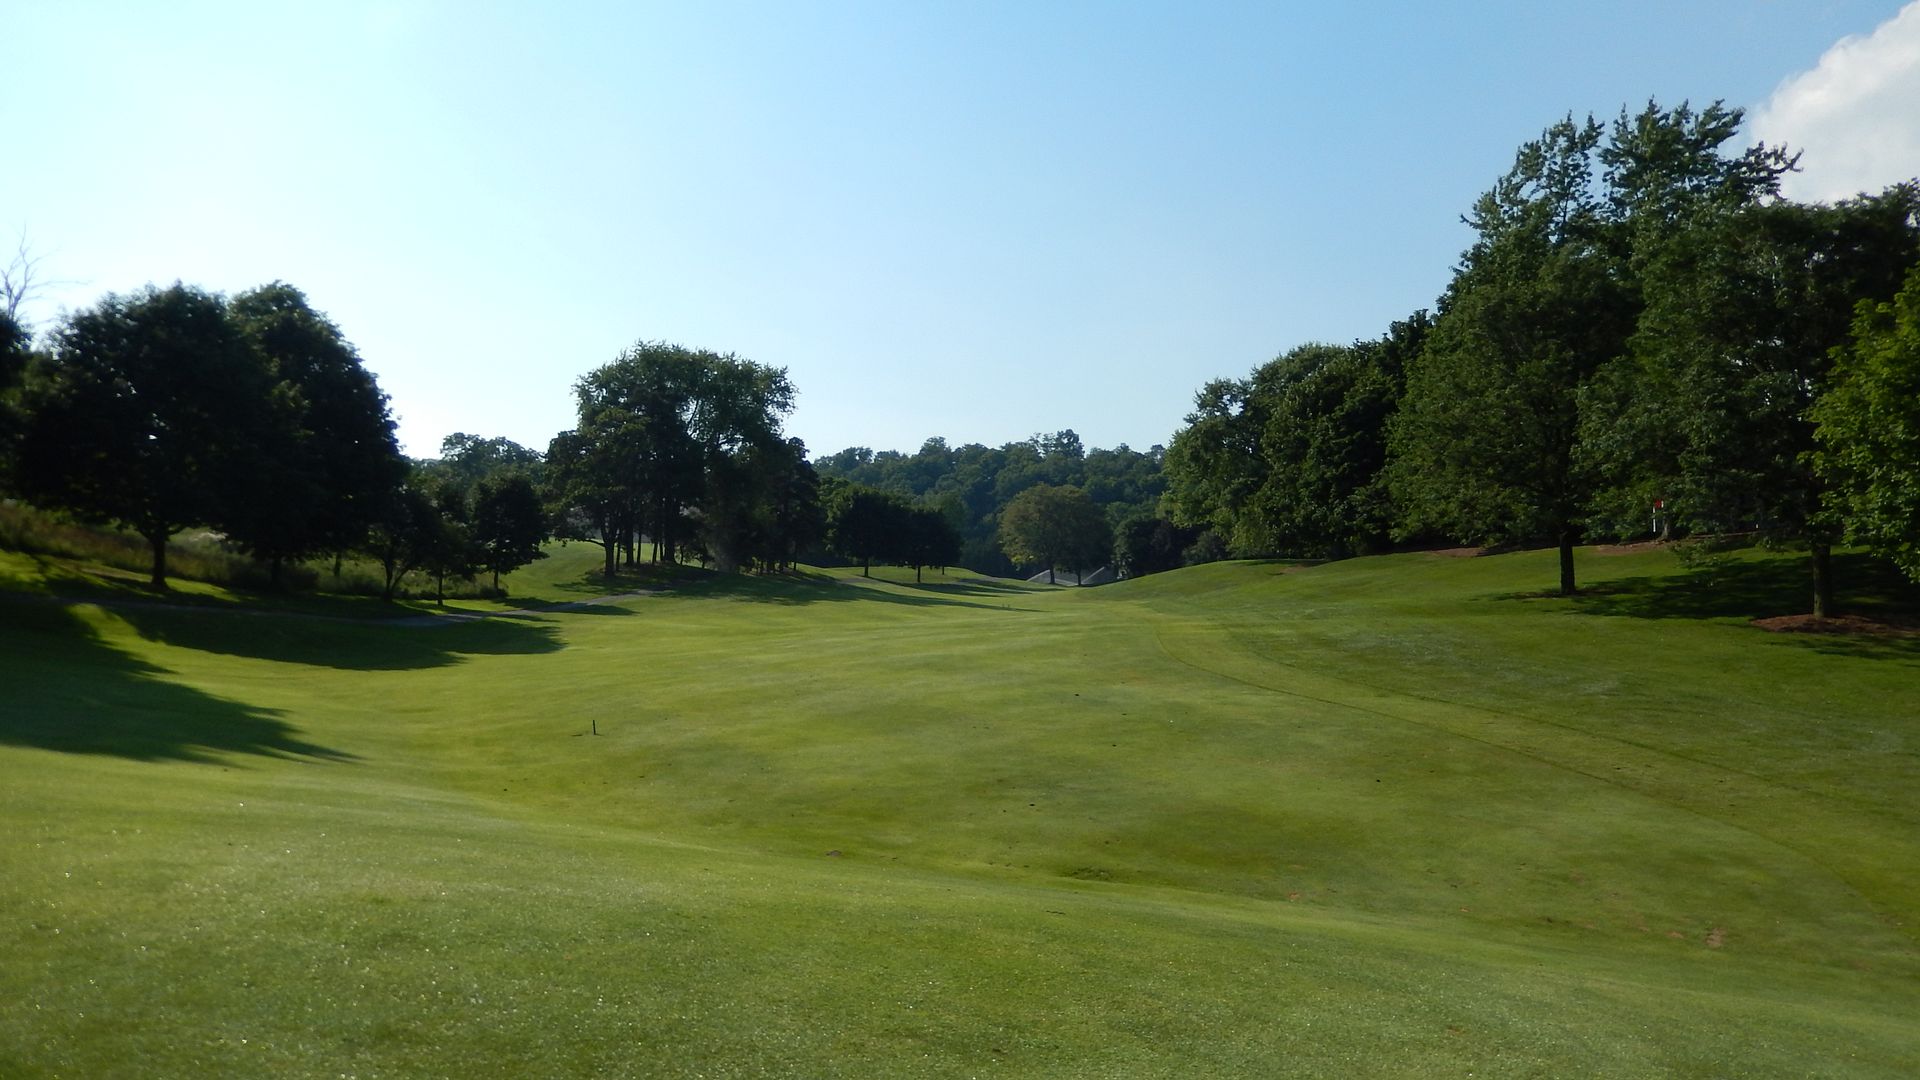
And the 7th a confusing par-4 requiring a blind tee shot and drop-shot approach:
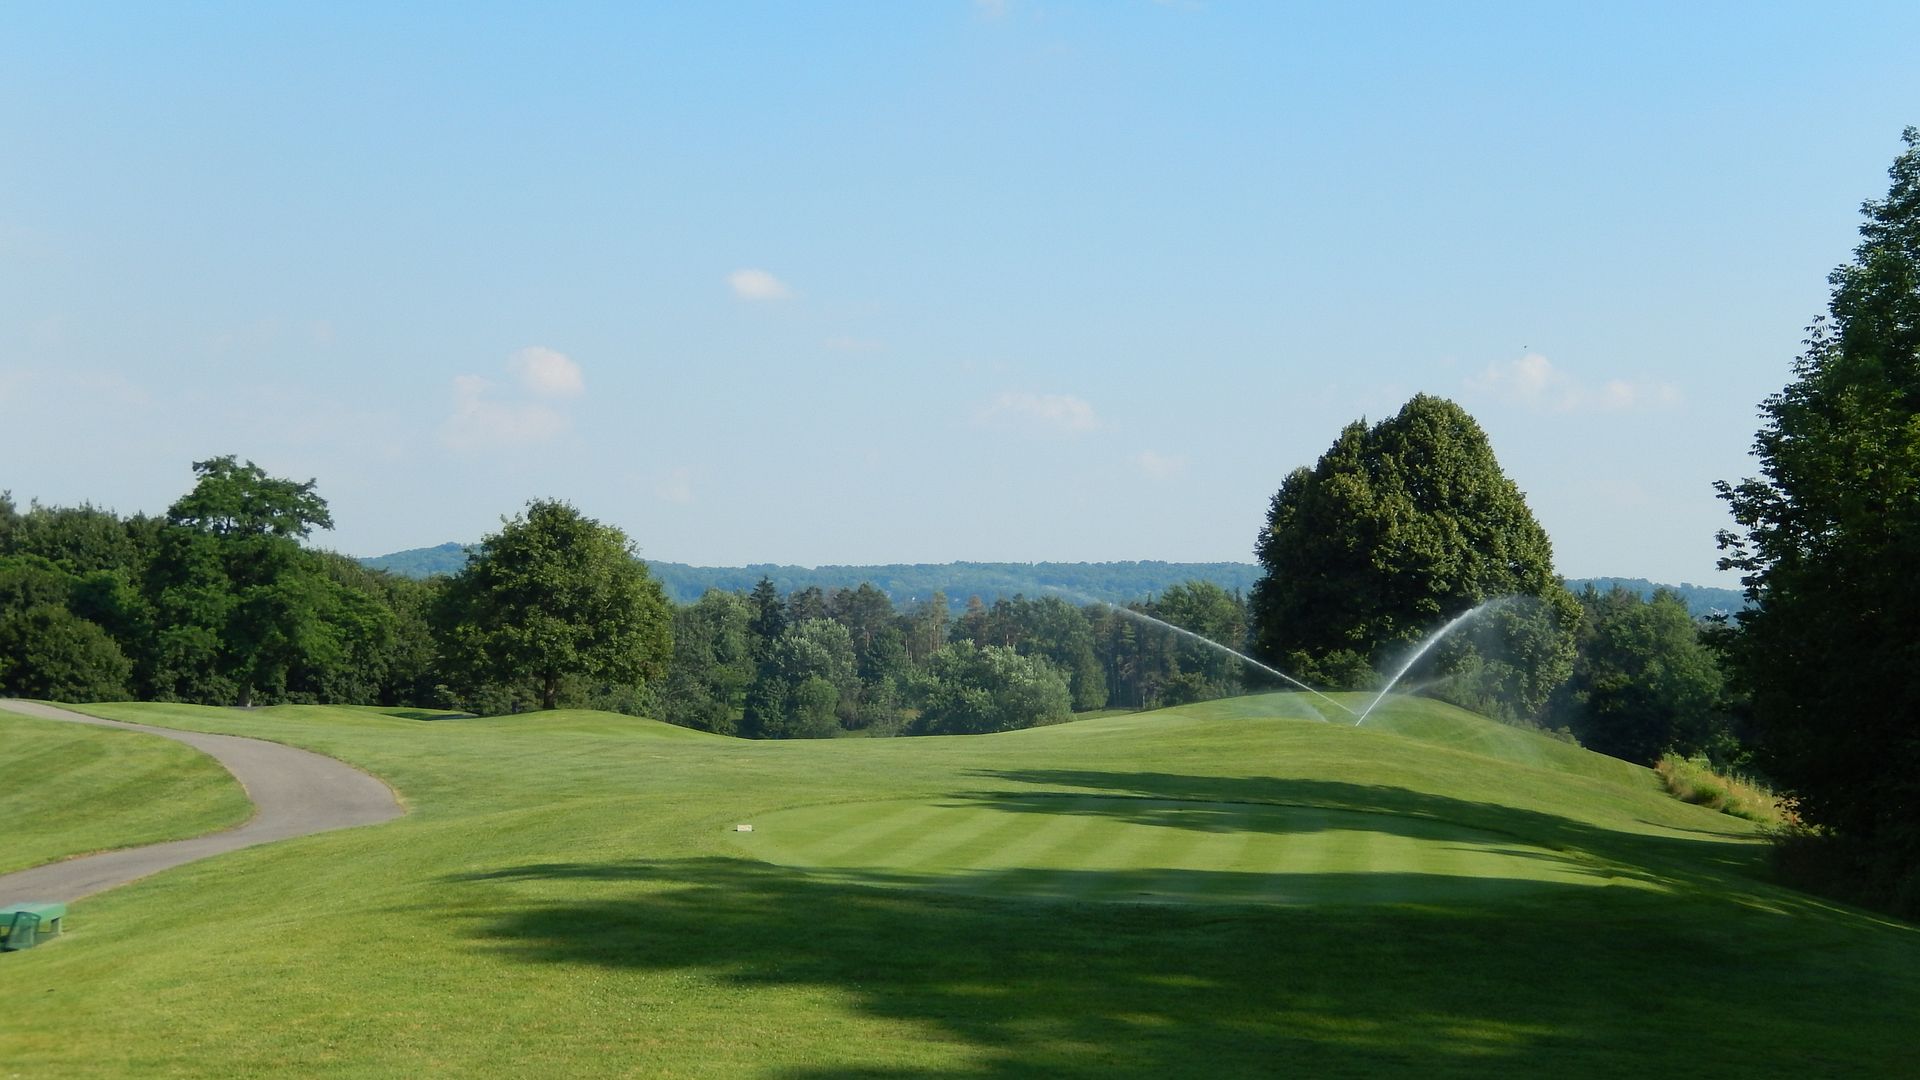

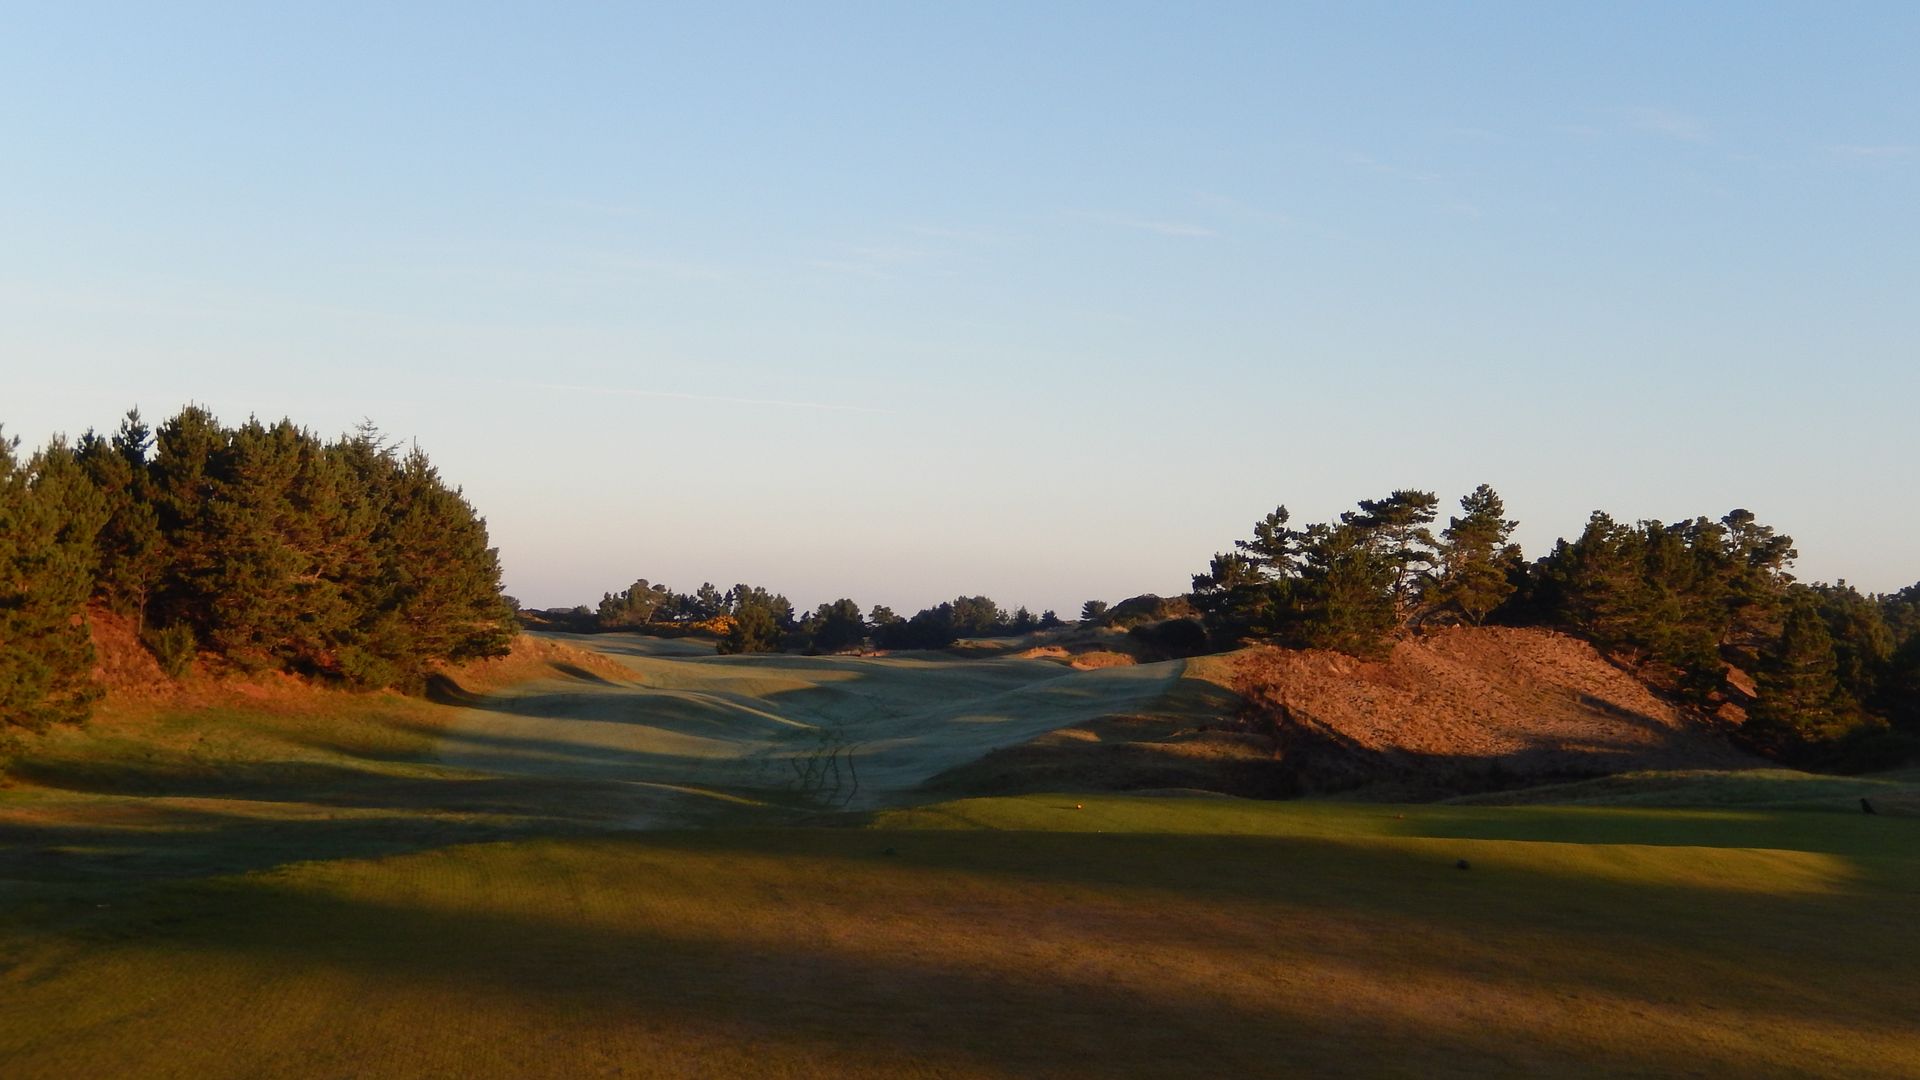
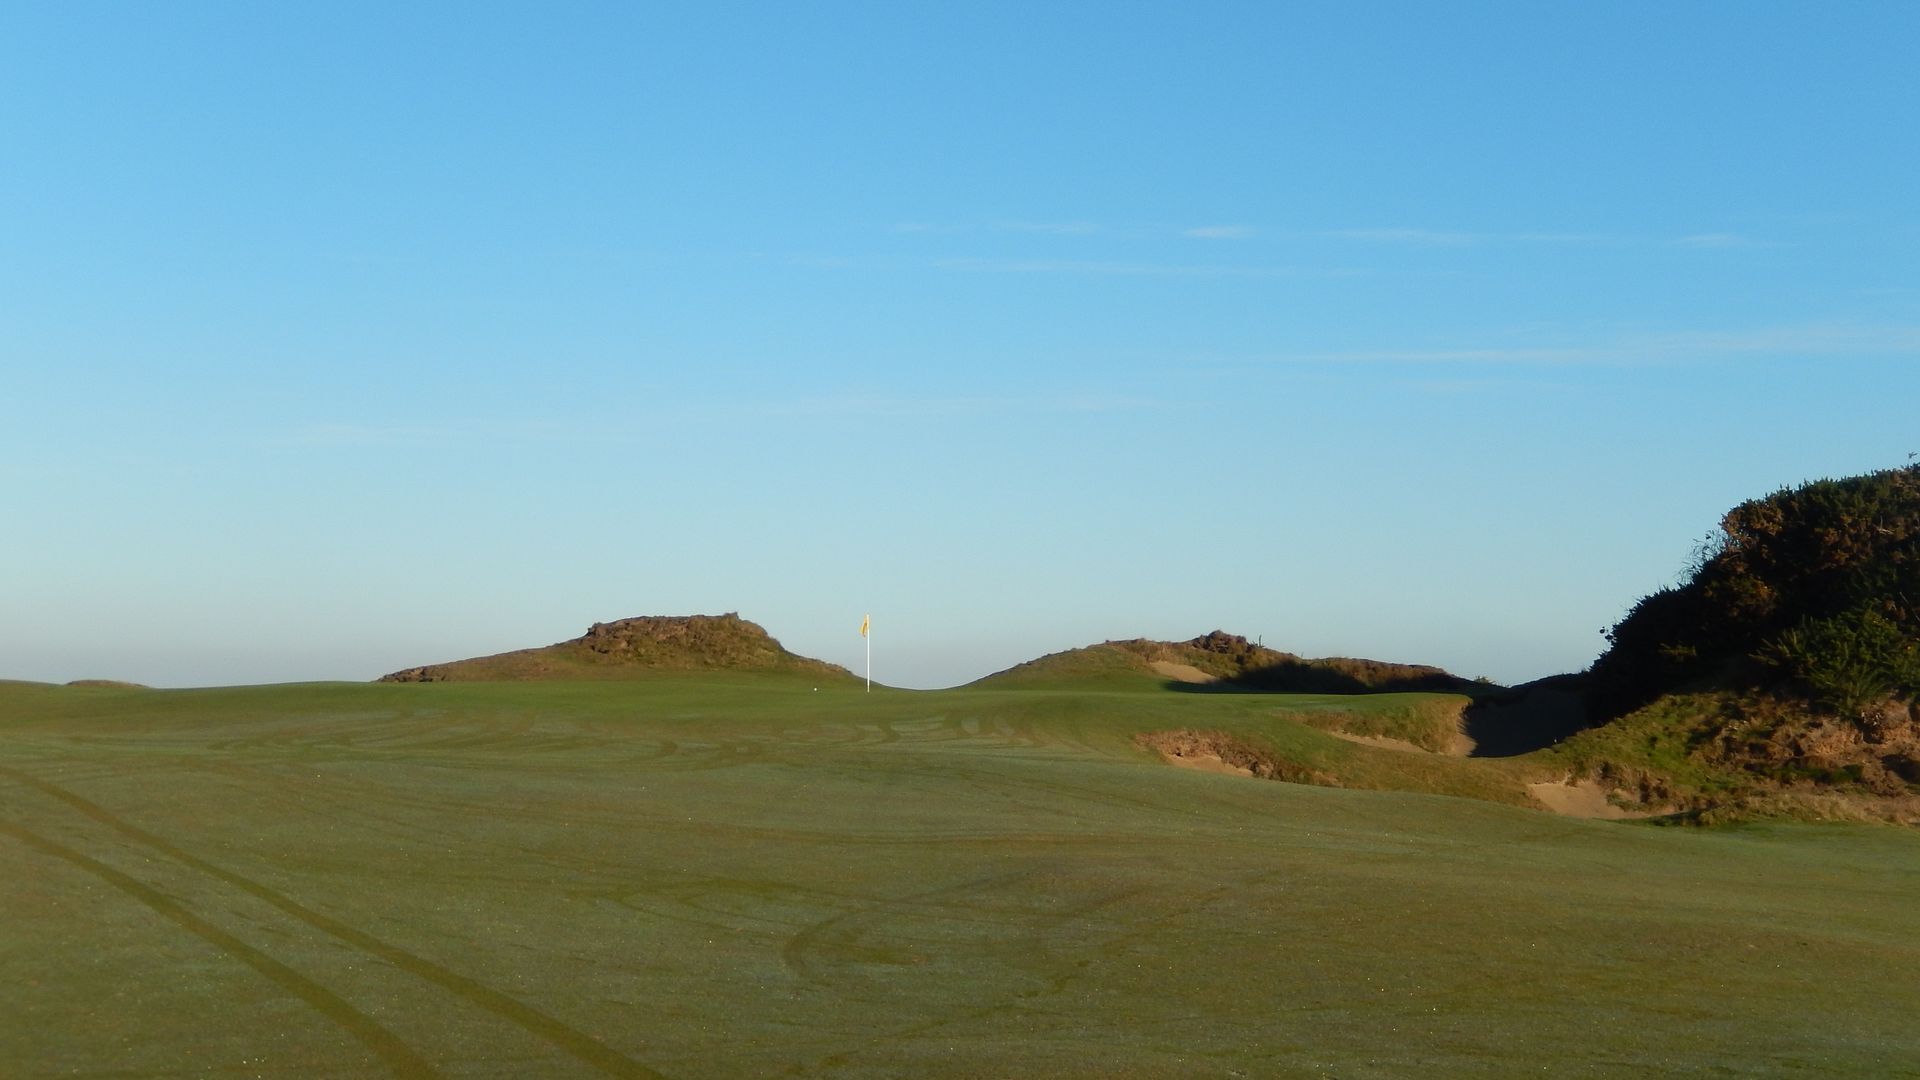
After a semi-blind tee shot at the 8th, and another at the 240 yard par-3 9th, the golfer is once again asked to trust his instincts playing a blind tee ball at the short par-5 10th. After driving over a diagonal ridge, the golfer faces a decision as a second diagonal ridge cuts across the hole 100-yards short of the green:

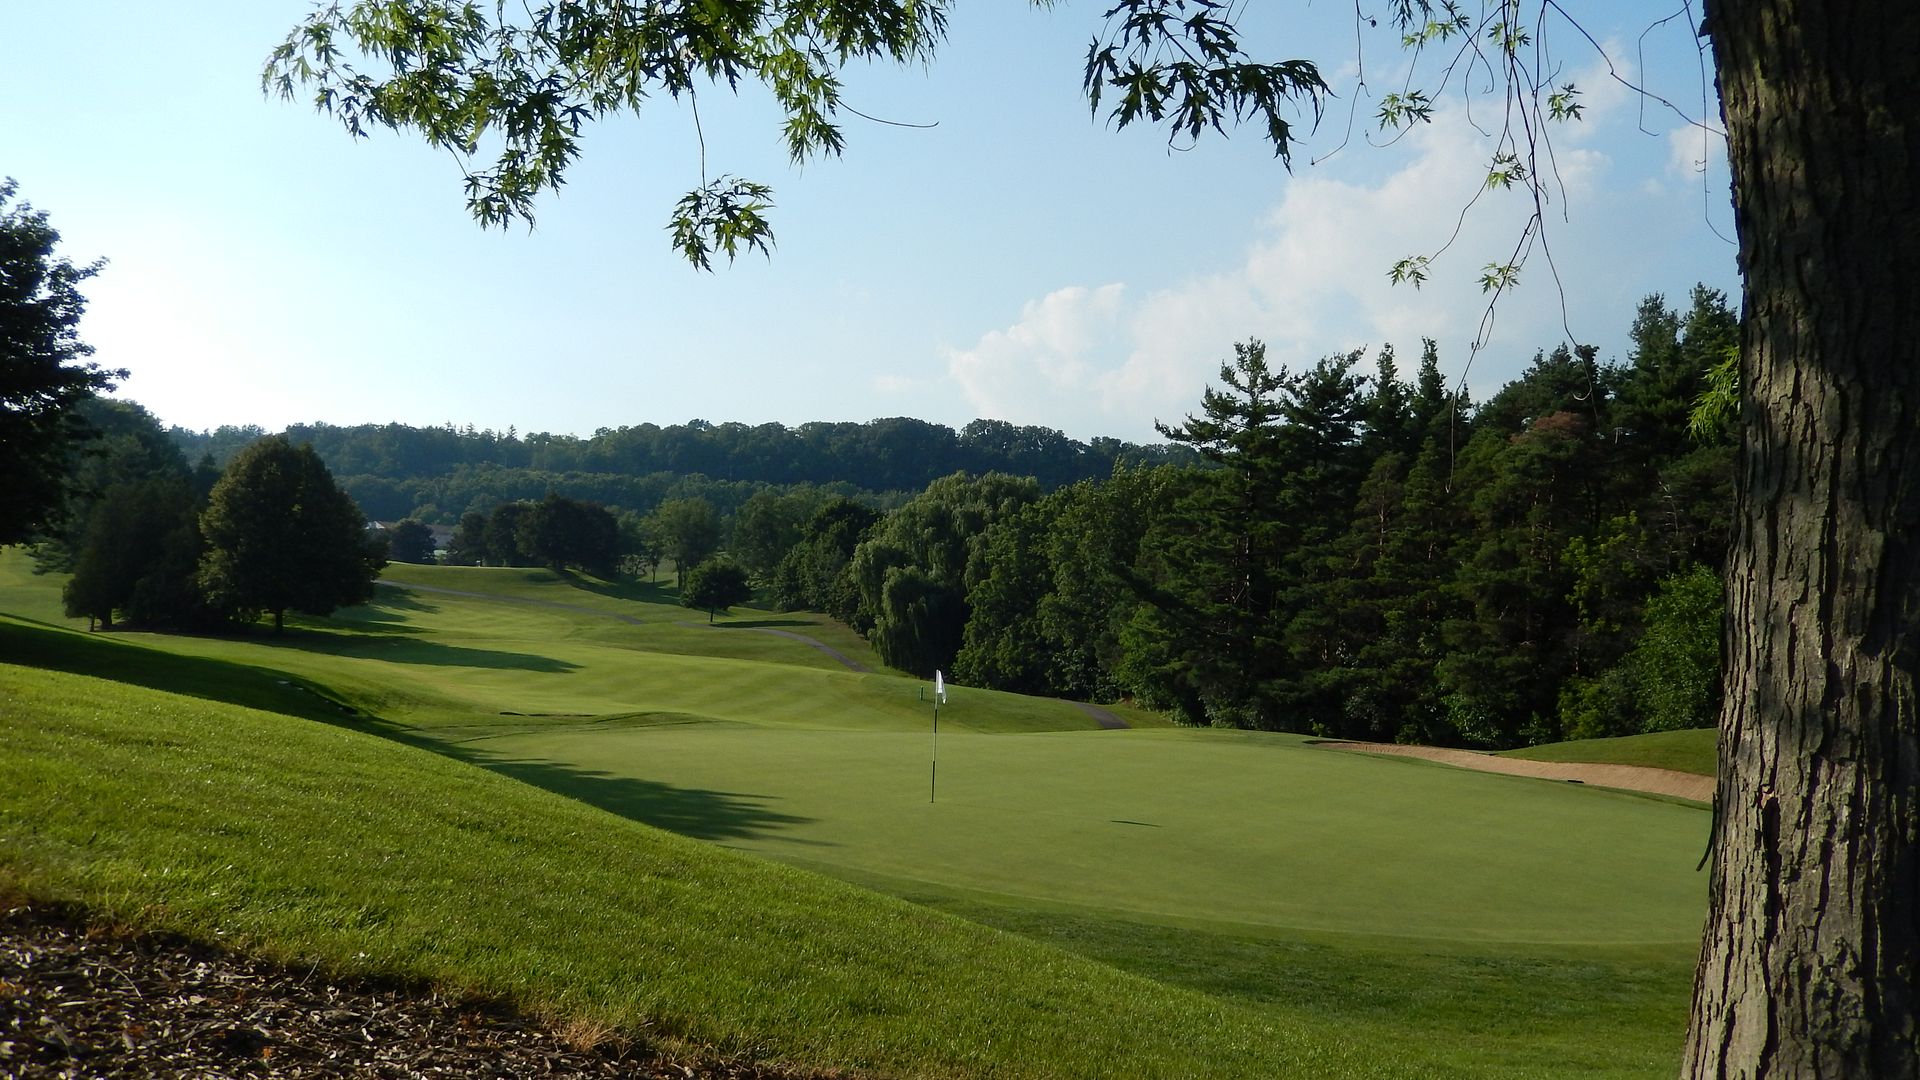
A hog's back fairway at the 360-yard 11th adds challenge to an otherwise simple hole:
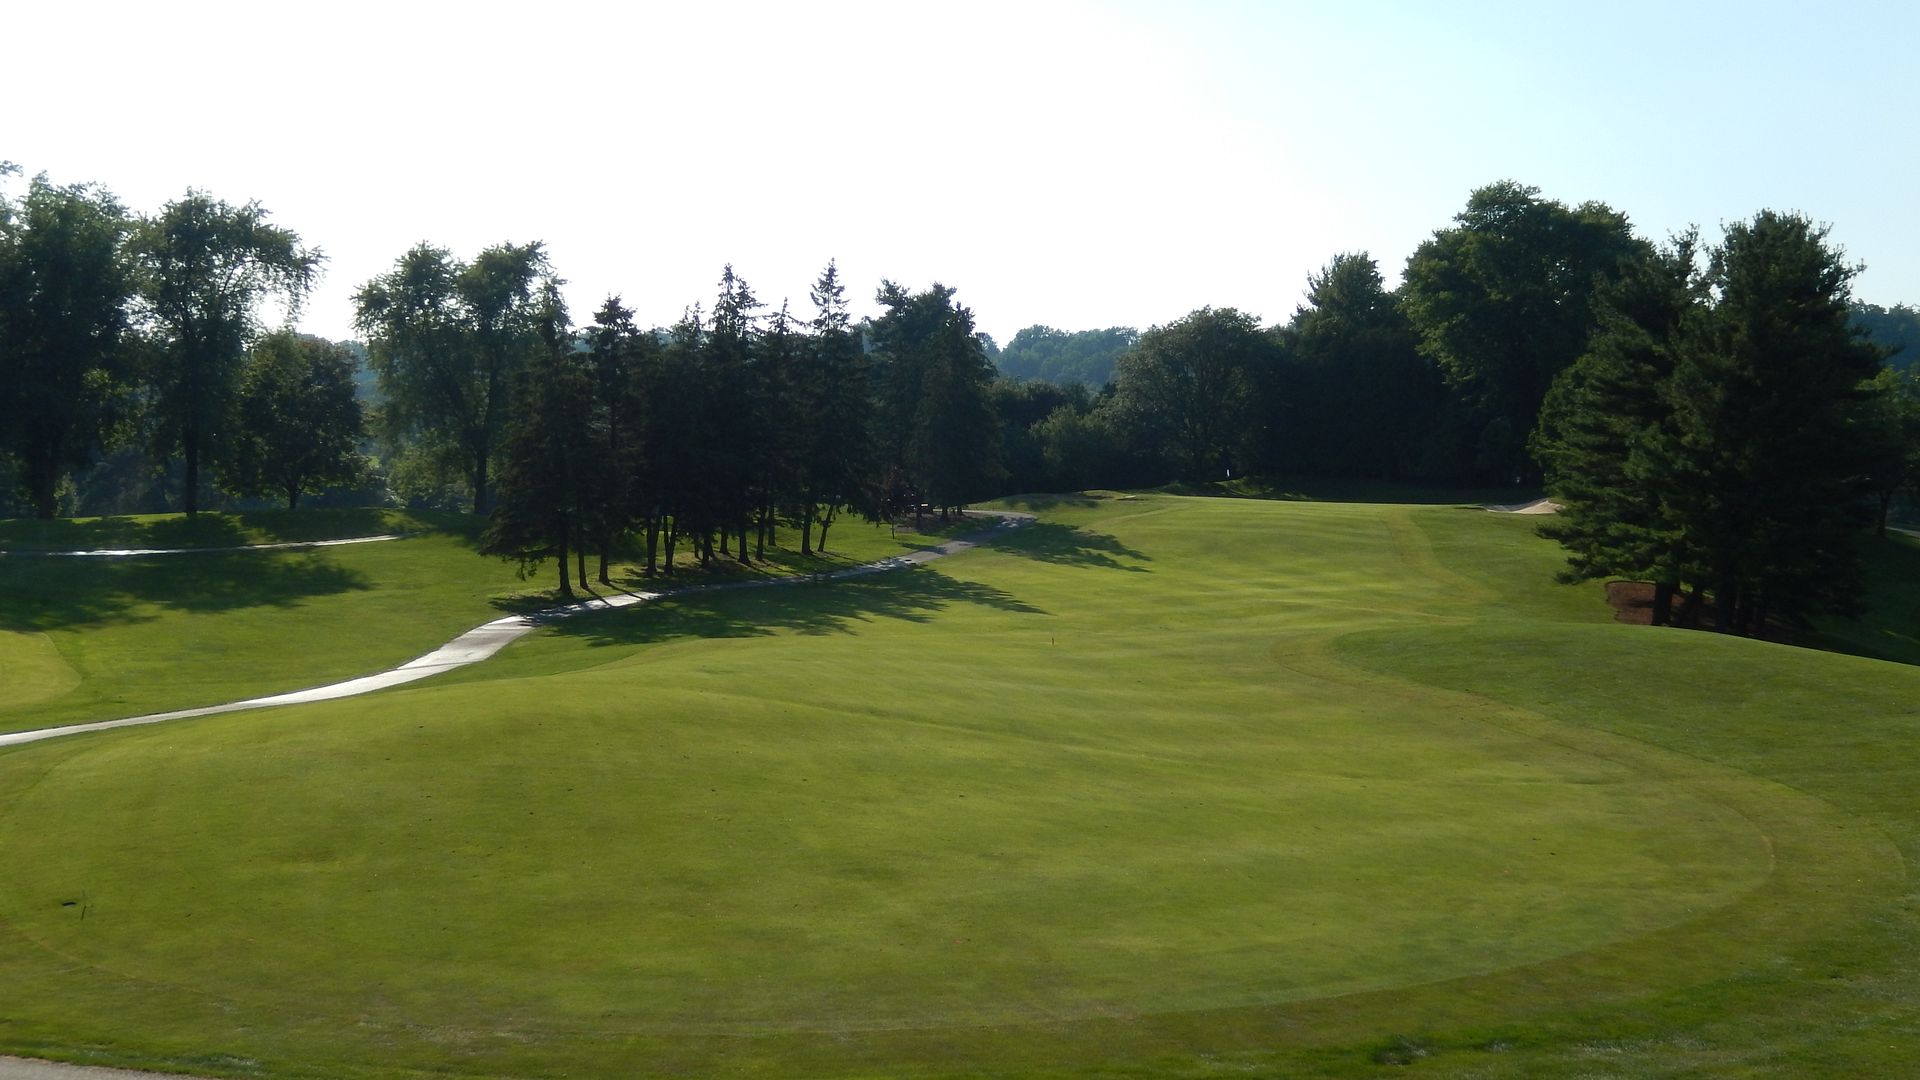
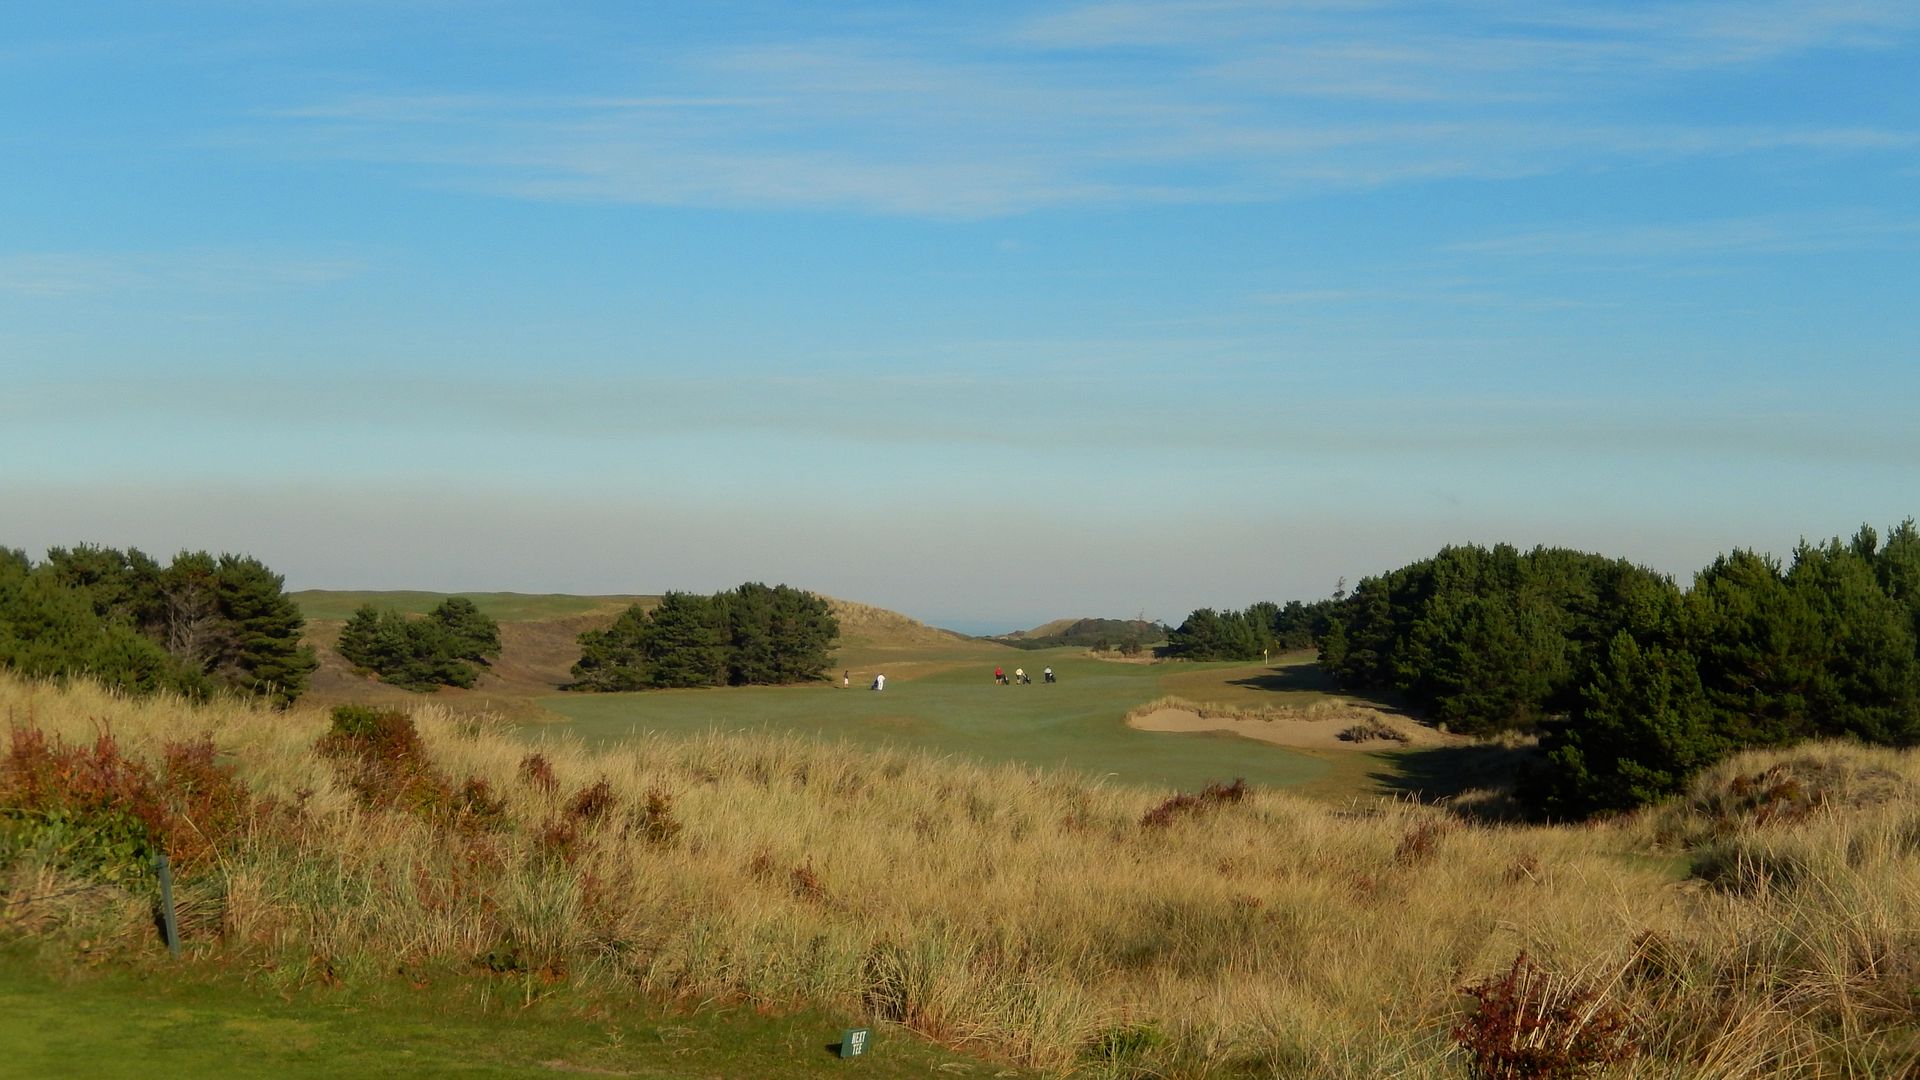
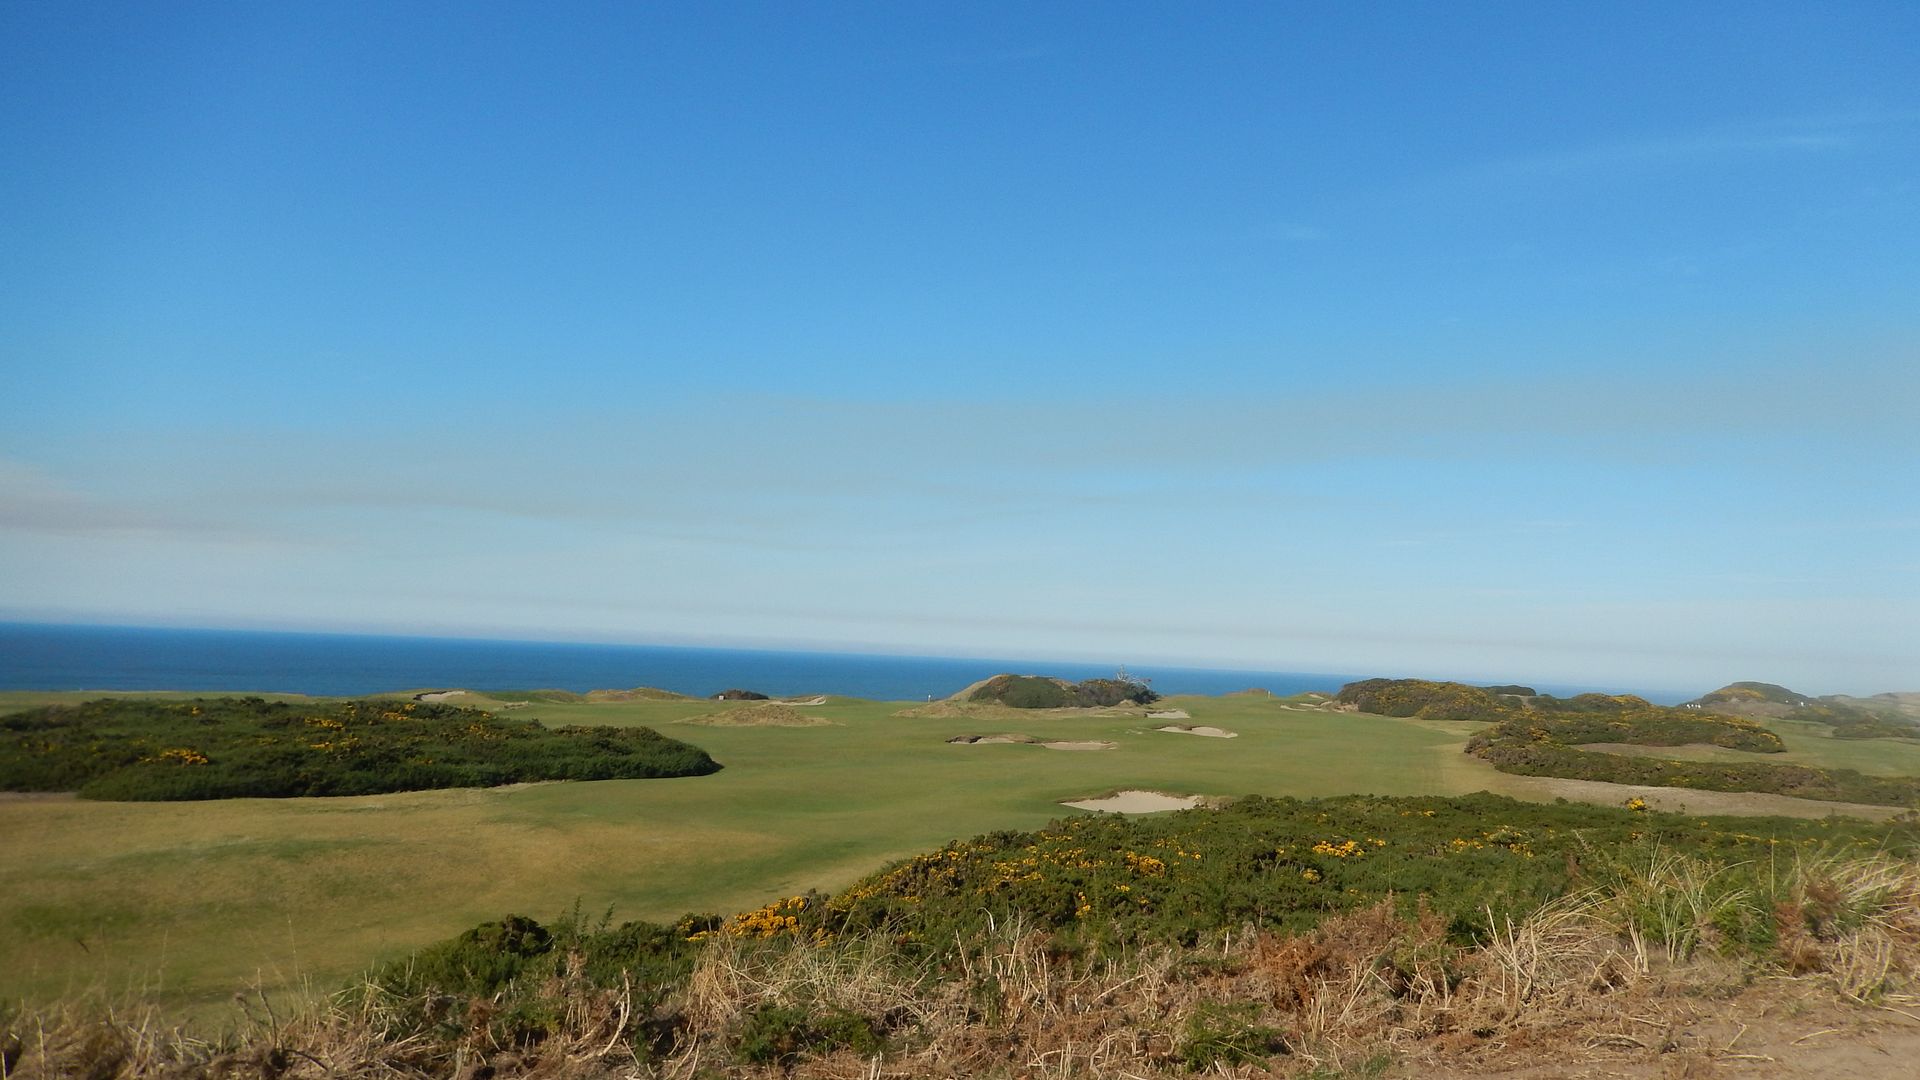
The par-5 12th is plenty wide from the tee, but narrows considerably as the golfer approaches a green set neatly in the corner of the property:
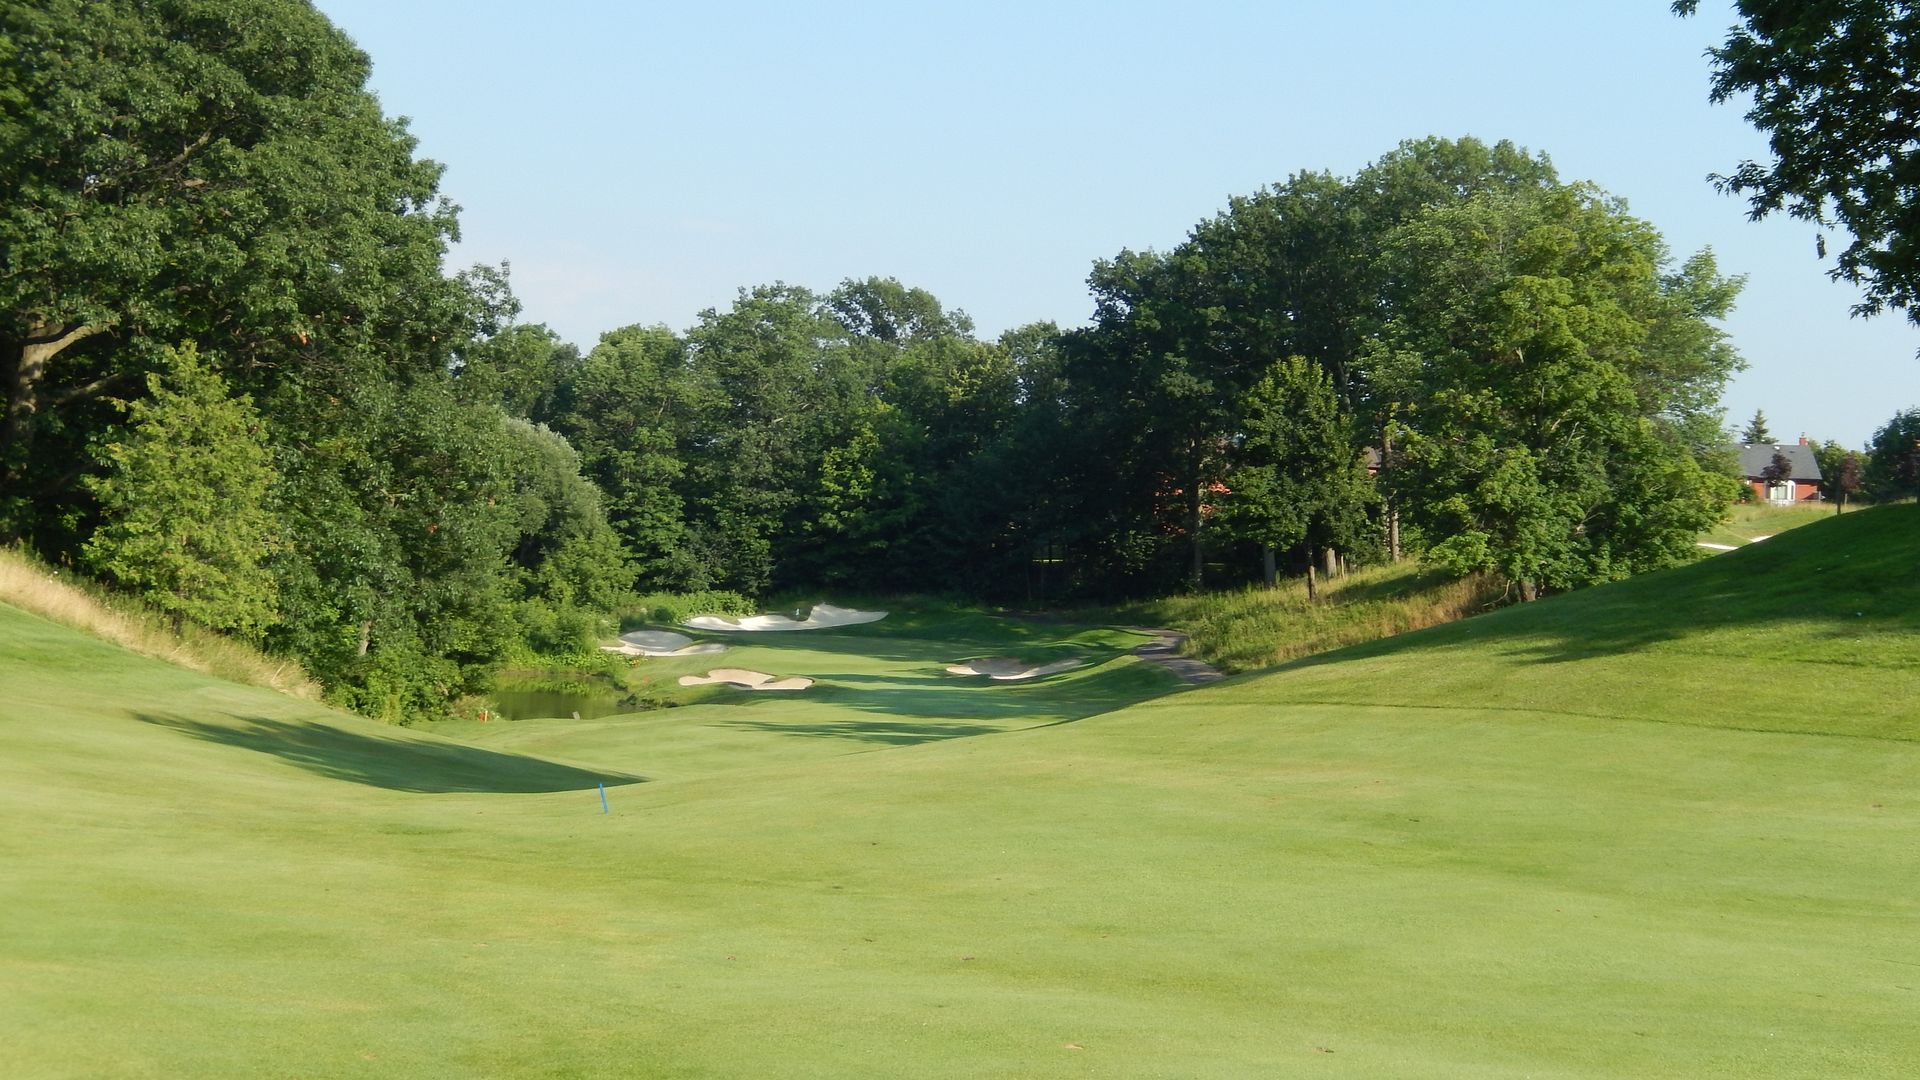
A duo of uphill par-4s at 13 and 14. For a change of pace, the 13th has an open green-front and front-to-back sloping green, allowing the golfer to consider a running approach. The 14th is a stunning hole, where the golfer will do well to play to the right, but the tilt of the fairway and the Line of Instinct will always pull him left.
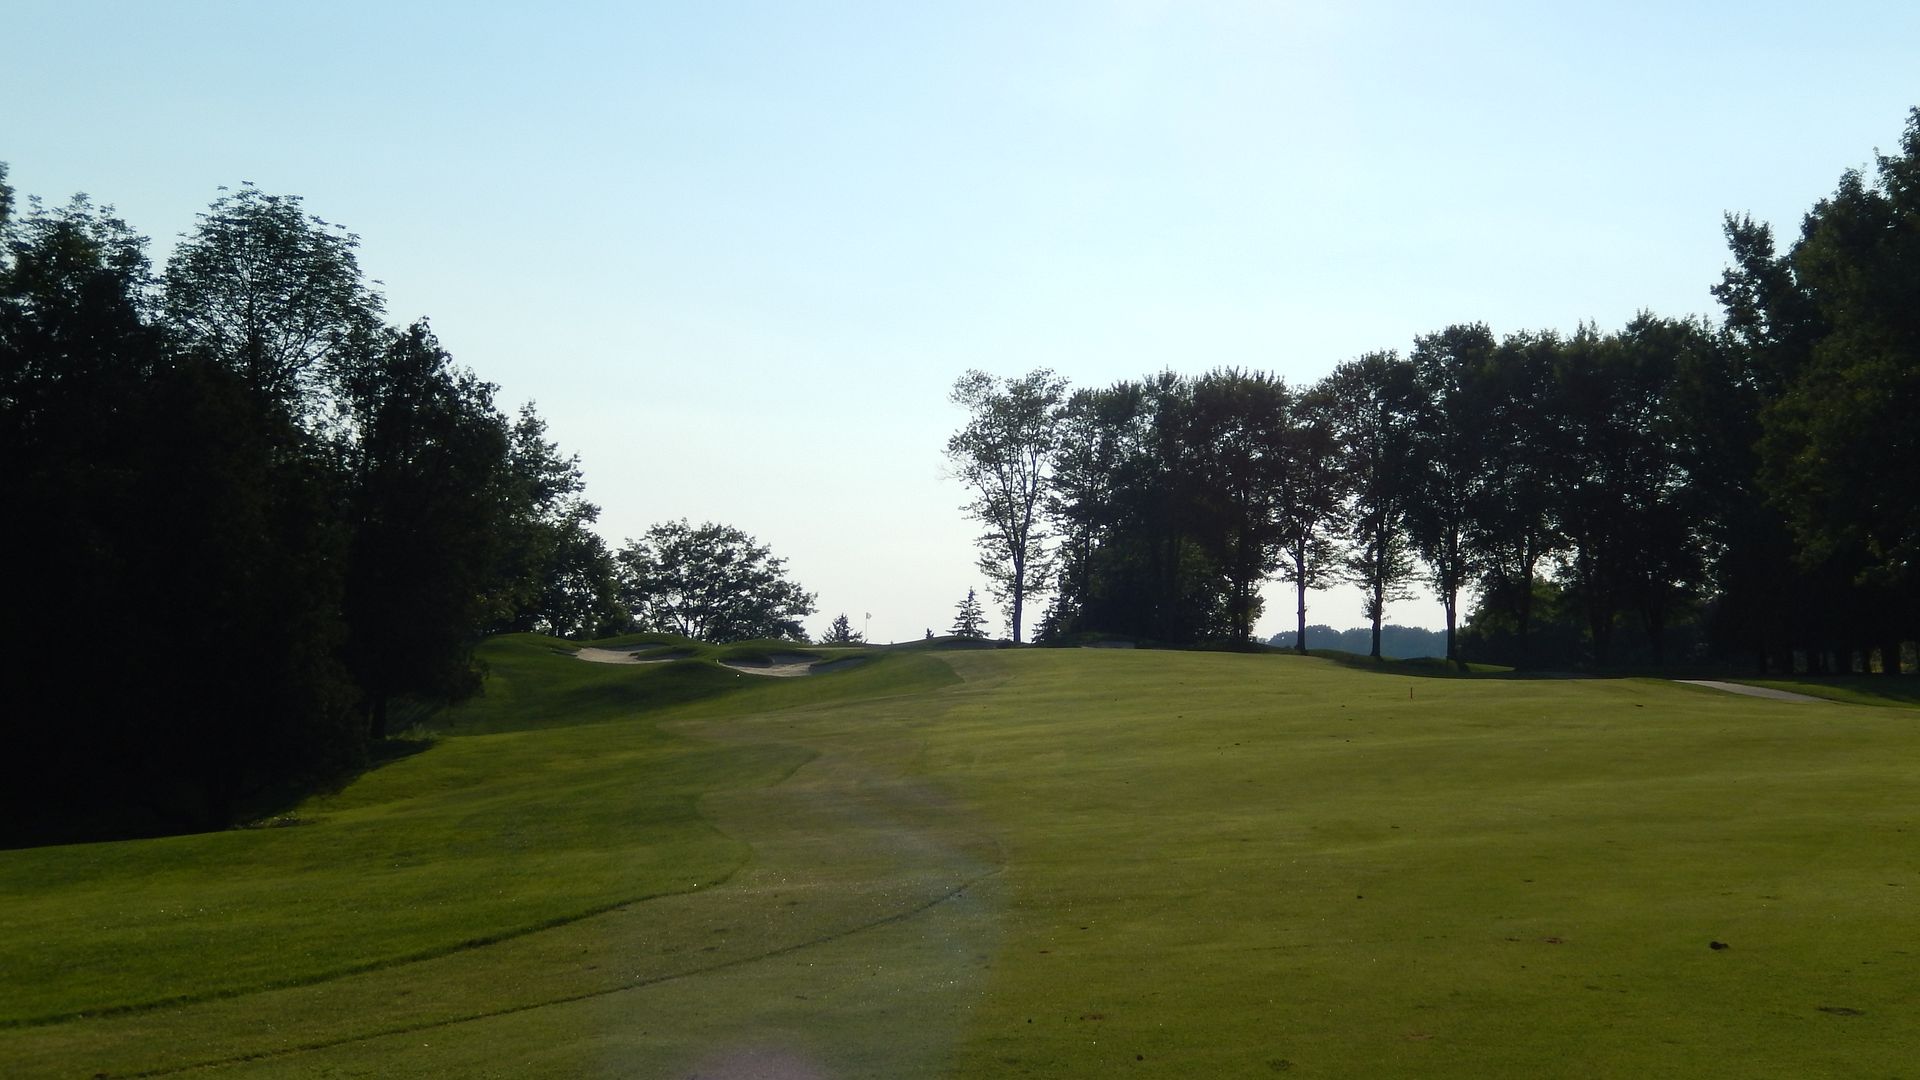
Something of a routing quirk, the drop-down 15th requires a doubling back to reach the 16th:

The 17th is a simple golf hole, but it shows how much interest can be created by a raised, bunkerless green in an attractive setting:
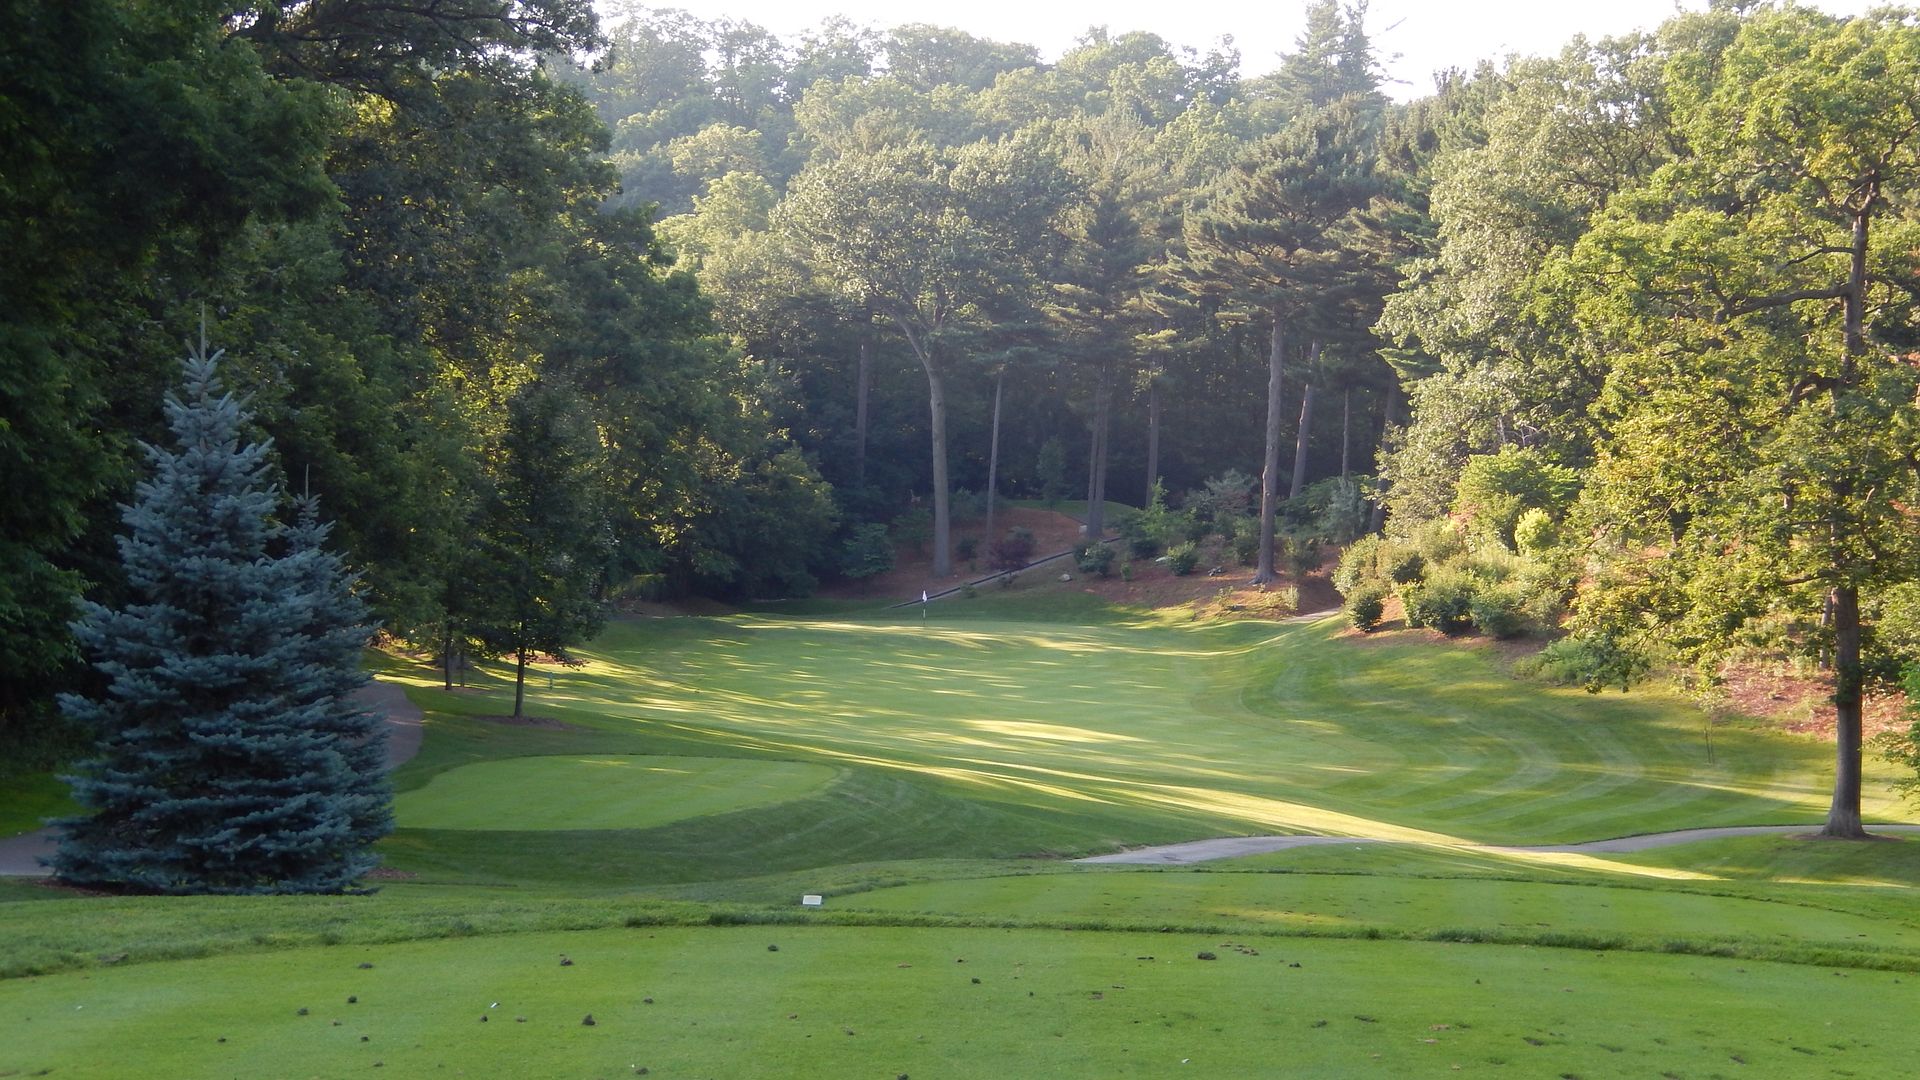
The par-4 18th, at 465 yards, is perhaps the most difficult hole on the golf course. The narrow tee shot intimidates, the rolling fairway challenges, and the open green front and left-to-right kicker short of the green accommodate.
