 |
| The Biltmore Hotel and Clubhouse |
Coral Gables, Florida
Architect: Donald Ross (1925), Brian Silva (2007)
Yardage: 6,742
Slope/Rating: 72.1/126
My quick review: Not all of Florida golf is a Doak 0.
My Thoughts
A very nice change from the typical Florida golf course. Water is not the dominant feature at Biltmore, and though the routing is not one of Ross' strongest, it is easily walkable and manages to make good use of the limited elevation changes on property.
The par-71 golf course offers tremendous variety. As is typical of Ross, the par-3s play to different yardages and will require a very different club on each (PW, 8i, 5i, hybrid for me). The par-4 holes are also quite varied... though perhaps there are a few too many in the mid-lenghth 375-420 yard range and too few in the drive and pitch or driveable range (the shortest par-4 is 354 yards). The three par-5s are able reachable in two for the bombers out there, but each requires a decision off the tee. A bold line will leave a chance to get the green in two.
The greens are not the highlight of the golf course, and given the quality of Ross greens on many of his layouts, they are frankly disappointing. The 17th green provides some of the wild contouring that I am used to seeing out of Ross, but most of the course features straightforward back-to-front sloping greens. That being said, the shape of the greens is very well done, and generally adds to the strategic interest in the holes. The par-3 greens at holes 2 and 8 offer greens with a small front portion and large back portion. The par-4 4th offers a uniquely shaped 'kidney' green, garnering a significant advantage to the player bold enough to challenge the bunkering off the tee. And several greens have very scary false-fronts, most notably on the 5th where a ball landing anywhere in the first third of the green will run off the green and several yards into the fairway.
Fairway bunkers are used exceptionally at The Biltmore. On almost every hole, staggered bunkering creates strategic options for all levels of players -- challenge the bunkers for the ideal angle and shorter approach, or bail-out to the wide portion of the fairway? However, the mowing lines on a few holes are confusing. Generally, challenging a bunker rewards the golfer, but in a couple of spots (holes 16 and 18), challenging the bunker leaves the player in the rough.
Lastly, differing the angle of the tee shot for different tee boxes is done exceptionally well at Biltmore -- probably better than any course I've ever seen. Though the course is short on the scorecard, as one moves back to the back two sets of tees, some of the doglegs become quite severe and challenging the fairway bunkers requires not only a long tee ball, but also the ability to work the tee shot in both directions. Players unable to shape their shots will be forced to lay-up with less than driver off the tee, leaving long approaches into the green.
 |
| A Tranquil Location for the 1st Tee |
Holes to Note
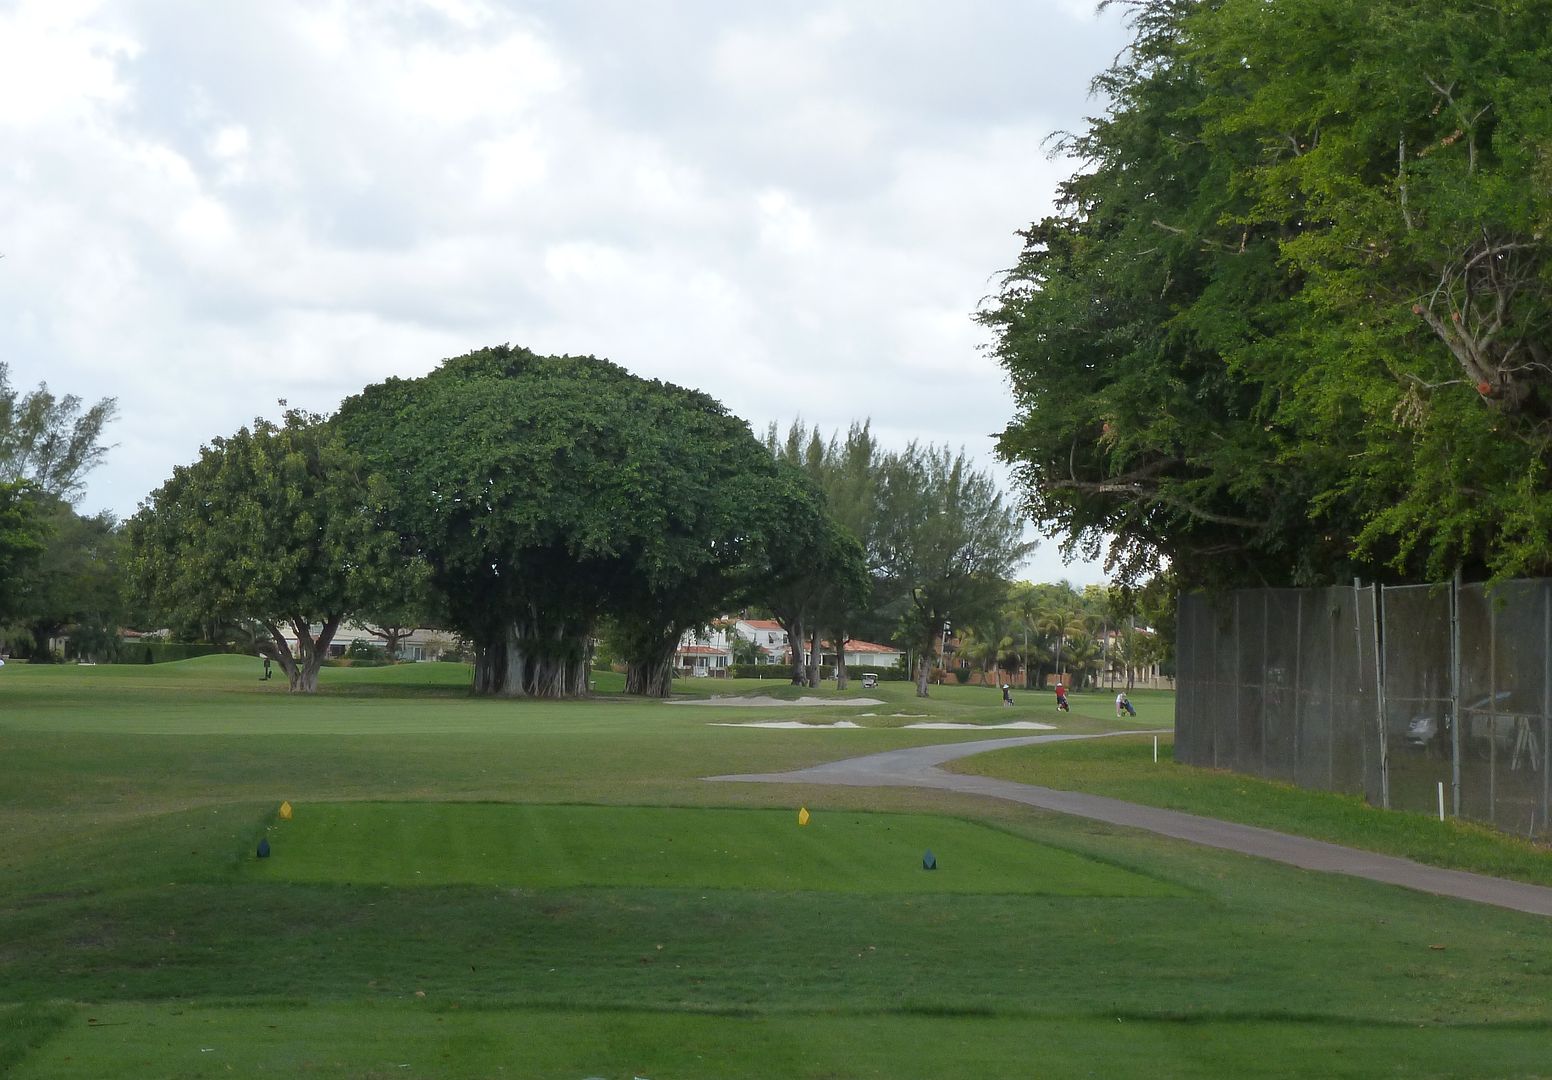
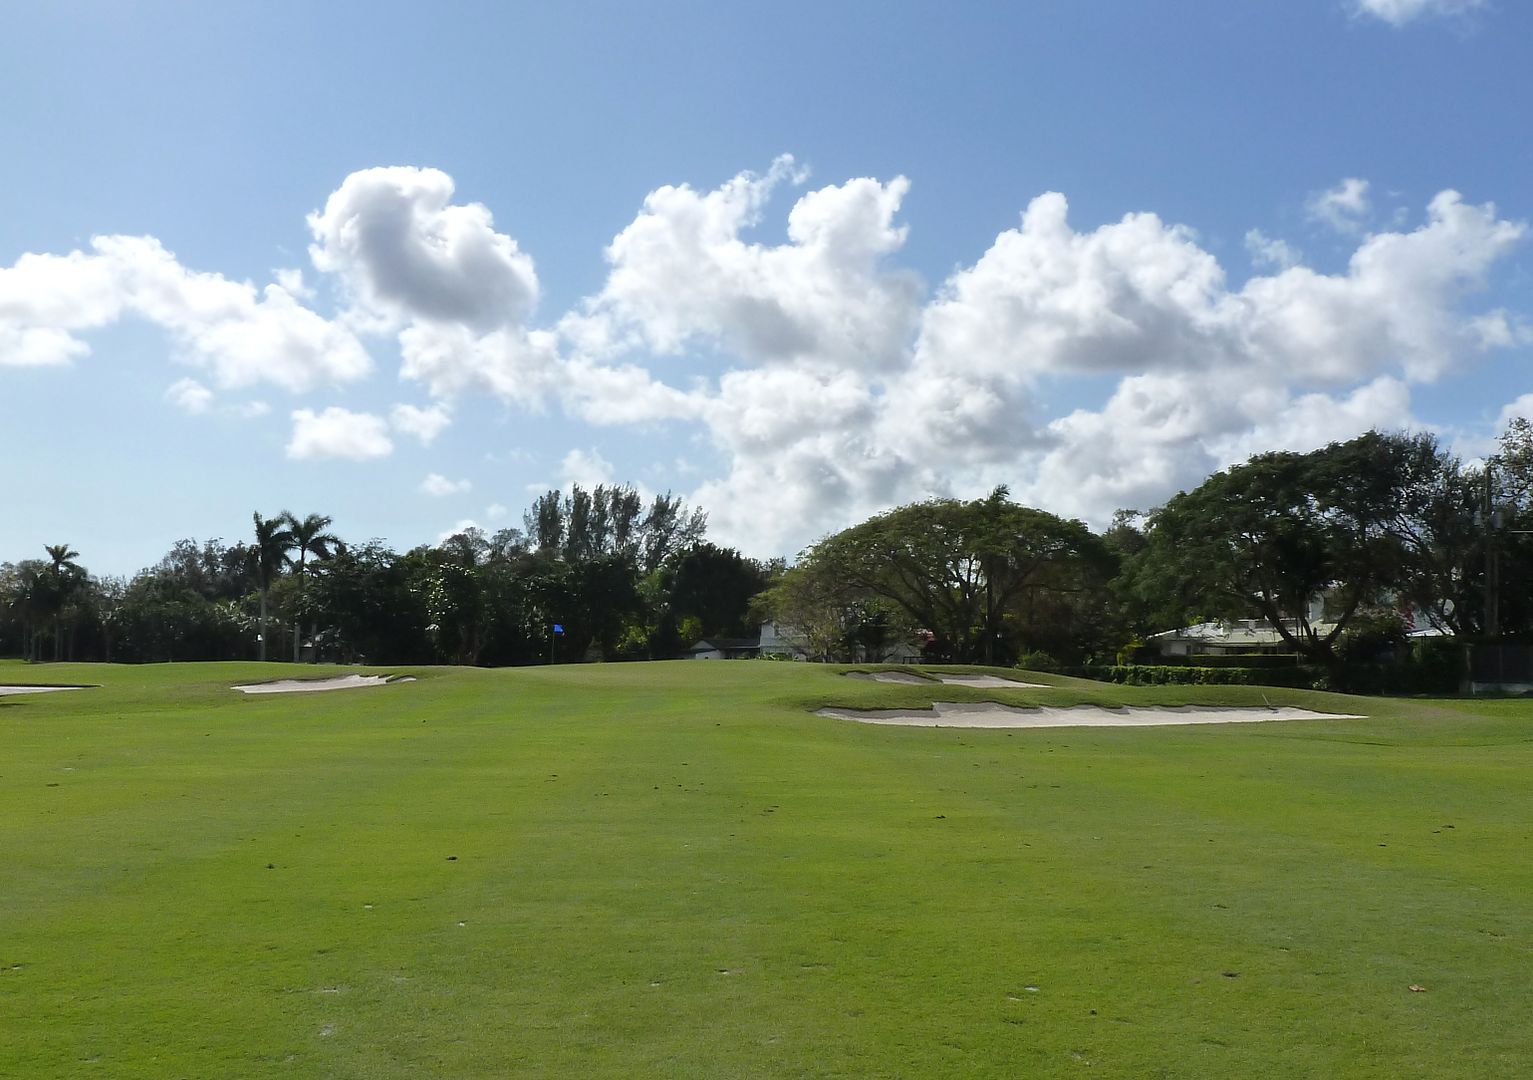
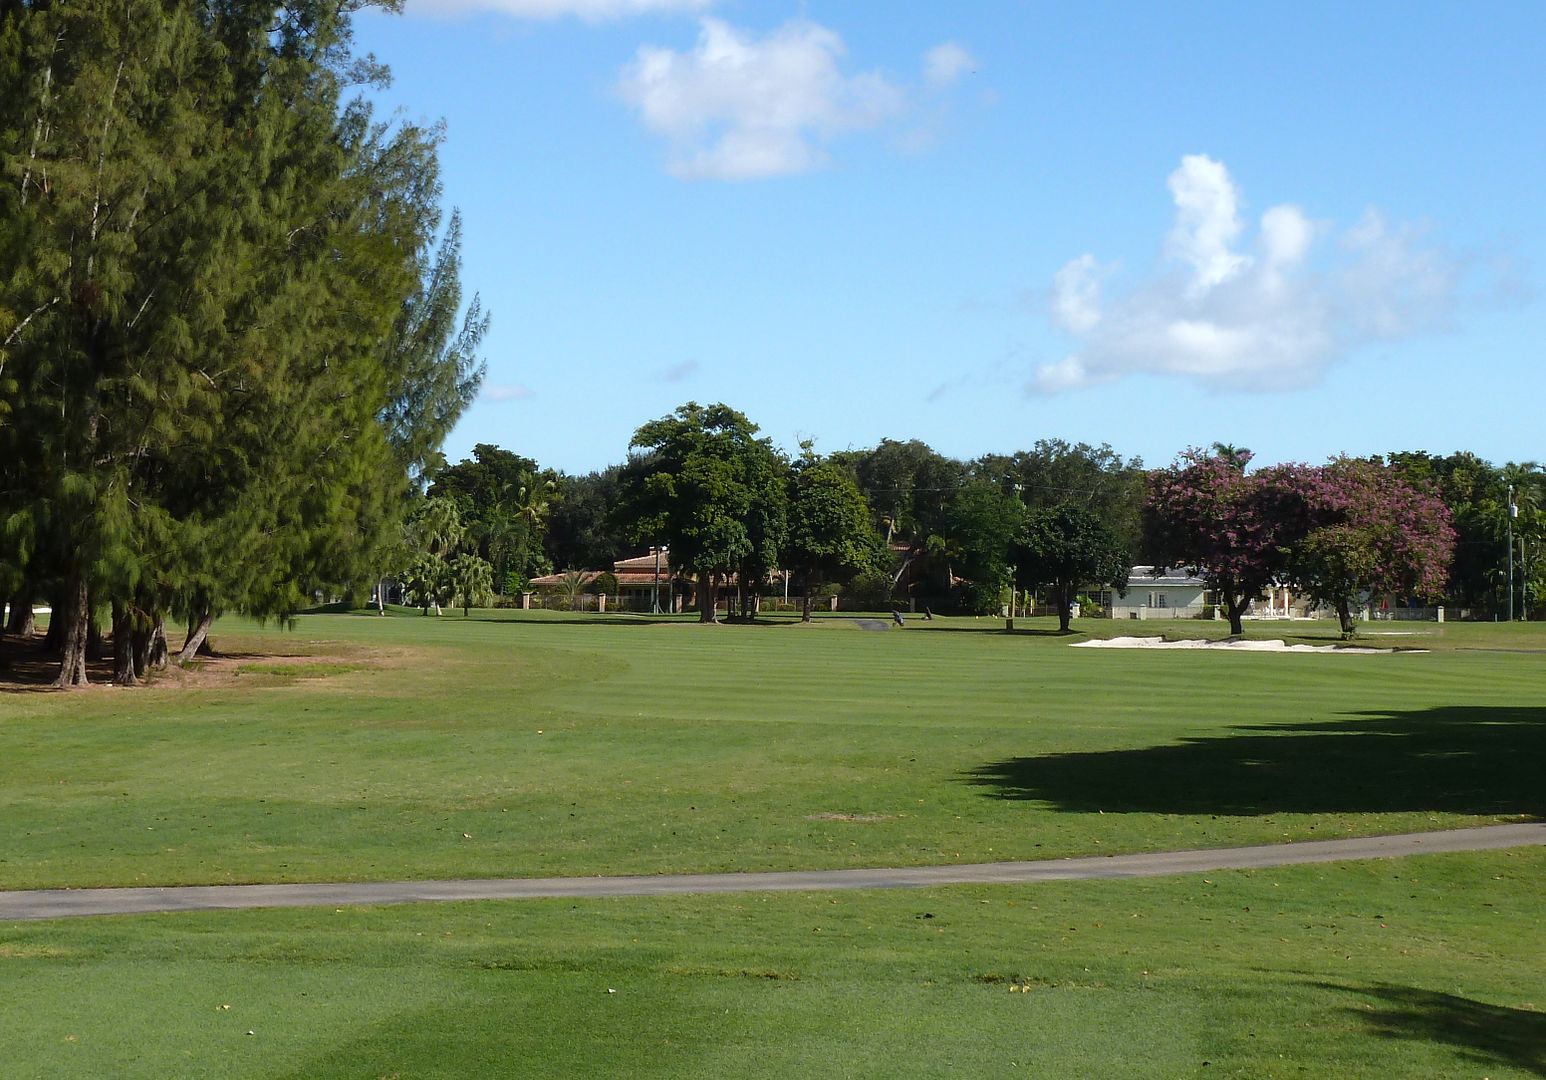
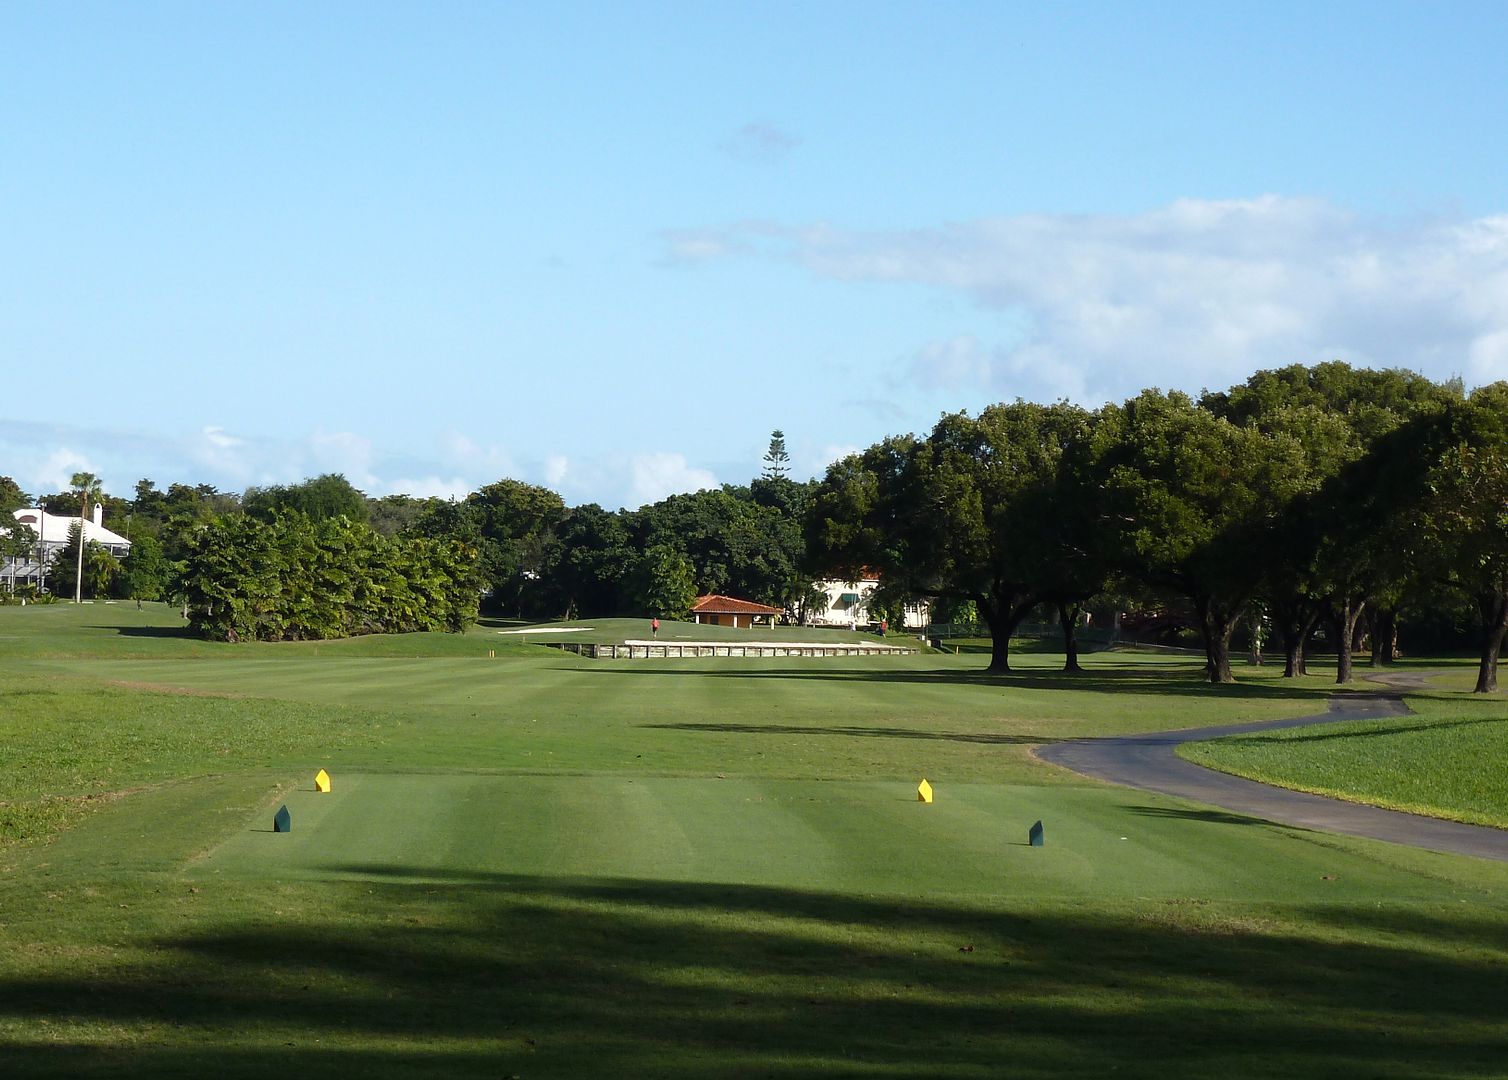
Hole 1: Par 5, 501 Yards
Despite the cluttered feeling of the 1st tee, which contrasts sharply with the openness of the rest of the course, the 1st hole is a fantastic microcosm for the course as a whole -- differing tee angles, staggered bunkering, and an interestingly shaped green with a back-to-front slope.
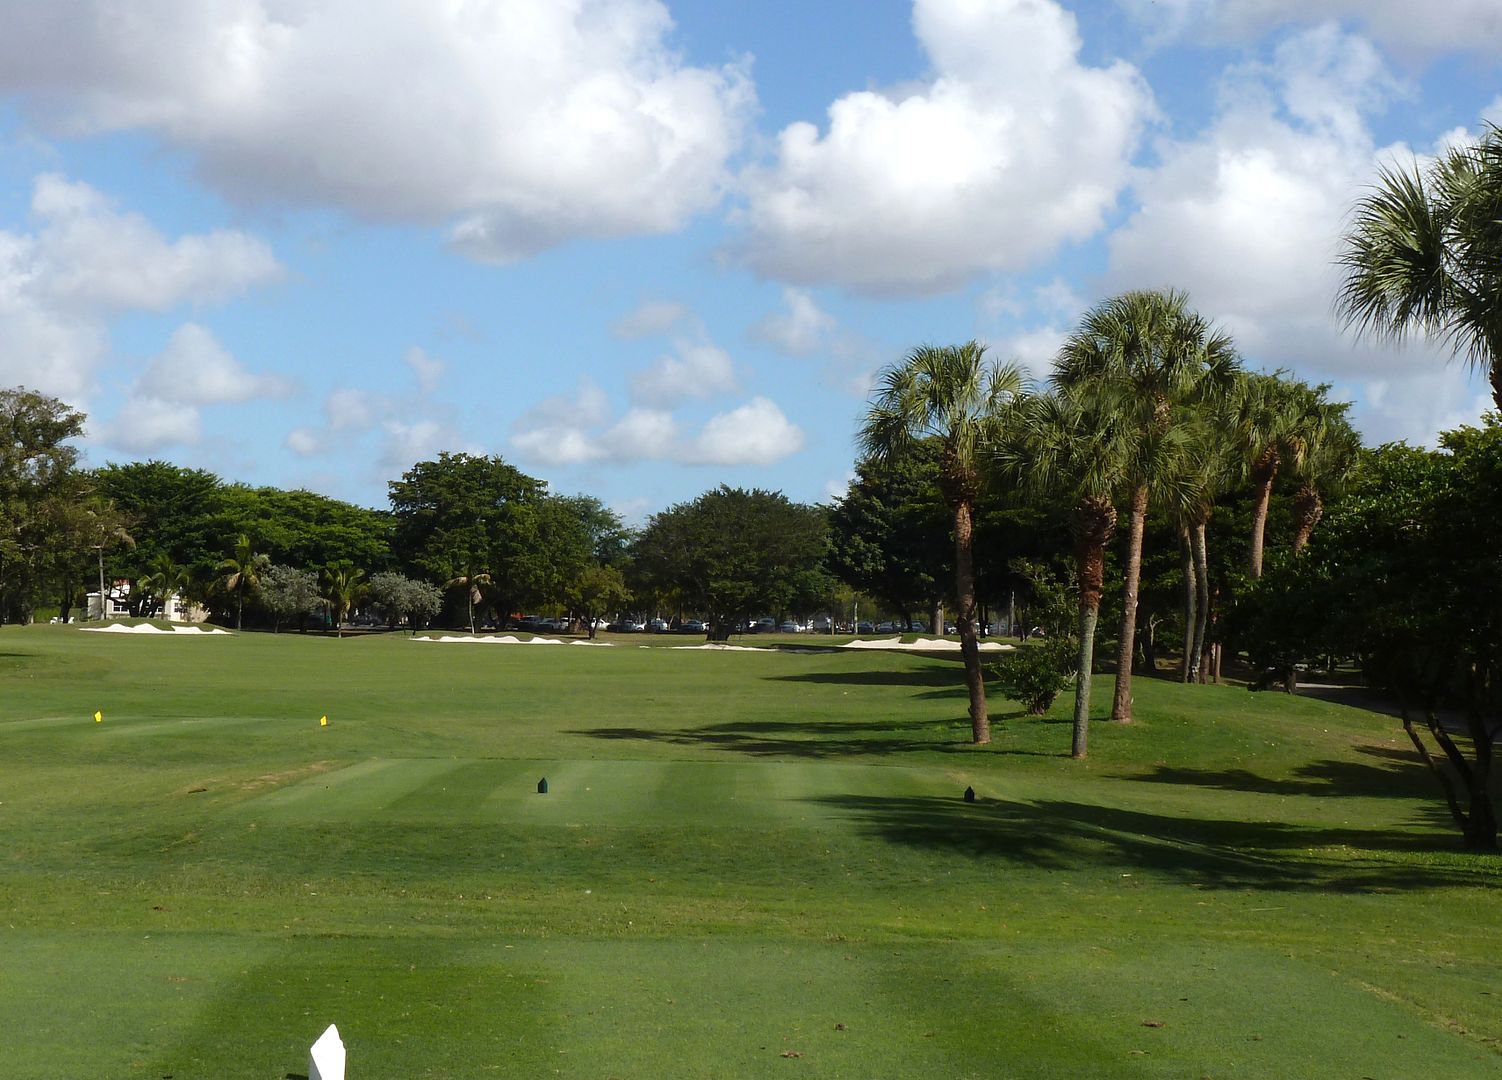
Note the difference in angle of the first tee shot from the back tees to the middle tees.
 |
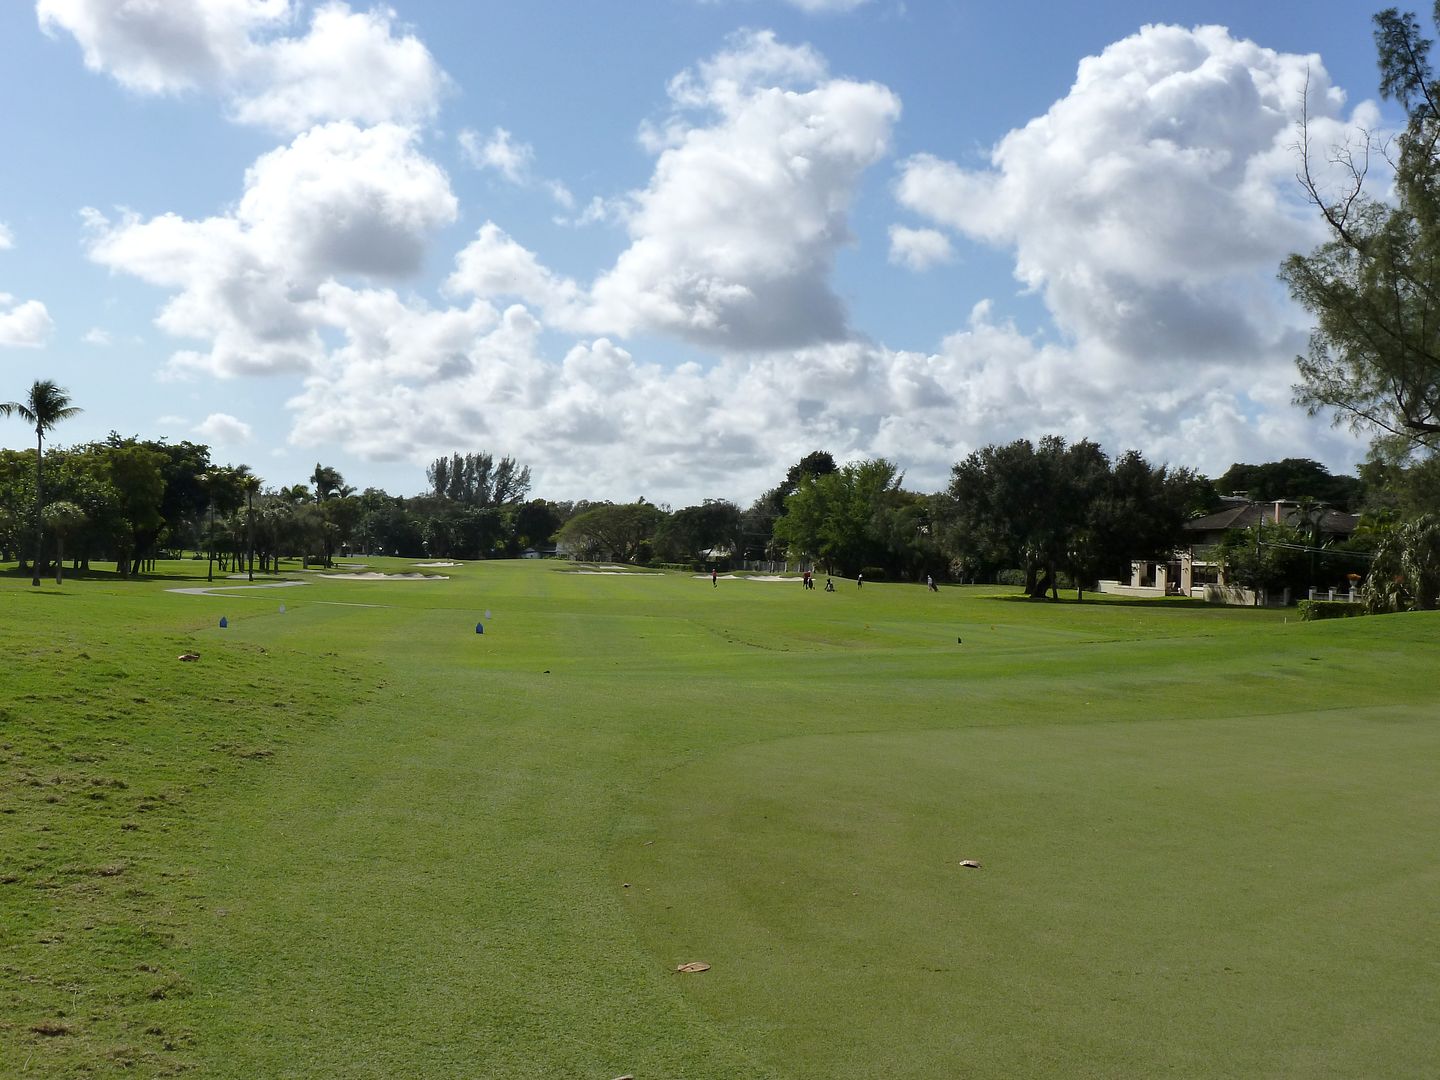
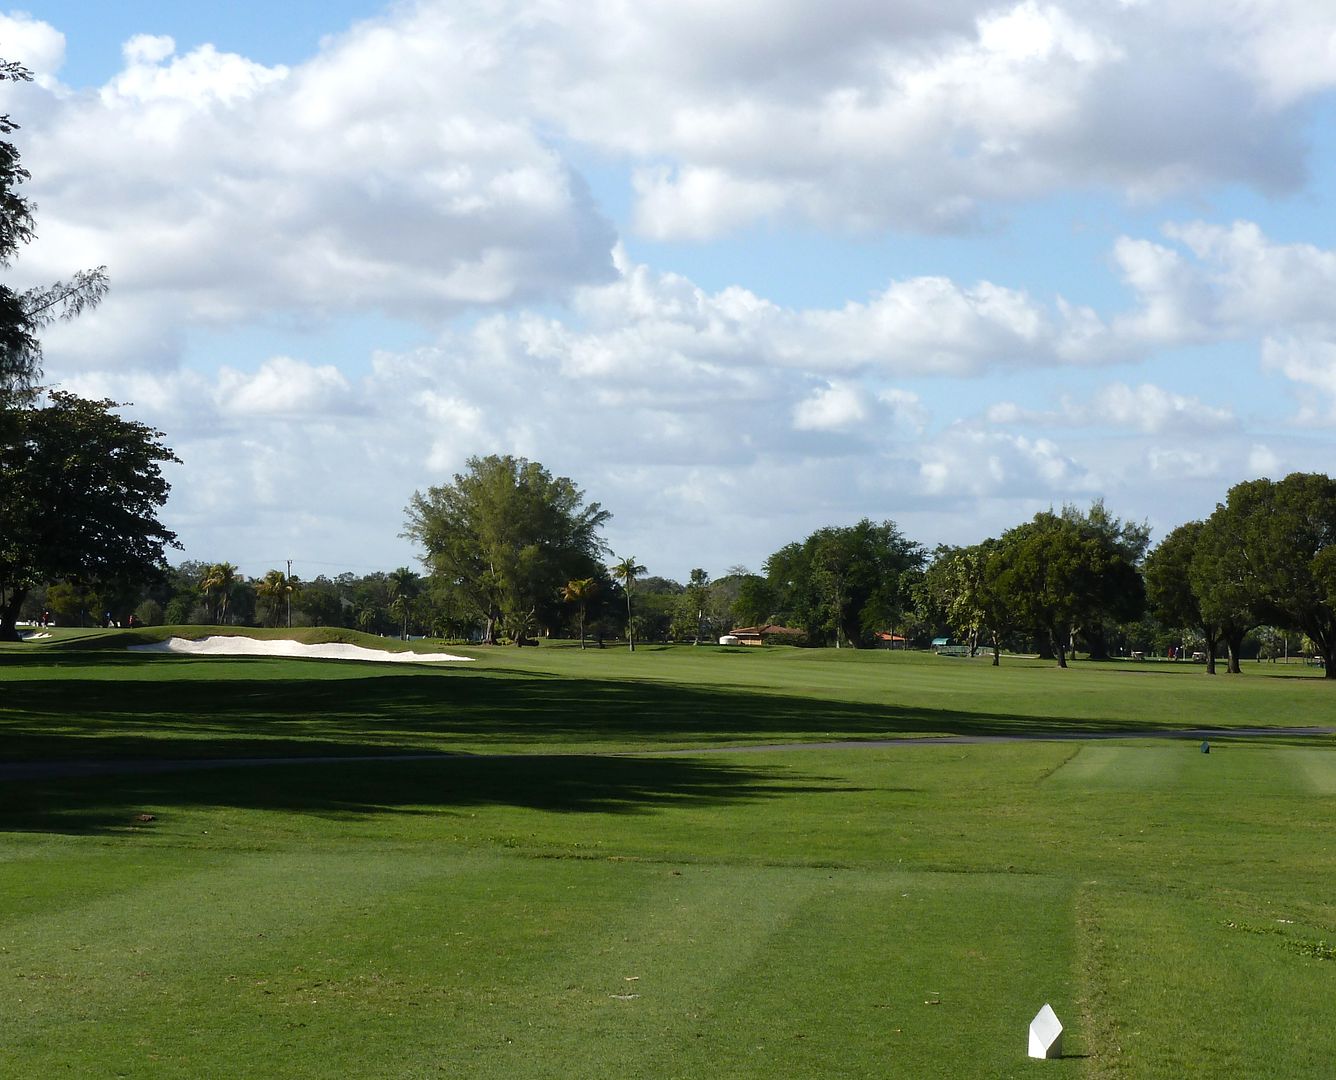
| 1st Tee from Back Tees |
From the back tees, challenging the bunkers on the right requires a very exacting tee shot that flirts with the trees.
 |
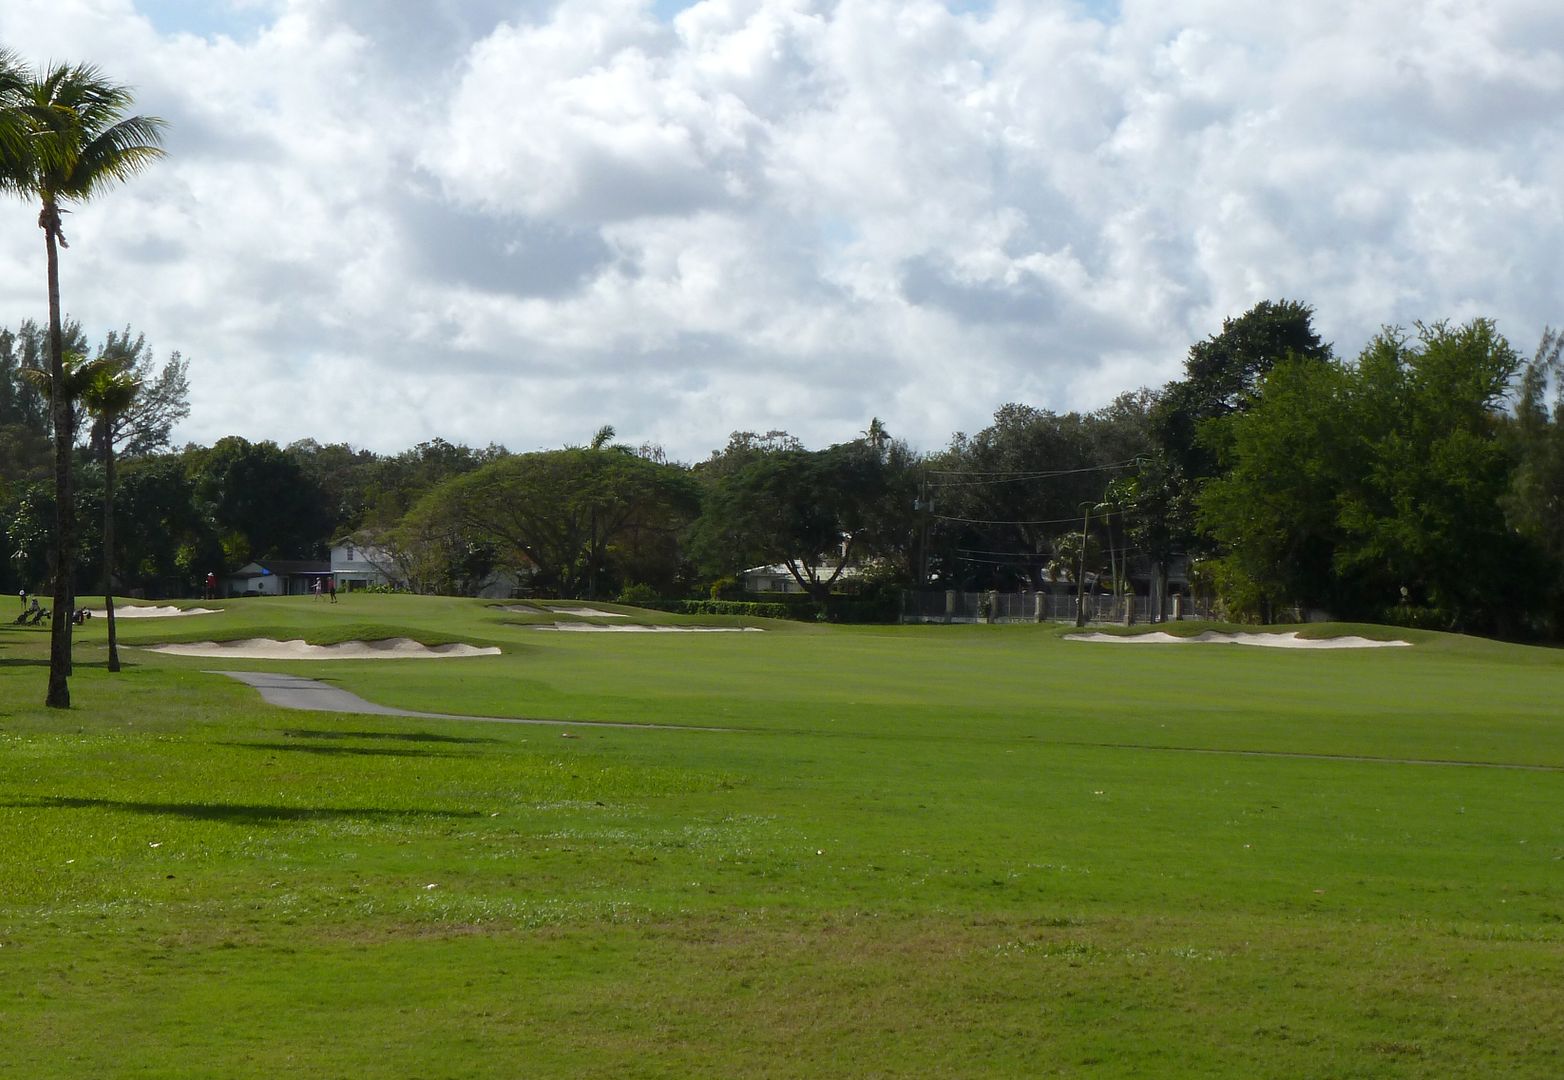
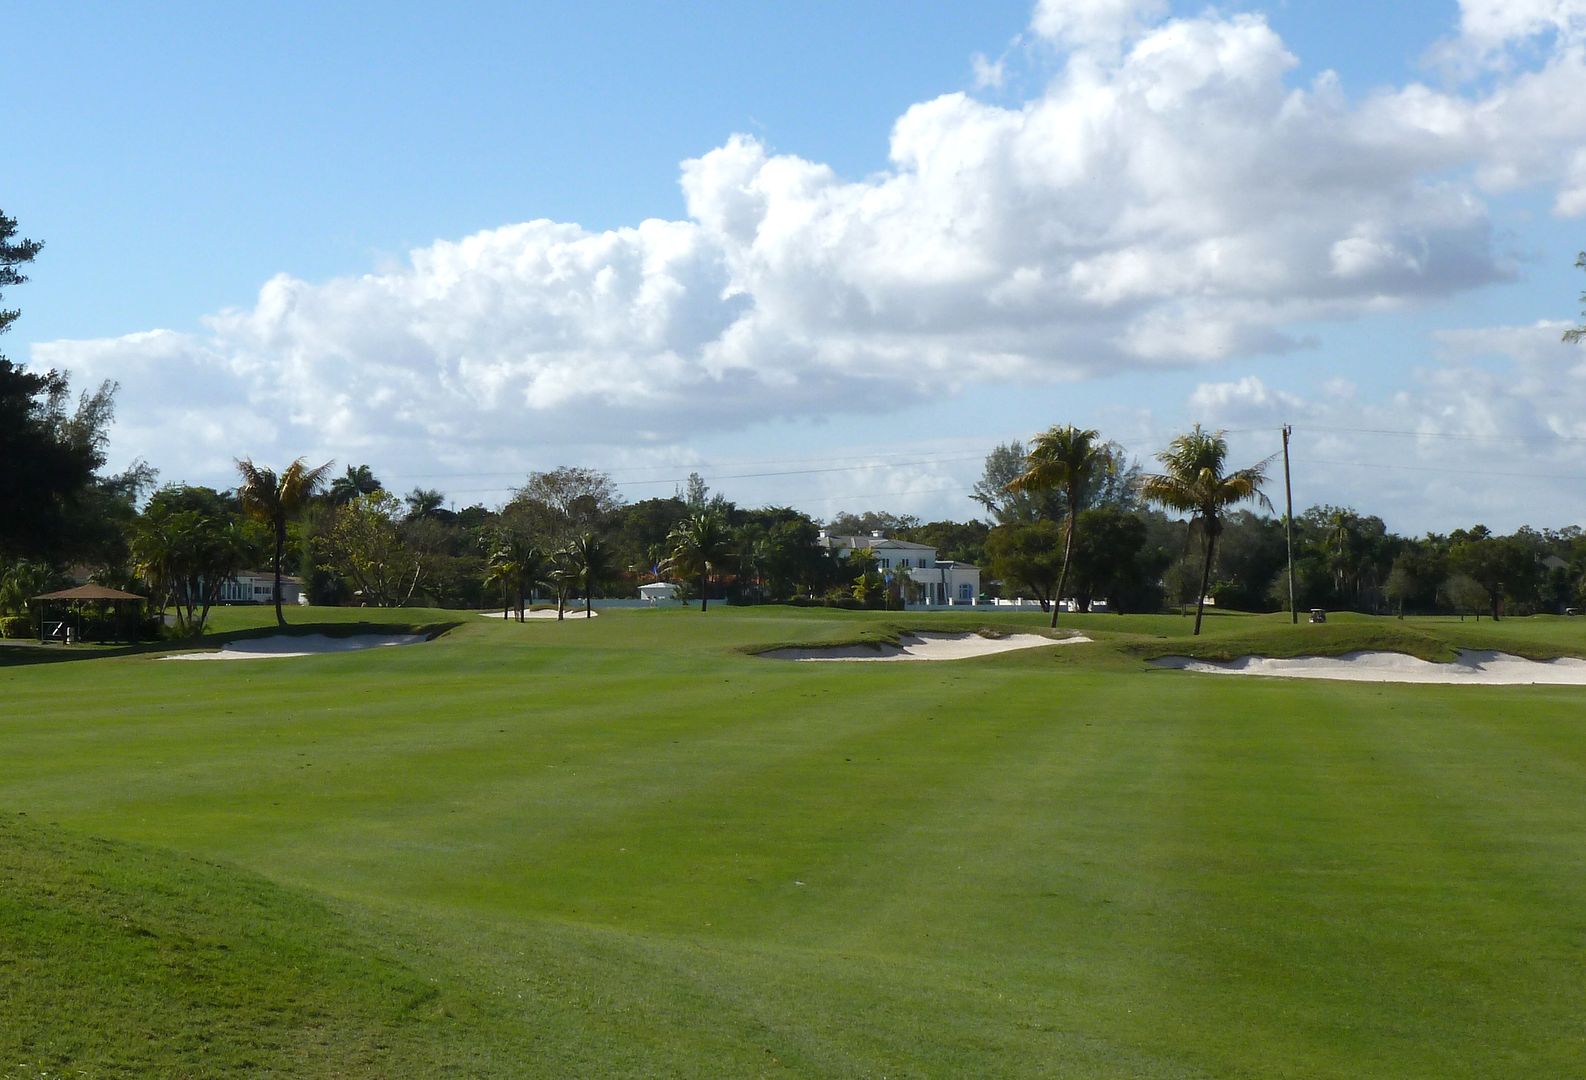
| !st Tee from Middle Tees |
From the middle tees, the trees are no longer in play. The carry over the bunkers is now only a question of distance, rather than both distance and accuracy.
 |
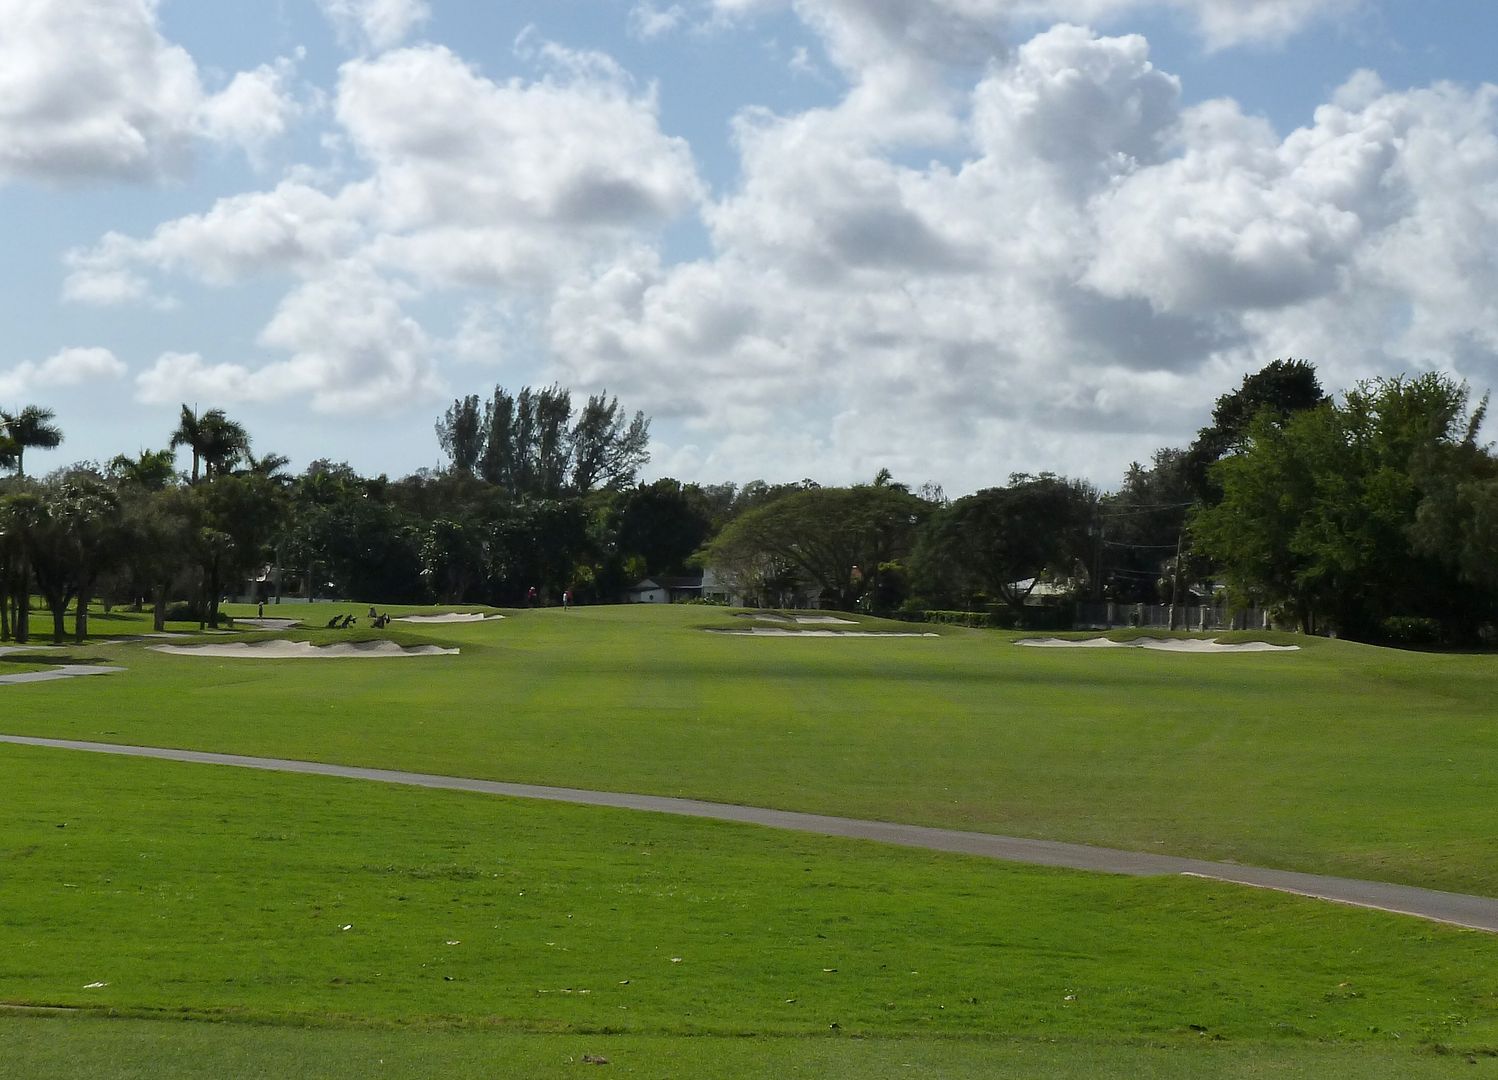
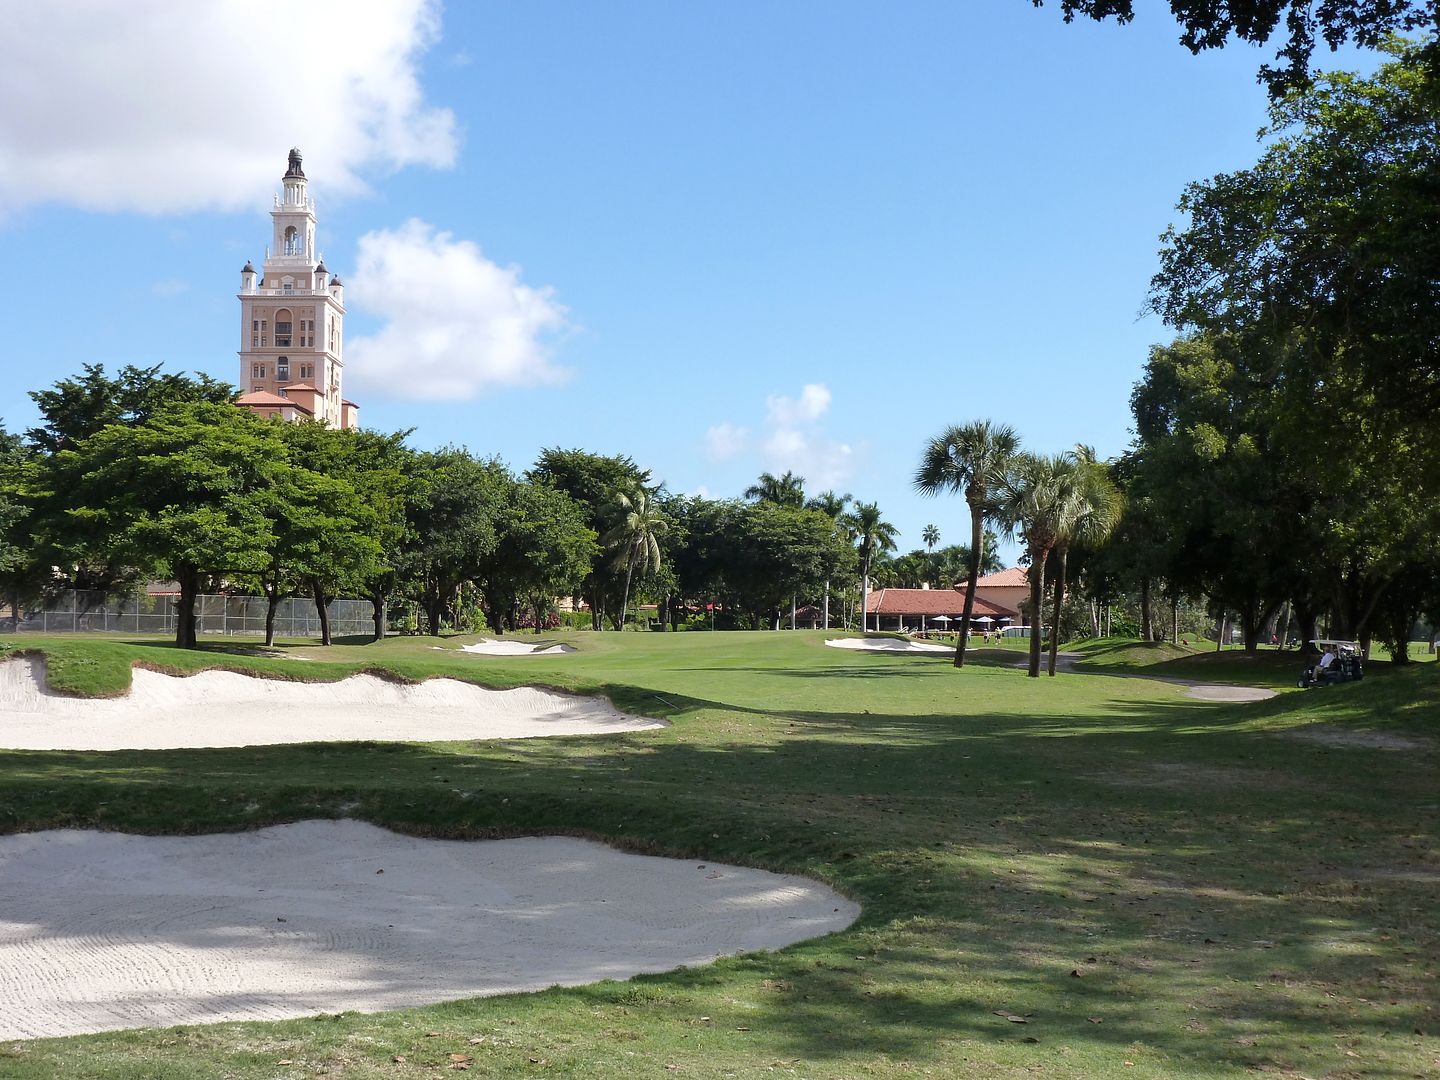
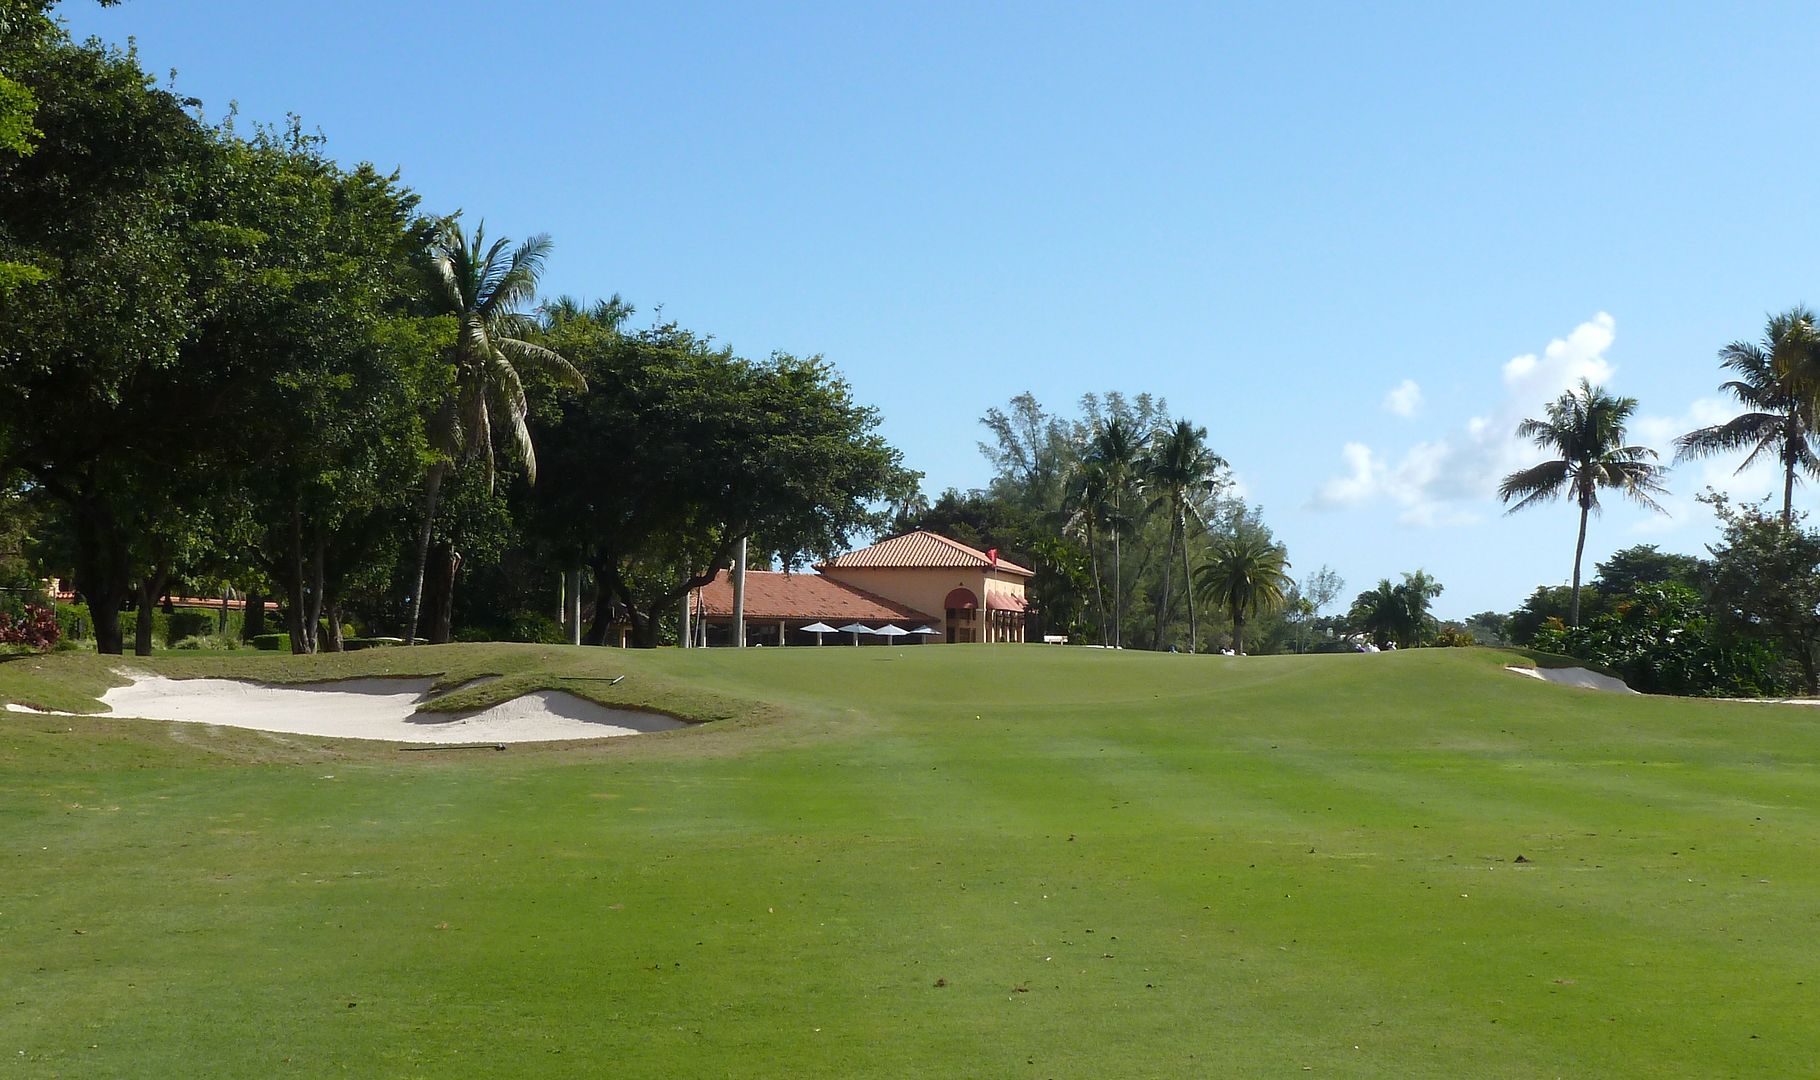
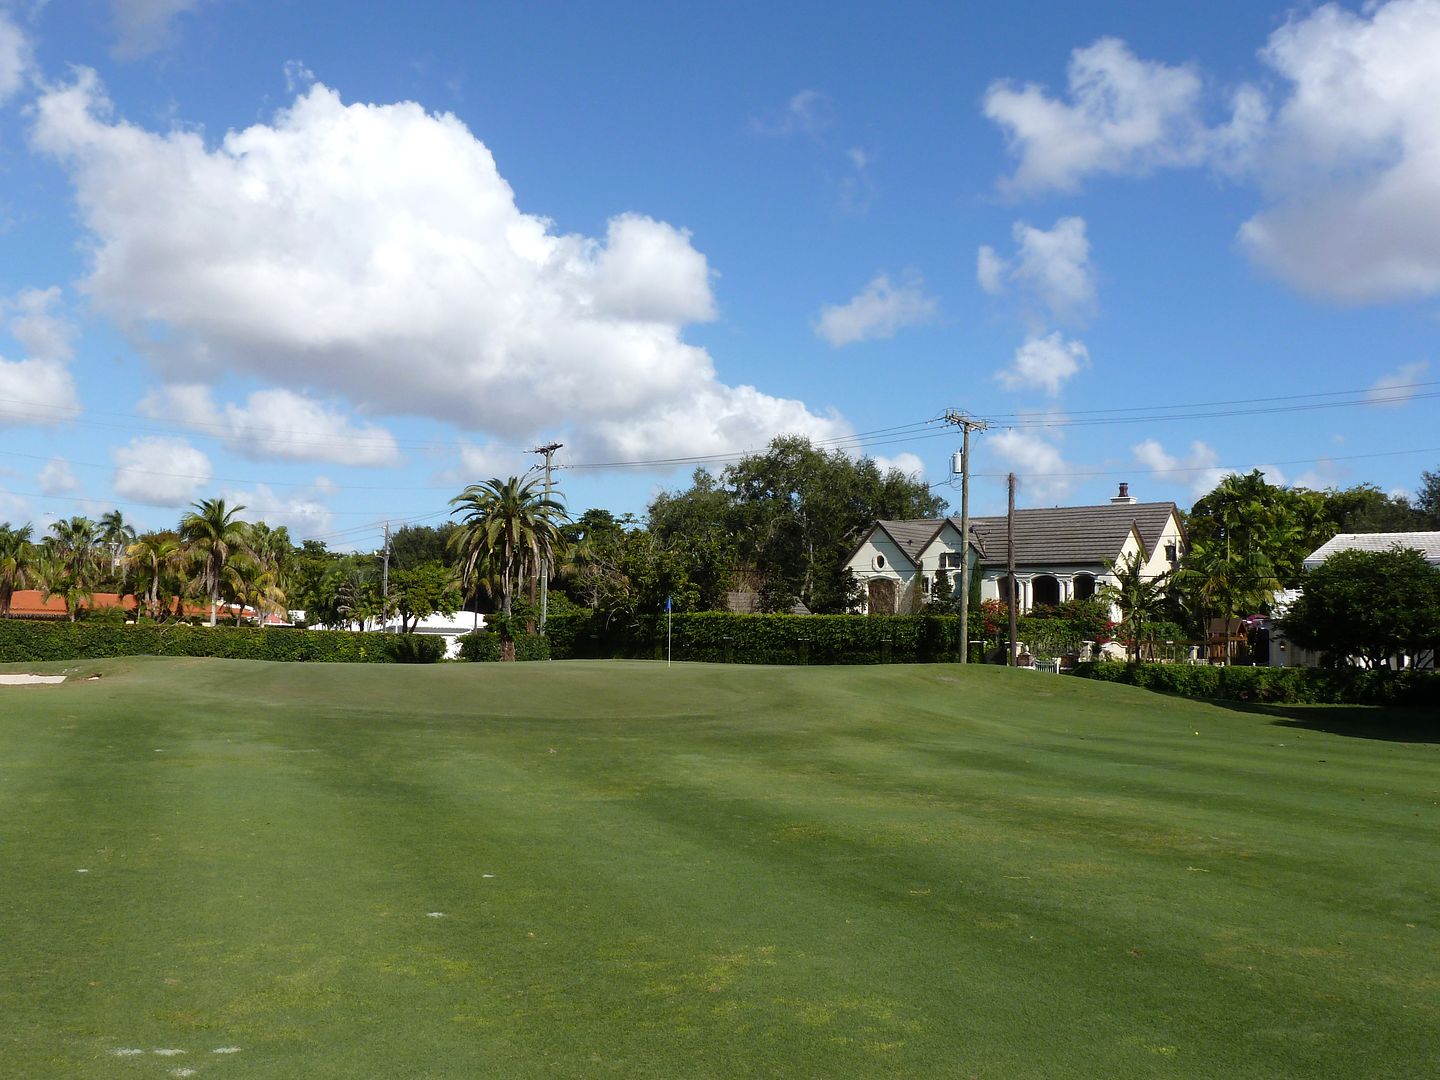
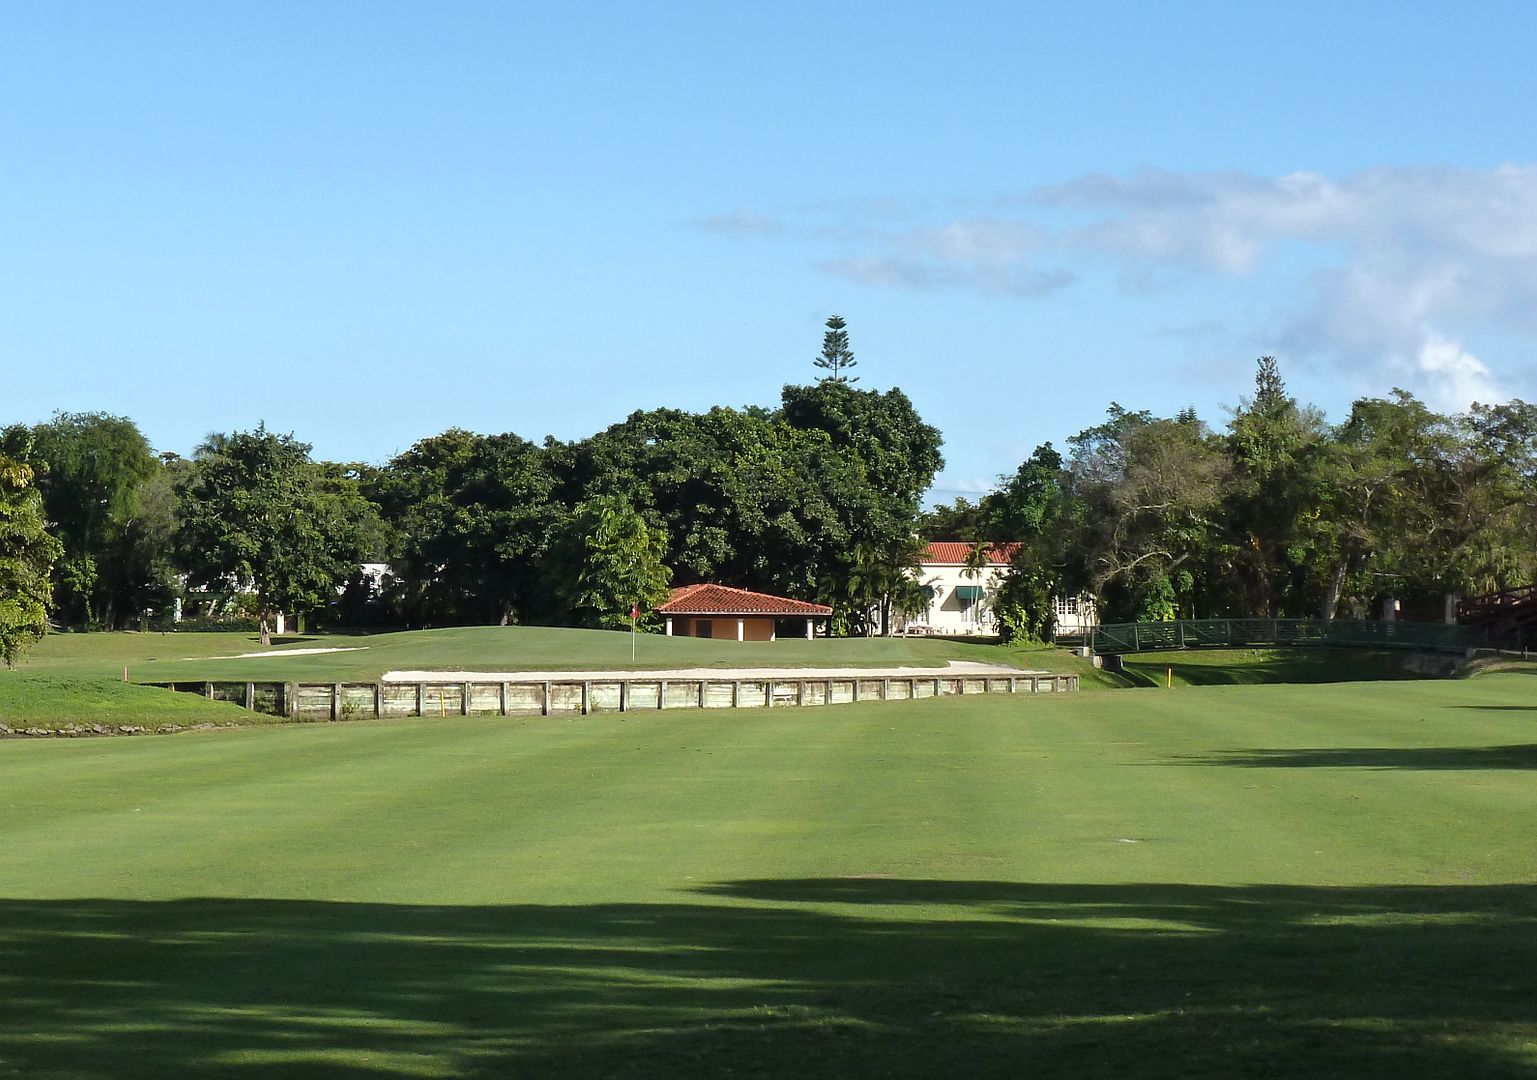
| The Approach to the 1st |
Hole 4: Par 4, 355 Yards
 |
| The 3rd Green blends perfectly into the 4th Tee |
After a flawless transition for the 3rd green to the 4th tee, the golfer is presented with the best short par-4 on the course.
 |
| Back Tee |
 |
| Middle Tee |
Once again, there is a dramatic difference in angle between the back two tees and the middle and forward sets. The bunkers on the left side of the fairway, which must be challenged for the ideal line into the green, must be carried from the back sets of tees. There is plenty of room to bail-out right, but the approach to the green is very difficult from there. From the middle tee, the ideal angle into the green can be found by skirting the bunker instead of carrying it.
The approach to the 4th is played to a kidney-shaped green. Front pins are accessible from all angles, but to get to a back-right pin, only tee shots played up the left side of the fairway have any chance.
 |
| Approach to the 4th |
Hole 5: Par 4, 381 Yards
The par-4 5th is the last hole that moves significantly from left-to-right. Several fairway bunkers give the landing area a very intimidating look and add significantly to the strategic interest of the hole -- don't just rip driver here!
The player is given the option of laying up the bunkers, leaving about 150 yards into the green, or challenging the trees and bunker complex on the right (a 240 yard carry from the back set of tees), leaving just a 100 yard pitch into the green.
 |
| 5th Tee |
The approach is played to a narrow green with a significant false-front. Challenging the bunkers off the tee and having SW into this green is a big help when approaching this green (just don't spin it too much!)
 |
| Approach to 5 from short of bunkers |
 |
| Approach to 5 from over bunkers |
 |
| The False Front |
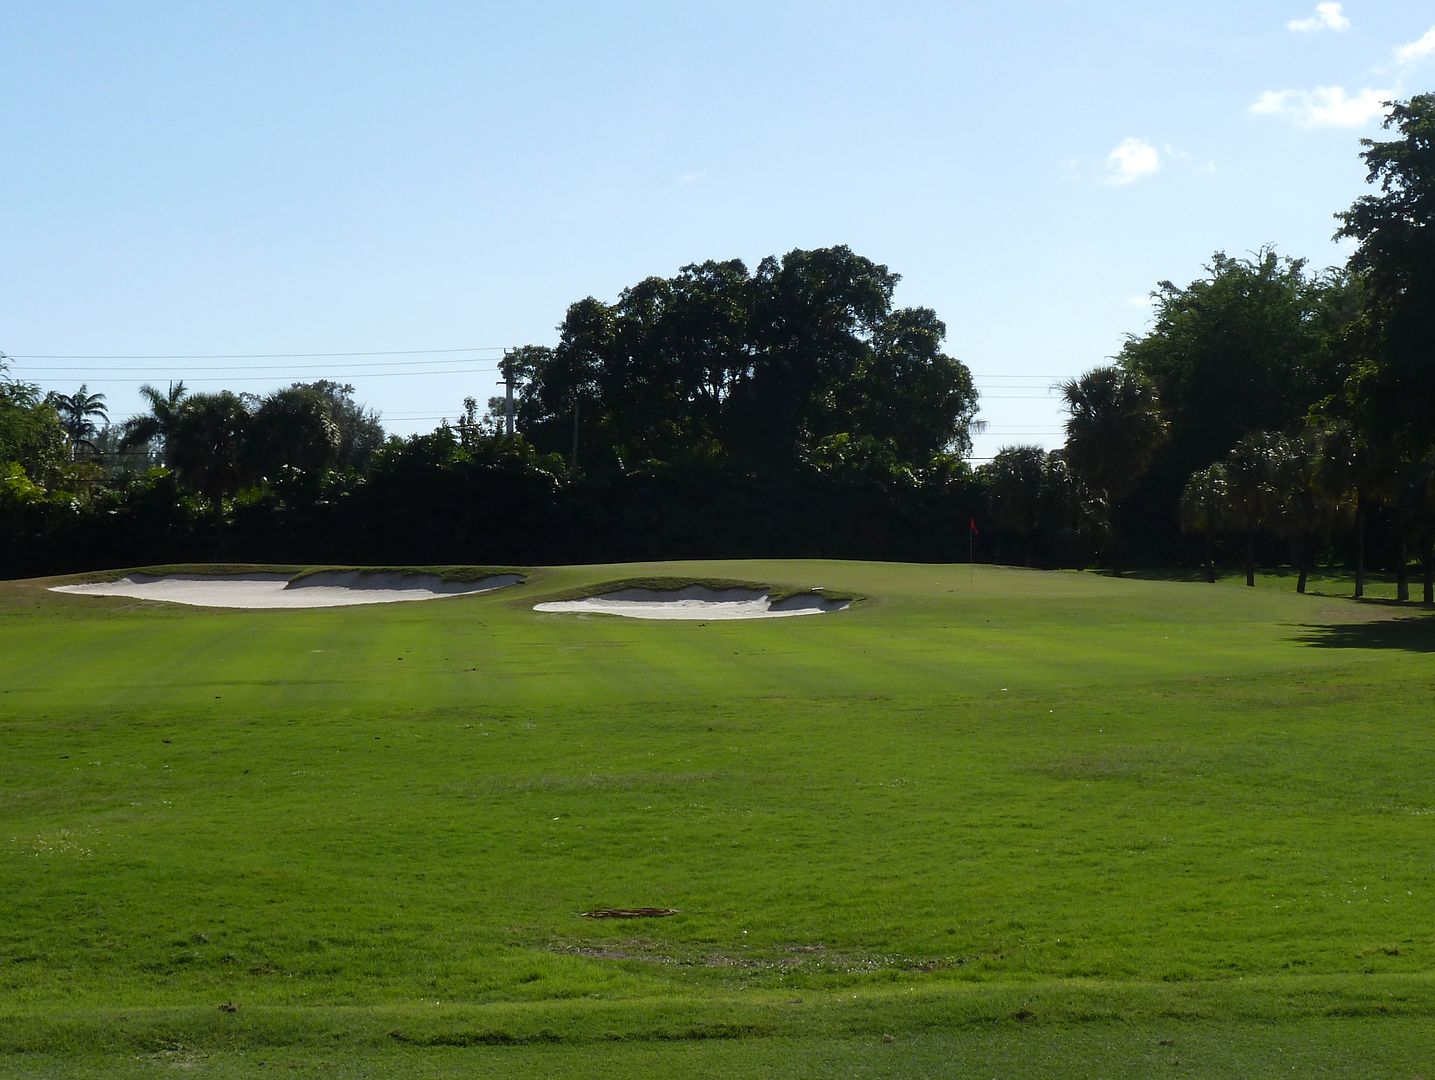
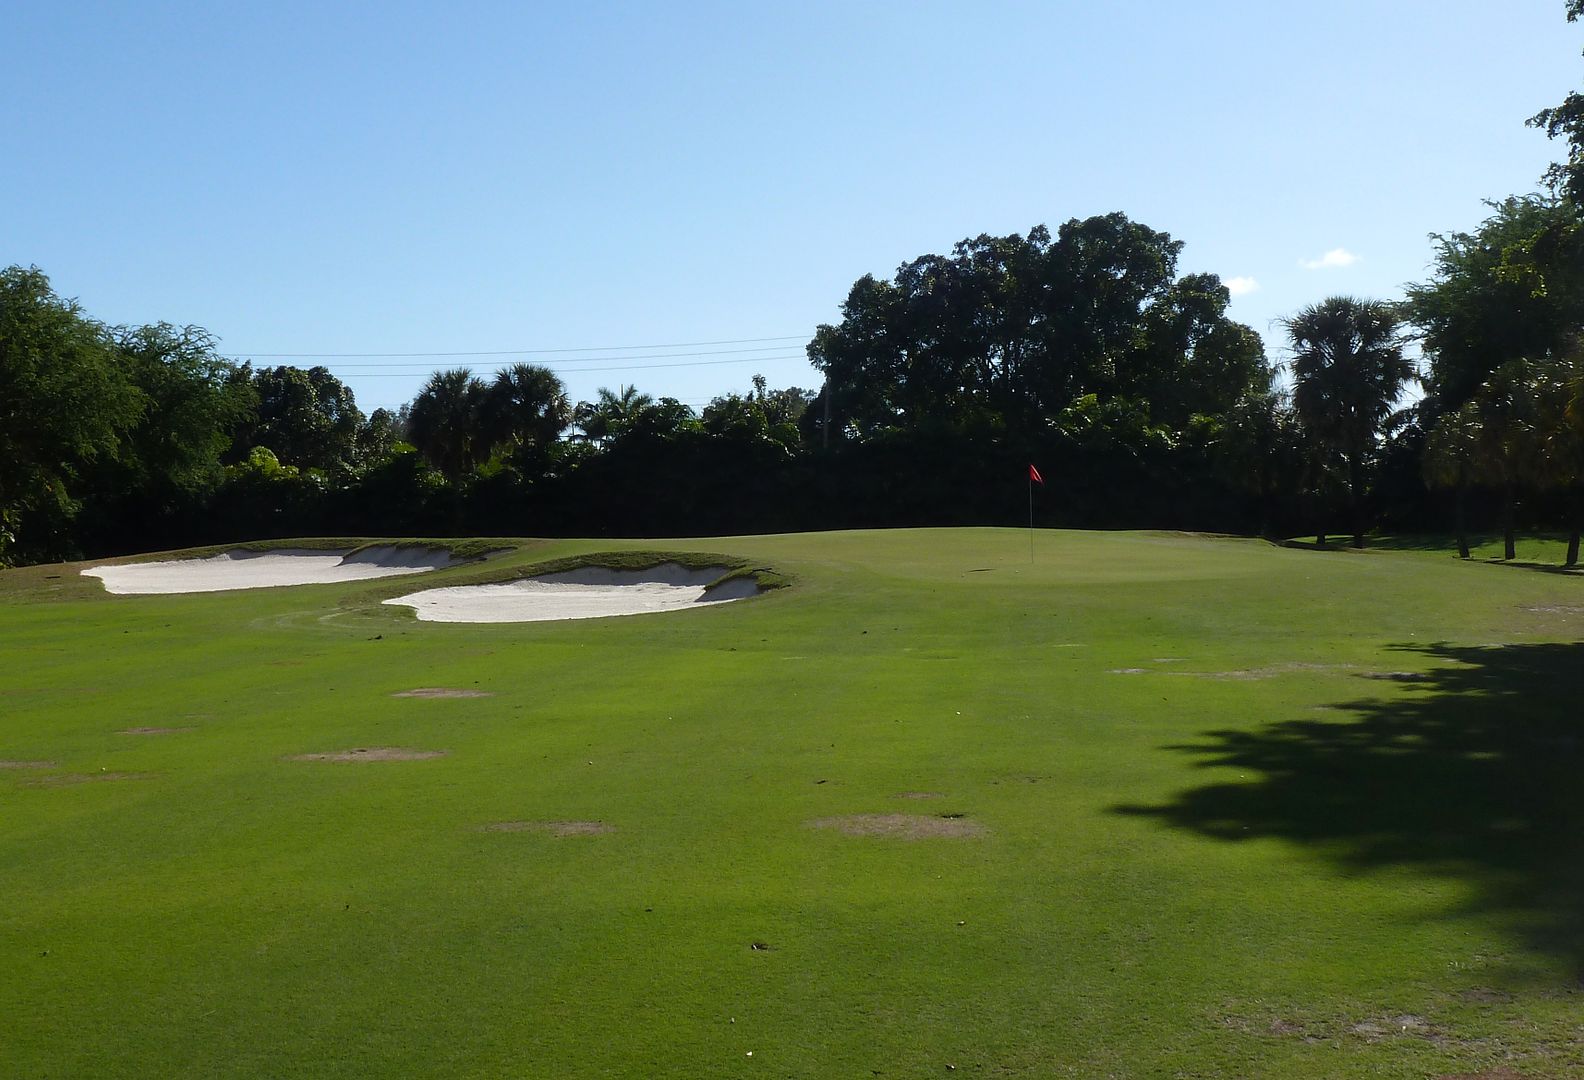
Hole 8: Par 3, 229 Yards

A par-3 that any fan of Donald Ross has seen before. A very demanding hole with a small front-portion of the green and a cross-bunker 25 yards short of the putting surface that adds both visual confusion and the potential for a very difficult recovery for a mis-hit tee shot.
Hole 10: Par 4, 372 Yards
The tenth is another example of differing angles from the tee. From the back sets, most players will choose to lay-up to the fairway bunker through the fairway, though the aggressive player can try to hook one around the corner.
 |
| Back Tee View |
 |
| Middle Tee View |
The approach is to one of the most interestingly shaped greens on the course. The green is set at a diagonal to the fairway with a deep run-off short-right of the green that leaves a very difficult recovery.
 |
| 10 Approach |
 |
| 10 Green |
Hole 13: Par 4, 448 Yards
A very strong and difficult par-4. This hole doglegs left around a pair of fairway bunkers that must be challenged for a shorter approach and preferred angle into the green. Bailing out right there is lots of fairway, but finding the green from there is no easy task.
 |
| 13 Tee |
The approach to the very well-bunkered 13th is straightforward from the left, but very difficult from the right.
 |
| Approach to 13 |
Hole 14: Par 3, 136 Yards
A short par-3 that demands precision -- a perfect match of line and distance, or a bunker will be found. There is little internal contouring on this green, rewarding the player that finds the green.
 |
| 14 Tee |
 |
| 14 Short of Green |
Hole 17: Par 4, 450 Yards
This is likely the 'signature' hole on the course, and one of only a handful where water really comes into play. From the tee, the player is forced to decide if he should challenge the water on the left side of the fairway. There is no bailout here -- shots pushed right will be blocked-out by trees to the right.
 |
| 17 Tee |
The approach is played over water to a green protected short and left by bunkering.
 |
| 17 Approach |
Interestingly, not only is this the most demanding hole tee-to-green, but it is also the wildest and most difficult green on the course. There is significant back-to-front tilt as well as two large humps and hollows separating the green into sections.
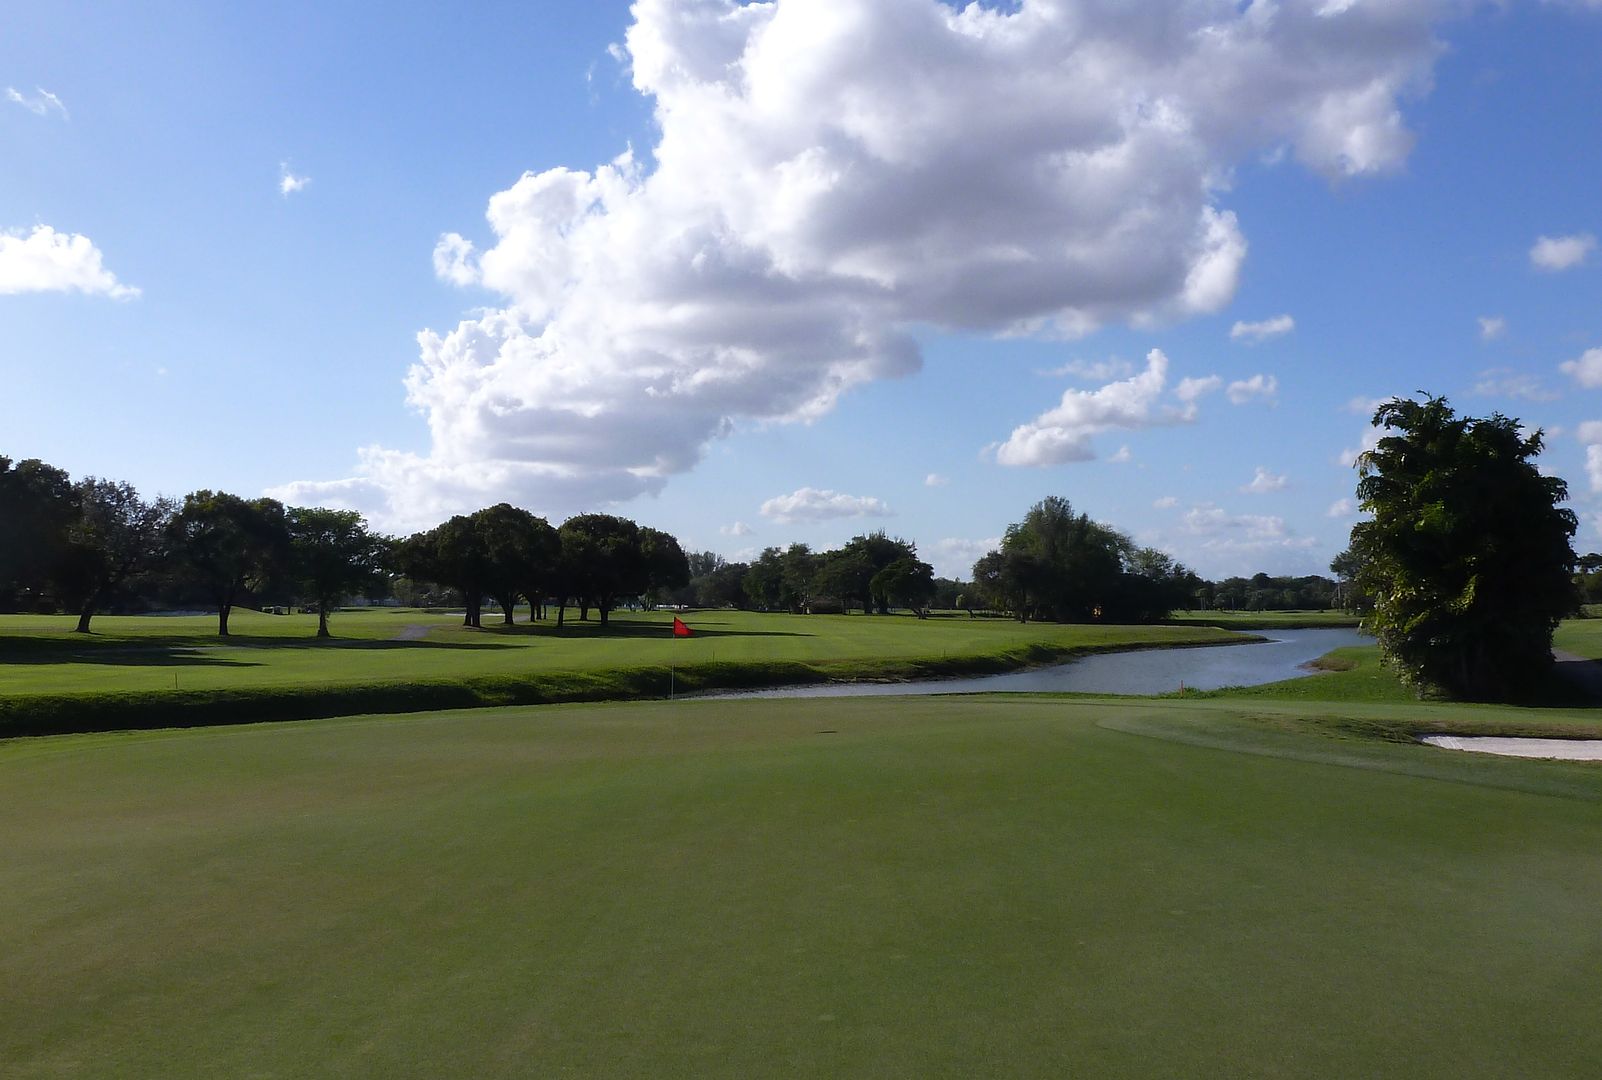 |
| 17 from Behind |
No comments:
Post a Comment