Muskoka Bay Club
Gravenhurst, Ontario, Canada
Architect: Doug Carrick (2006)
7,367 Yards, Par 72
Rating/Slope: 76.1/146
My Quick Review: A very scenic golf course with many thrilling shots, but several long forced carries, an unwalkable routing and a few too many downhill tee shots keep this course from my list of favourites.
My Thoughts
Since opening a half-dozen years ago, the golf course at The Muskoka Bay Club has received many
awards. It is ranked no. 8 in Canada by Score Golf Magazine and no. 5 Modern by Golfweek Magazine. While I think the golf course is good, I do not see it among the best golf courses in Canada. Unlike some of my favourite modern courses in Ontario, such as Rocky Crest, Bigwin Island and Beacon Hall, I am not sure MBC holds its strategic interest after multiple plays.
MBC is the epitome of modern golf. There are many dramatic views and exciting tee shots. The course is not walkable (OK, it is possible to walk, but as I found out, walking makes for a far less enjoyable experience). The routing is similar to that of Wolf Creek (Nevada) in that walkability was sacrificed for beauty and vistas. It felt like Carrick knew the course would not be walked and as a result found the best 18 holes and used them, whether or not there were tough climbs to tees or long treks around hazards.
But, this also contributed to MBC's natural feeling. If there was significant amount of land moved to build the golf course, I couldn't tell. The holes were there just waiting for Carrick to find them. A big part of the natural feel of the golf course is the wonderfully rolling and undulating fairways. Only a couple were flattened (1 and 5), but the rest are "wild and super cool."
Also, of particular note, is the extremely contoured 8th green. Though I am sure some consider this green 'goofy golf,' I think it is the best green on the course and it is completely natural, mimicking the rock formation upon which it is built.
Holes to Note
All yardages from Gold tees (second from back).
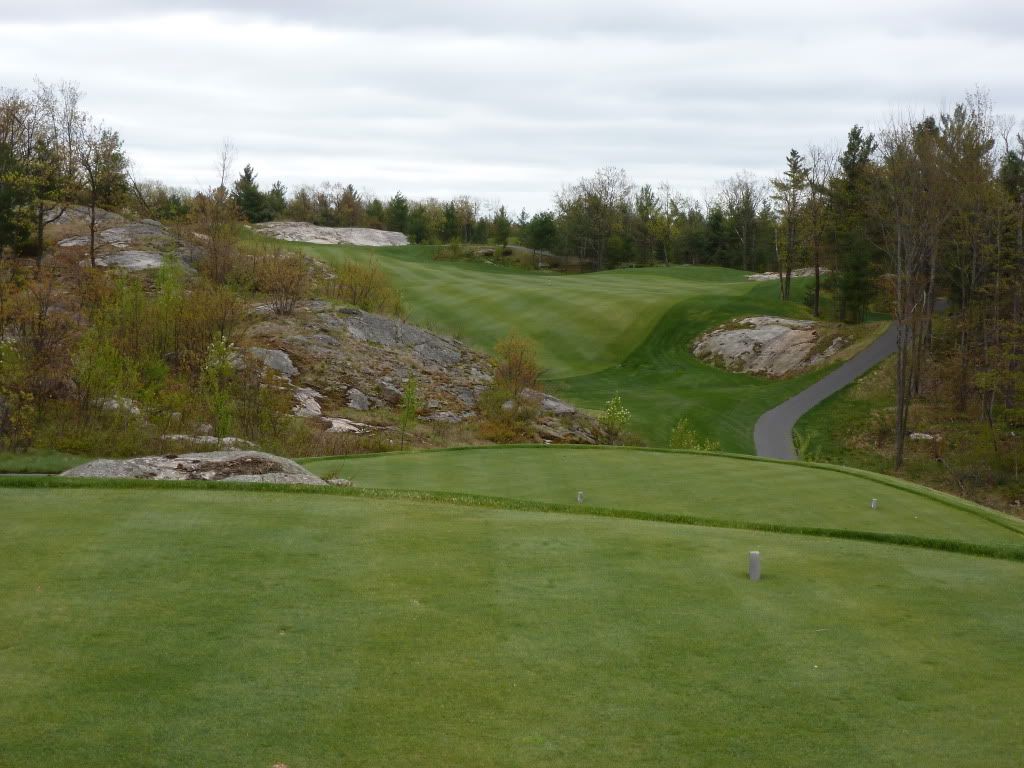
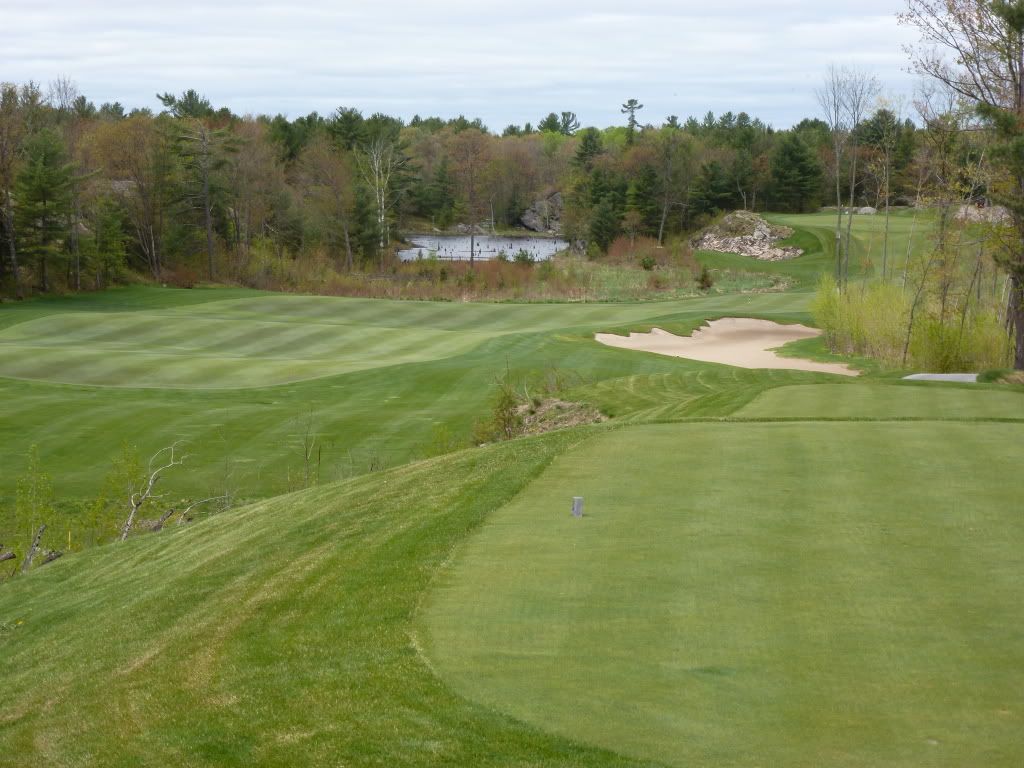
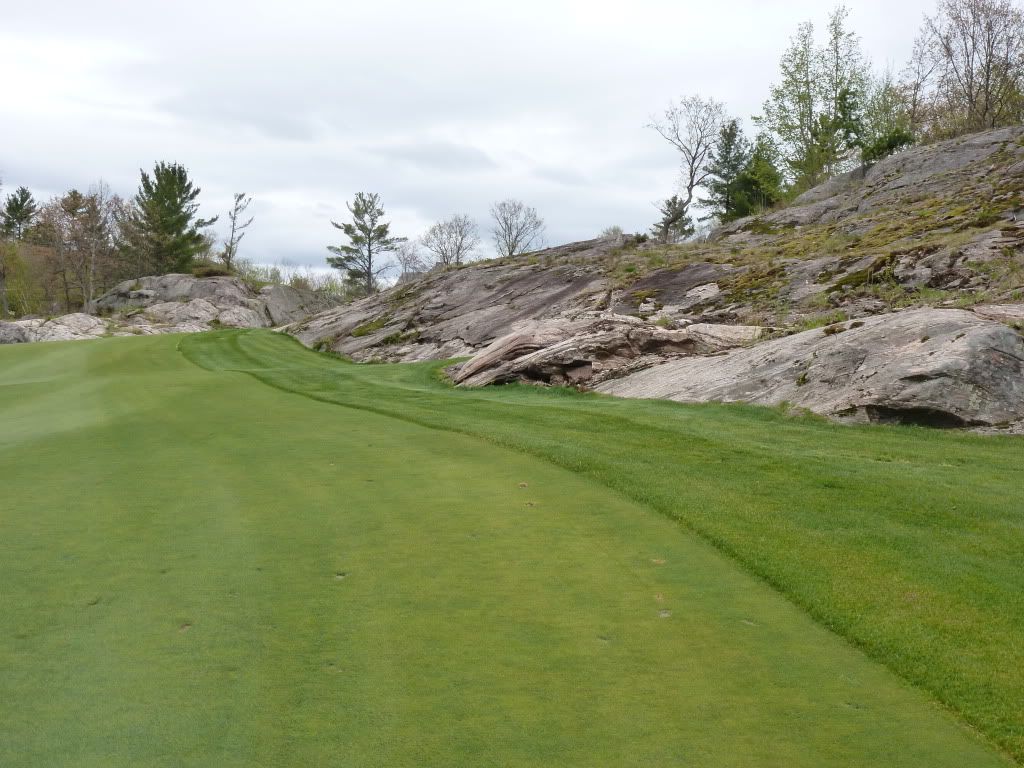
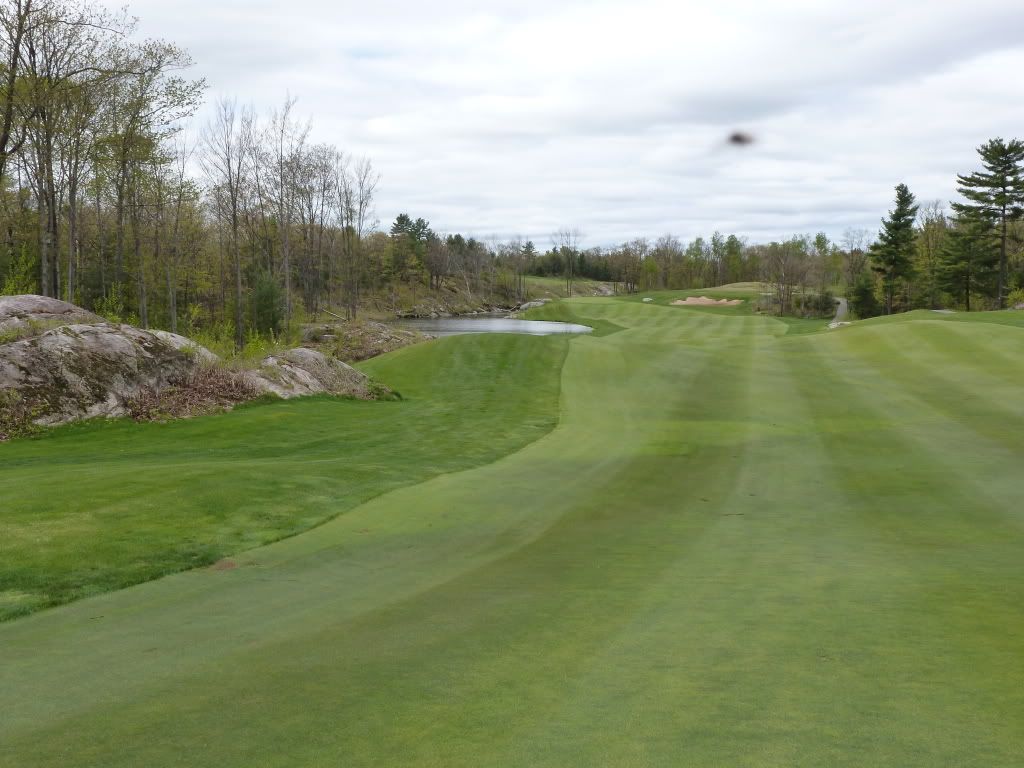
Hole 1: Par 4, 392 Yards - "Table Rock"
The first tee shot may be the most difficult on the course. Playing downhill and into the wind, a forced carry of around 225 yards is required just to reach the fairway (it's 272 yards from the tips!!). Although most are probably solely concerned with reaching the fairway, one must be careful not to miss right as there is hazard all the way down the right. The bunkers are a long way from the tee and I would think are only in play for the longest of hitters. One thing I noticed at MB is that in some cases the bunkers, rather than adding strategic interest, were often used as a means to frame a hole ('eye candy').
 |
| 1st Back Tee |
 |
| 1st Gold Tee |
 |
| 1st Short of Fairway - Note hazard on right, not much room to miss on 1 tee! |
 |
| 1st Green |
 |
| 1st from Behind |
Hole 2 : Par 3, 181 yards - "Pulpit"
A very strong par 3. It is not obvious from the tee, but the green is actually quite large and has quite a bit of movement. There is a bit of a false front. The green also extends back left meaning a back left pen will look like it is floating in the rough. A very cool visual. Short and especially short right are dead!
 |
| Tee View |
 |
| Green from Right |
 |
| Short of Green |
 |
| Green |
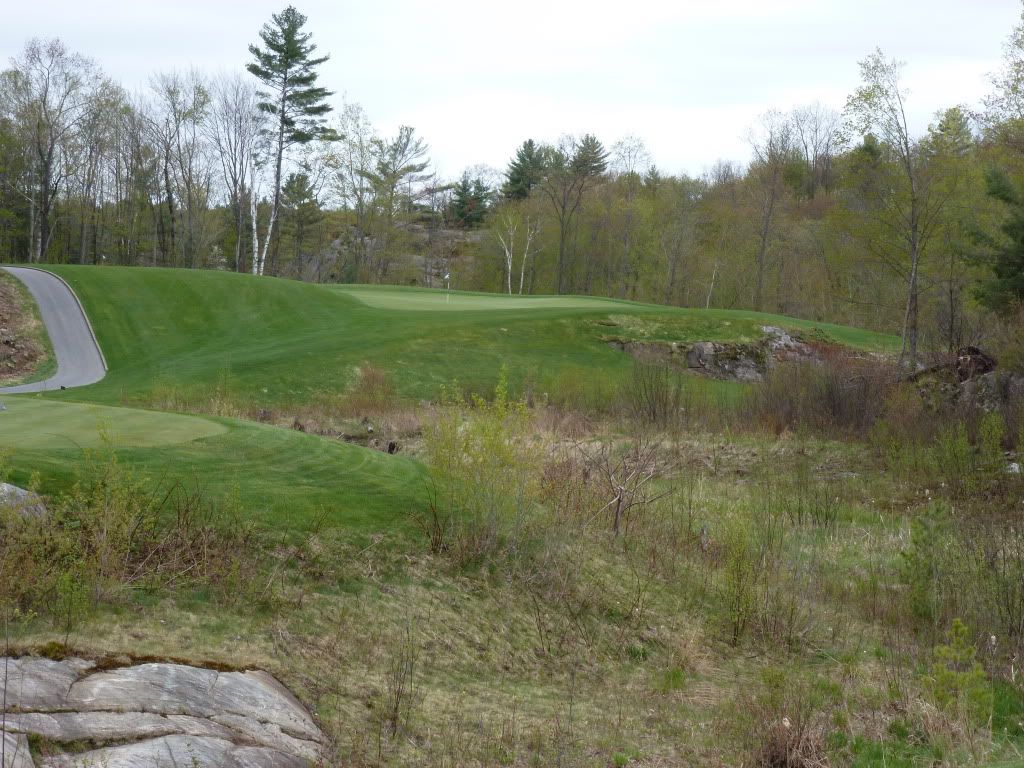
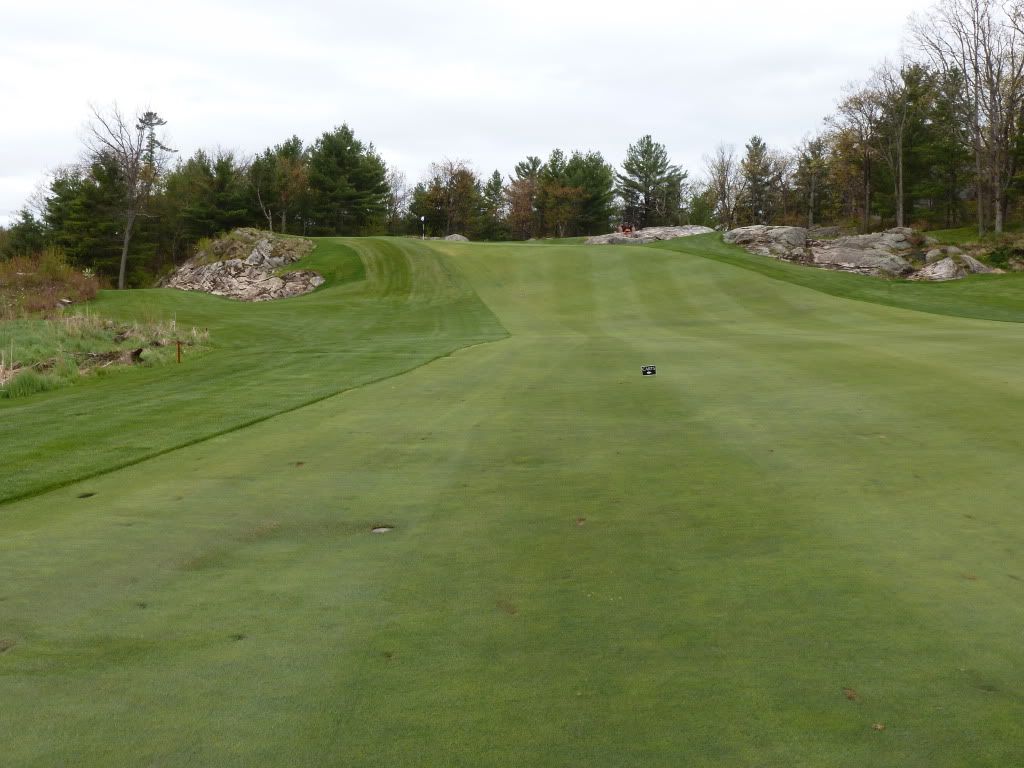
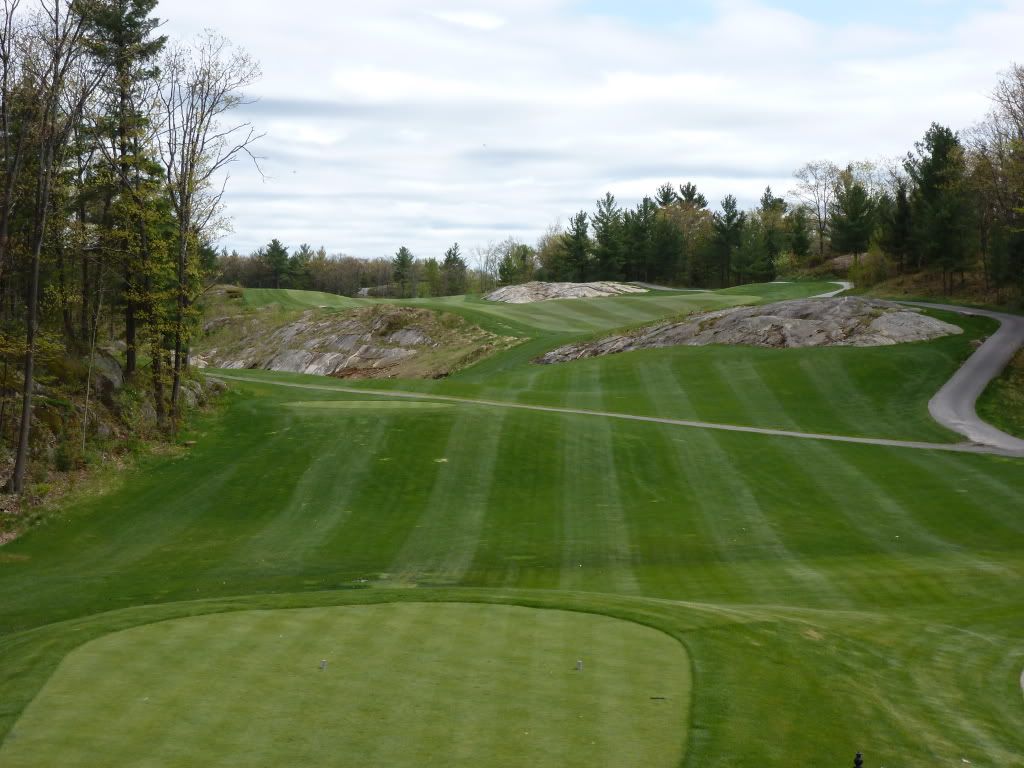
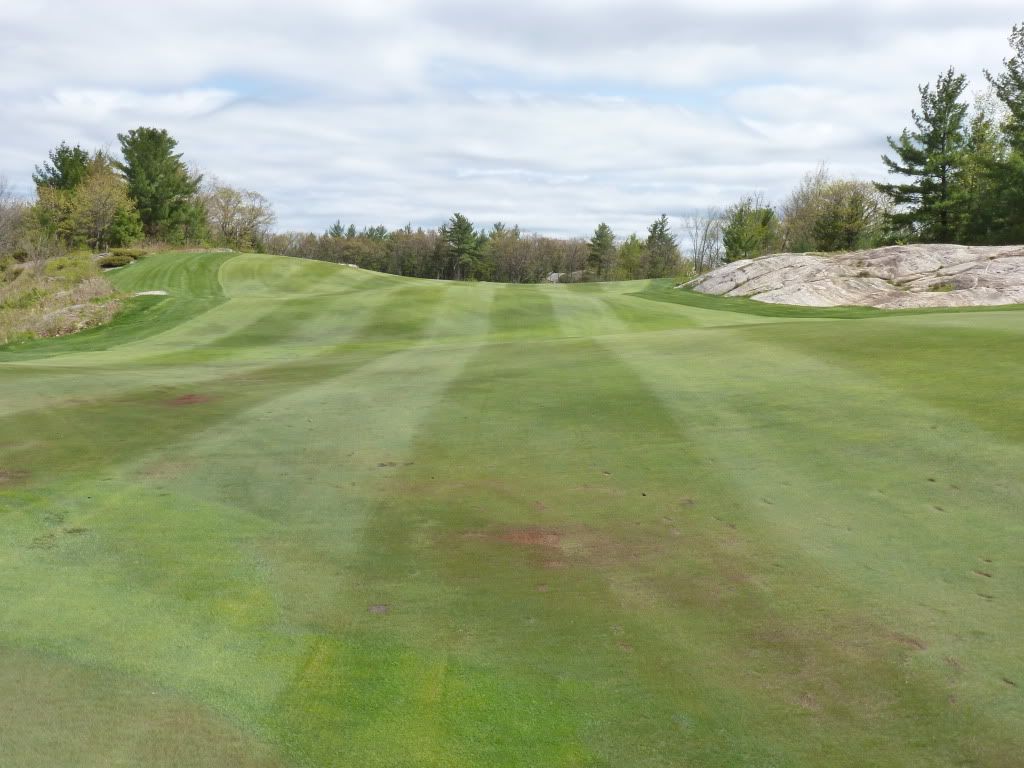
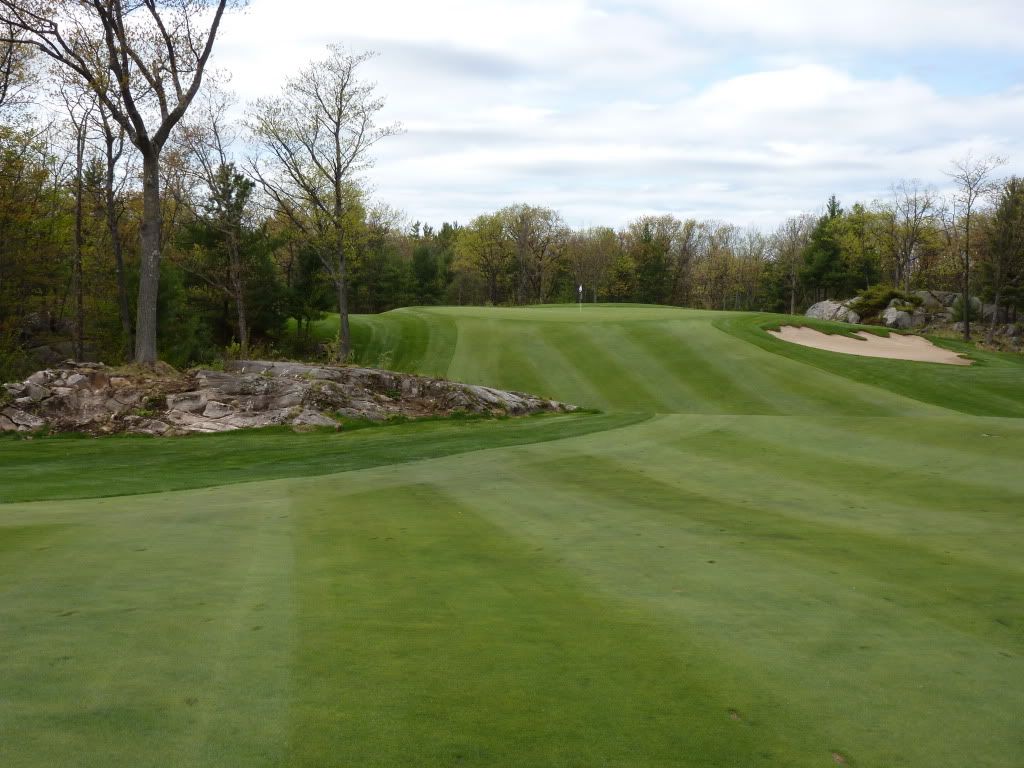
Hole 3: Par 4, 399 Yards - "Lost Lake"
My favorite hole on the course! There is a diagonal ridge in the fairway that MUST be carried if one wants to have any sort of view of the green. From the tees I played, it is around 210 yards to carry the ridge down the middle, a fair bit less if you bail right and a fair bit more if you take the aggressive line up the left. There is a very big difference in the approach from a tee shot that fails to carry the ridge. The shot is blind and the green is clearly designed to be approached from the right. Short of the green a ridge on the right will assist a player coming in from the left.
 |
| Tee View |
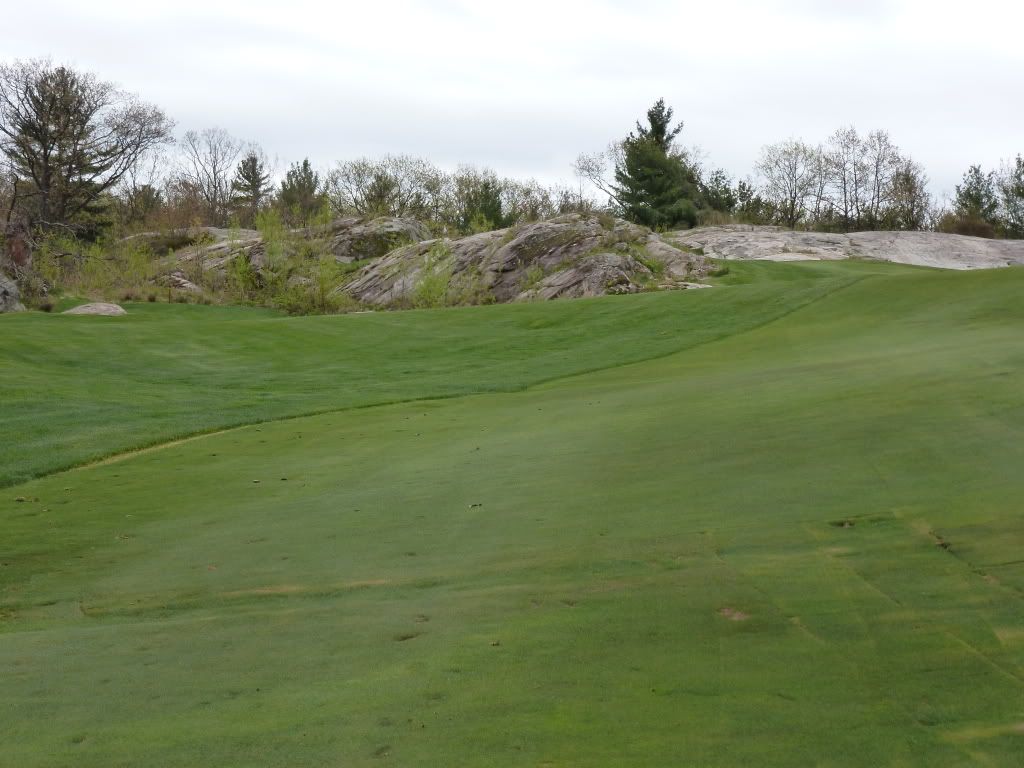 |
| View from Left of Ridge (Tee Shot that does not carry ridge) |
 |
| Approach from Right |
 |
| View from Behind |
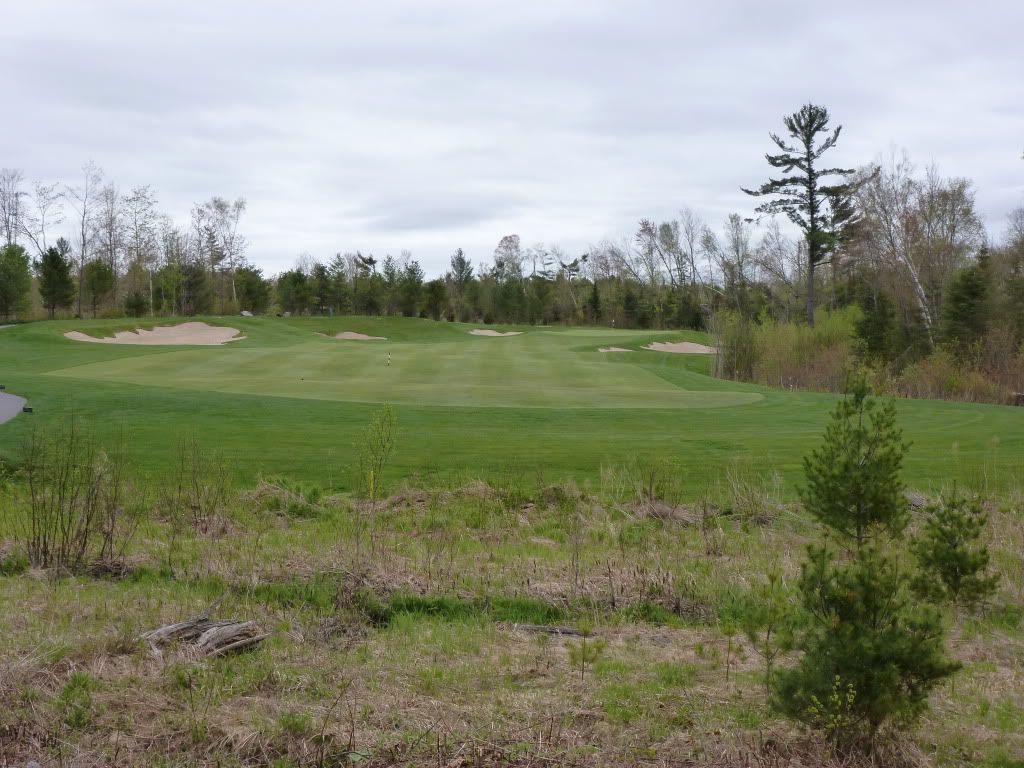
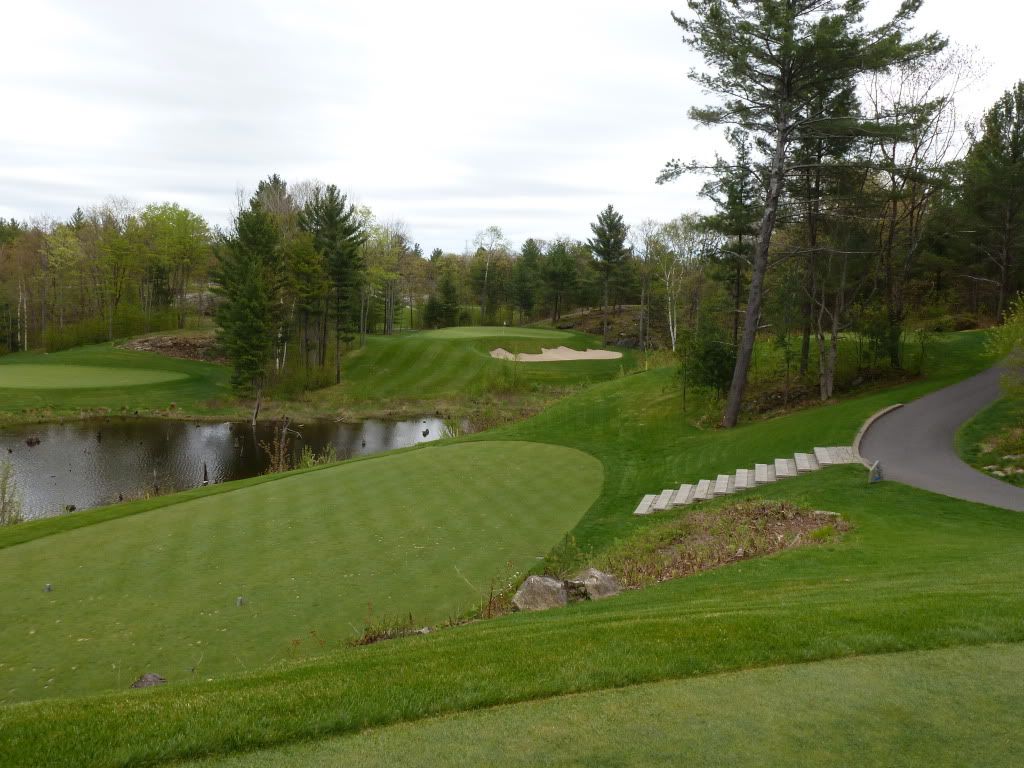
Hole 8: Par 5, 494 Yards - "Eiger"
Another very pretty golf hole from an elevated tee. This hole is reachable in two for most, especially if you are willing to challenge the right side fairway bunker. Looks can be deceiving, however, as one must not attempt to bite off too much as it is around 280 yards to get over the whole bunker.
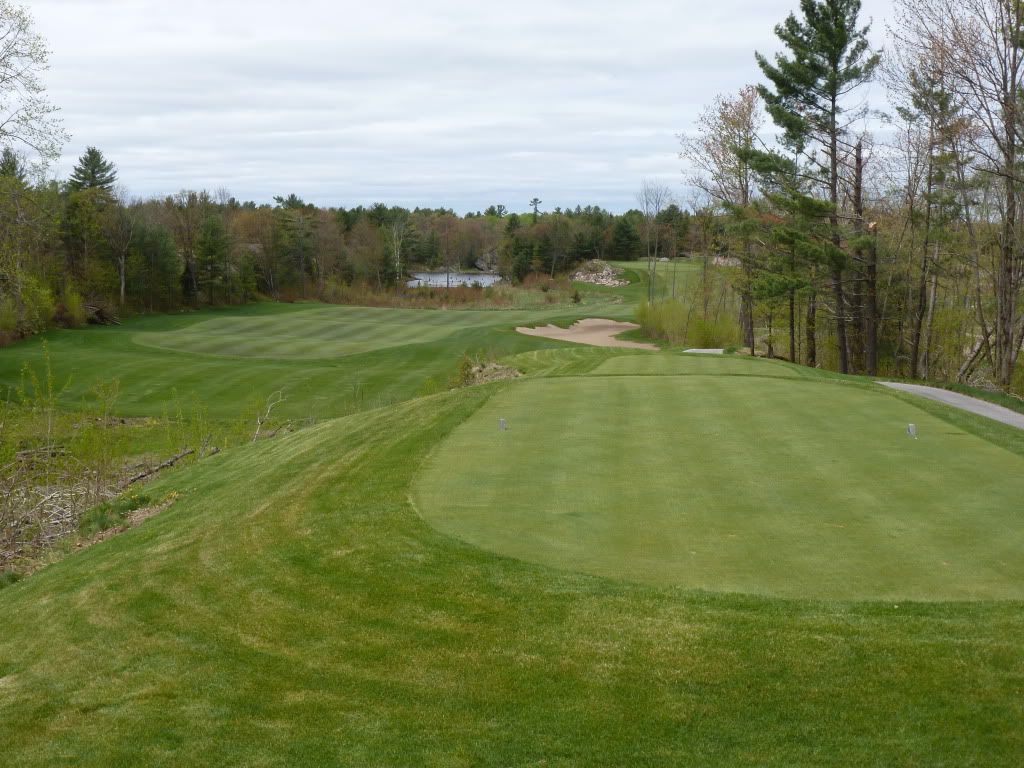 |
| Tee View |
 |
| Tee View Zoomed |
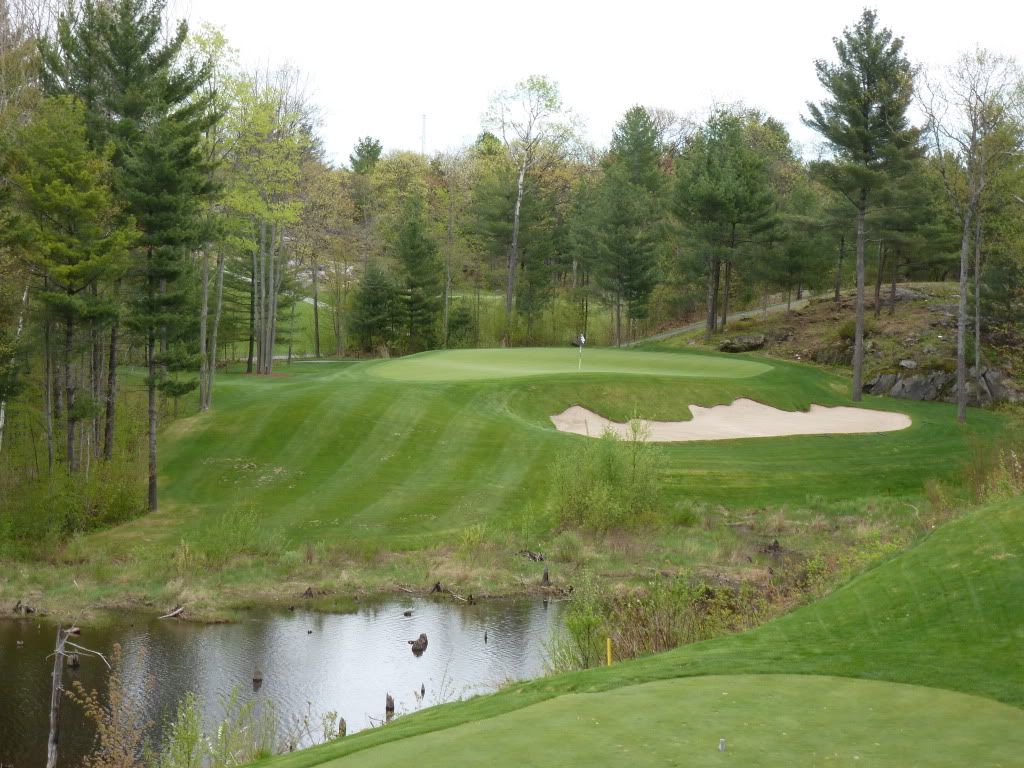
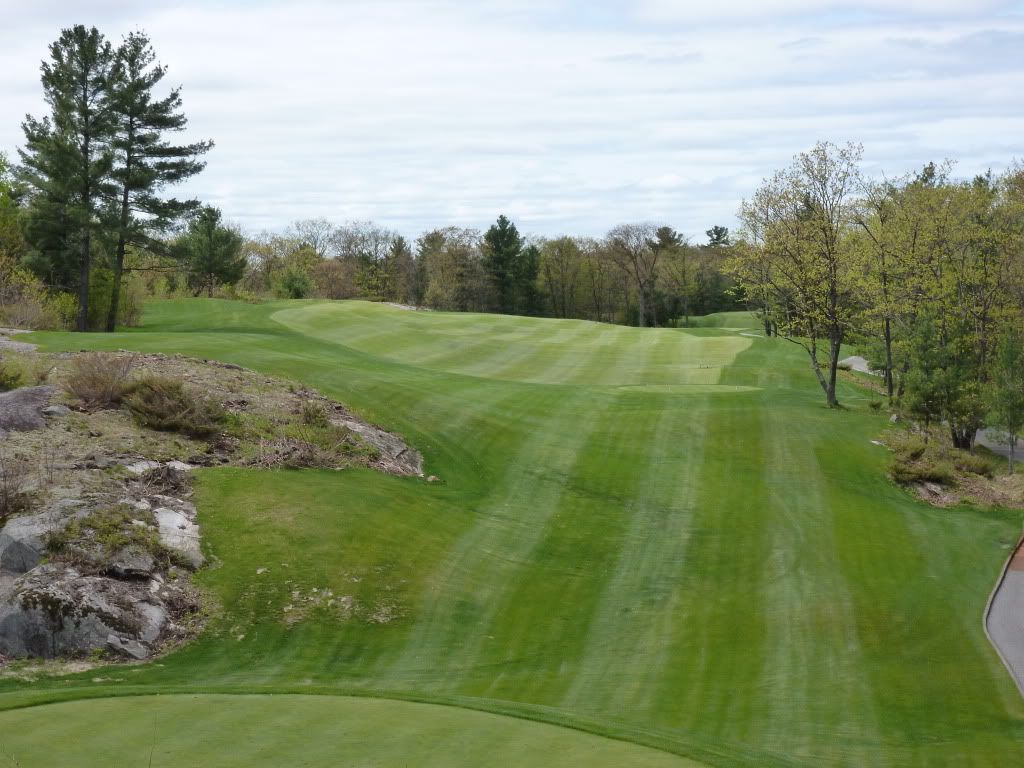
From the DZ (driving zone), one must choose whether or not to try to reach the green in two. There is trouble left and a large up slope to the green, meaning any shots just short will leave a difficult third. Part of the reason I really liked this hole was that most players will have the ammo to get to the green in two, but it is one of those situations where, on average, you will definitely score better by hitting 8 iron, wedge.
 |
| View from DZ |
 |
| Approach from 70 Yards Out |
 |
| Left of Green (Yep, That's My Ball) |
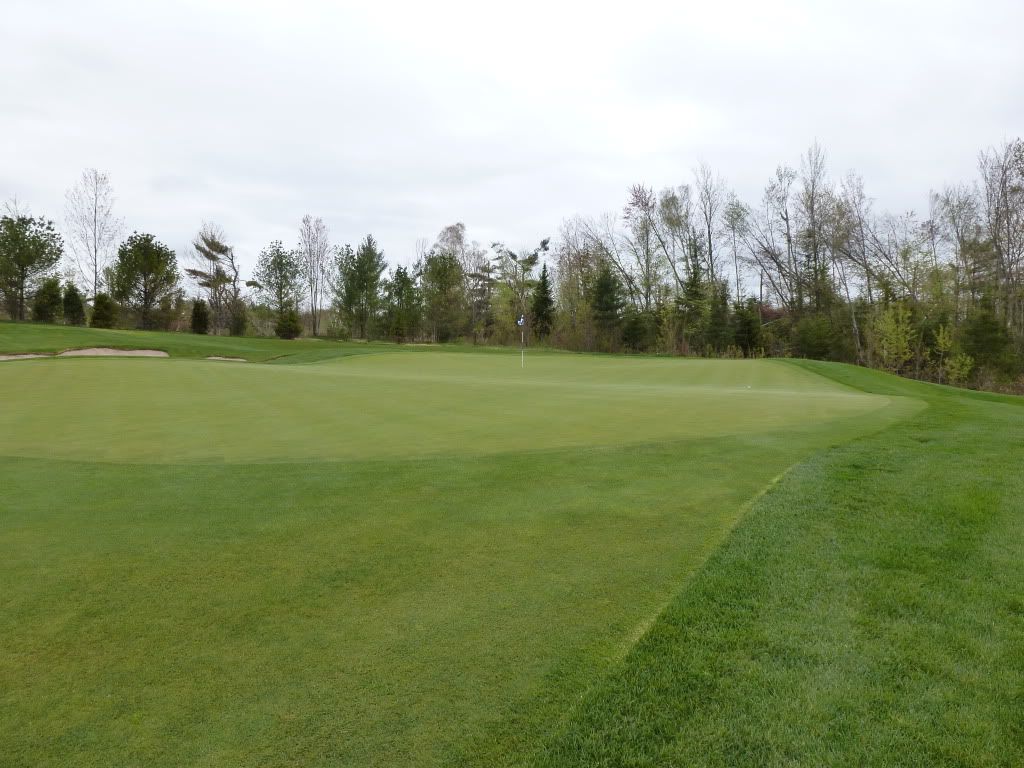
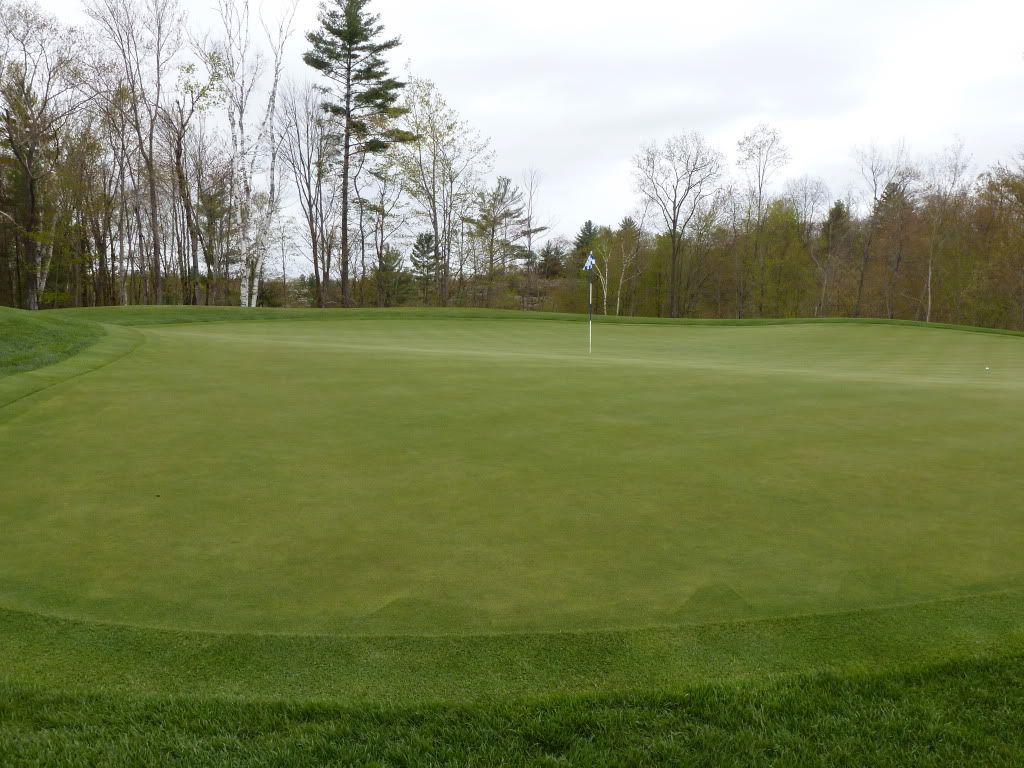
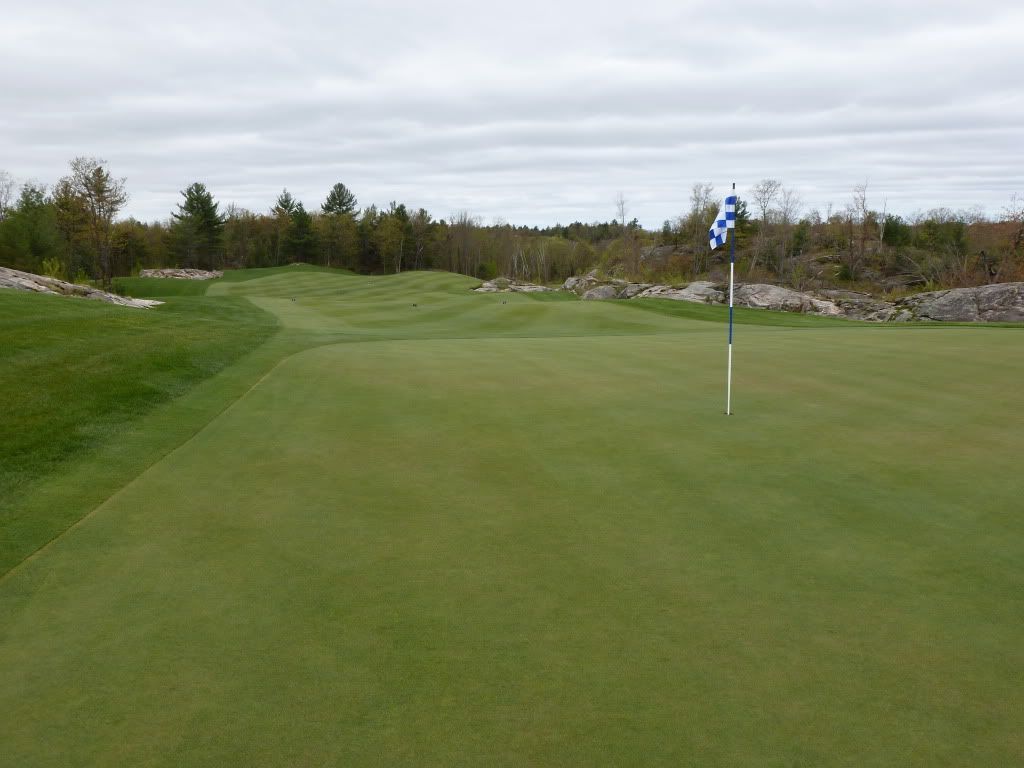
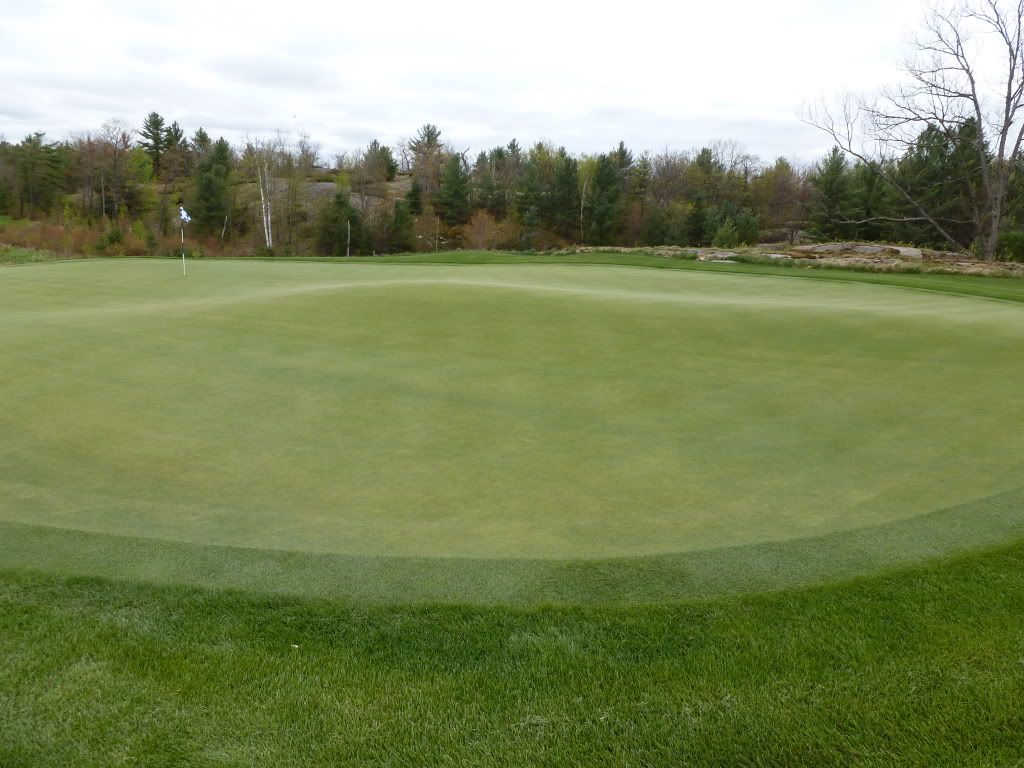
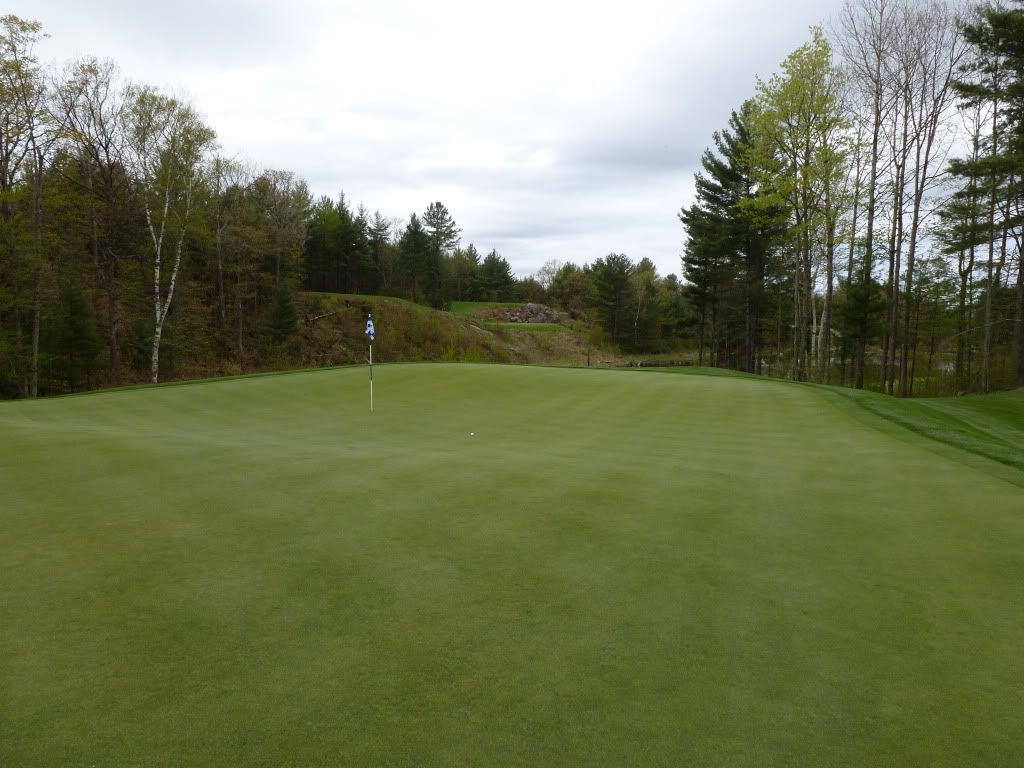
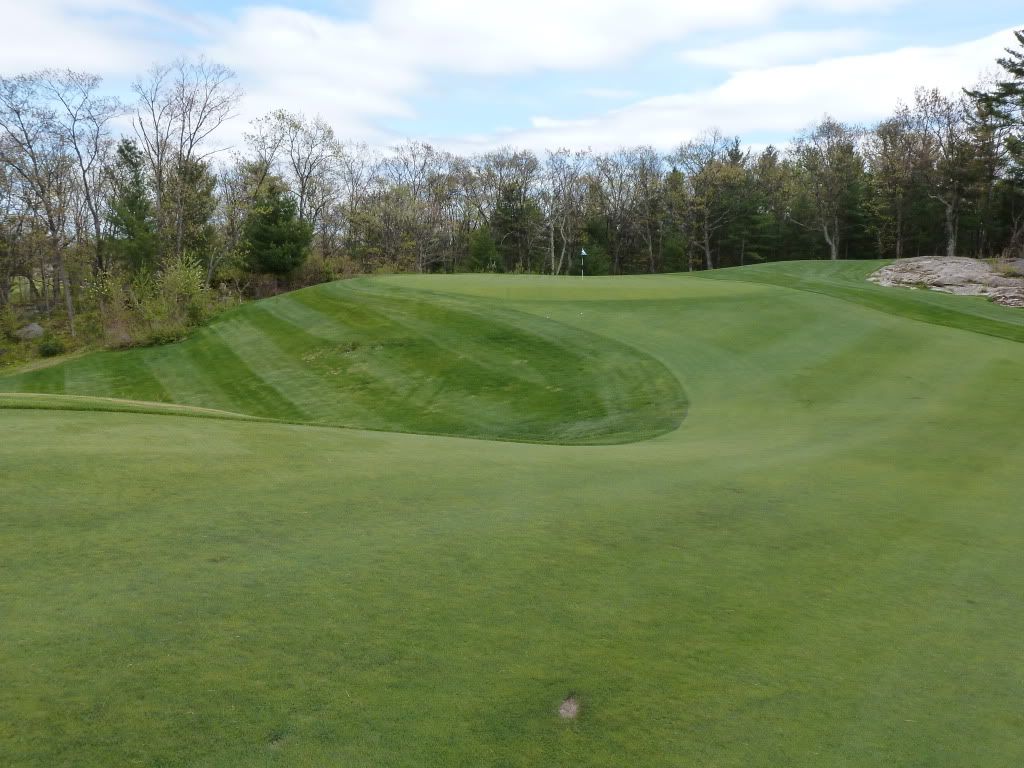
The 8th green is the boldest green on the course. The front portion sloped towards the front creating a false front that, if found, could leave the ball some 30 yards from the green. The back portion of the green is divided into distinct sections by a large ridge.
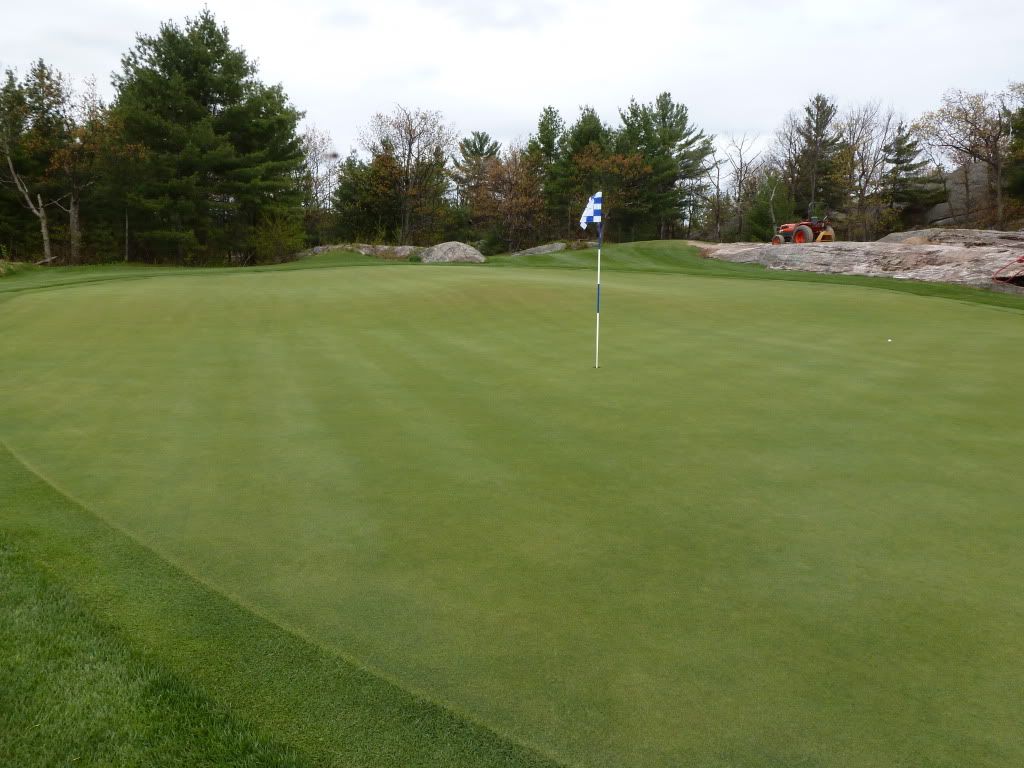 |
| Green from Front |
 |
| Green from Back-Right |
 |
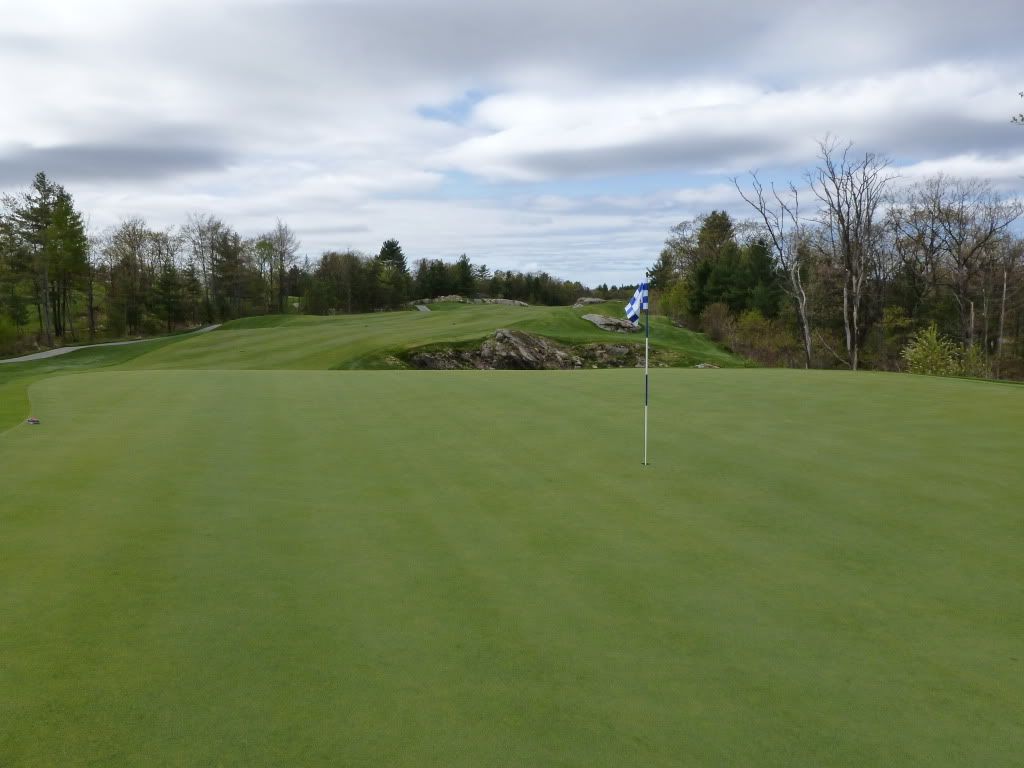
| Green from Behind |
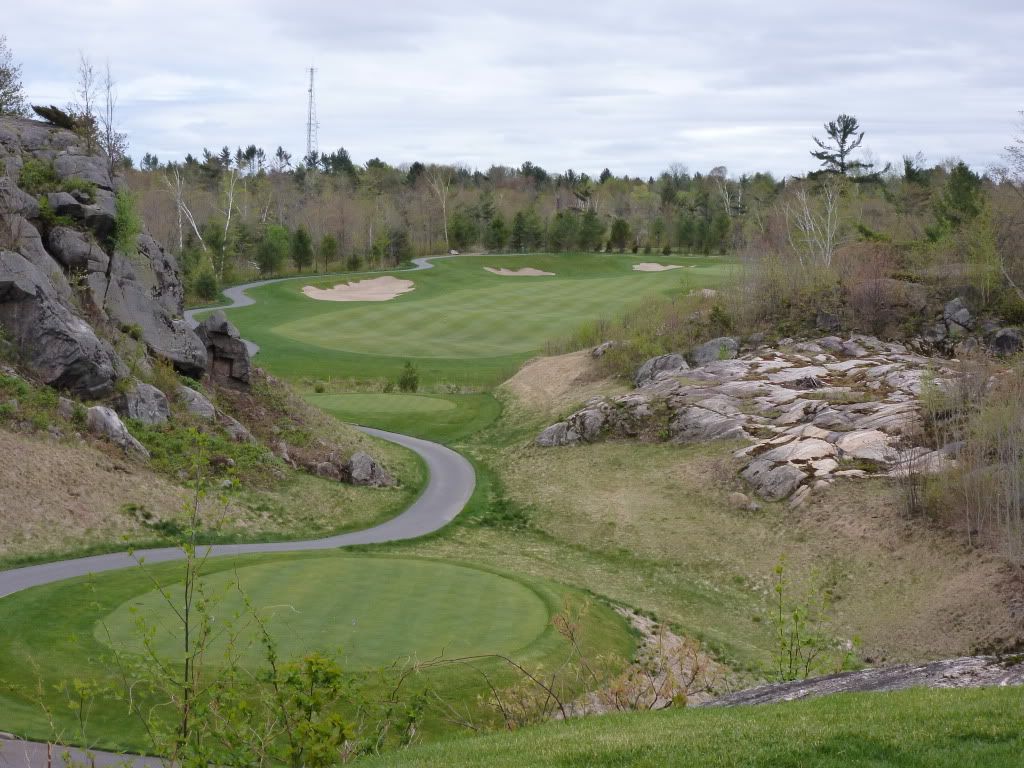
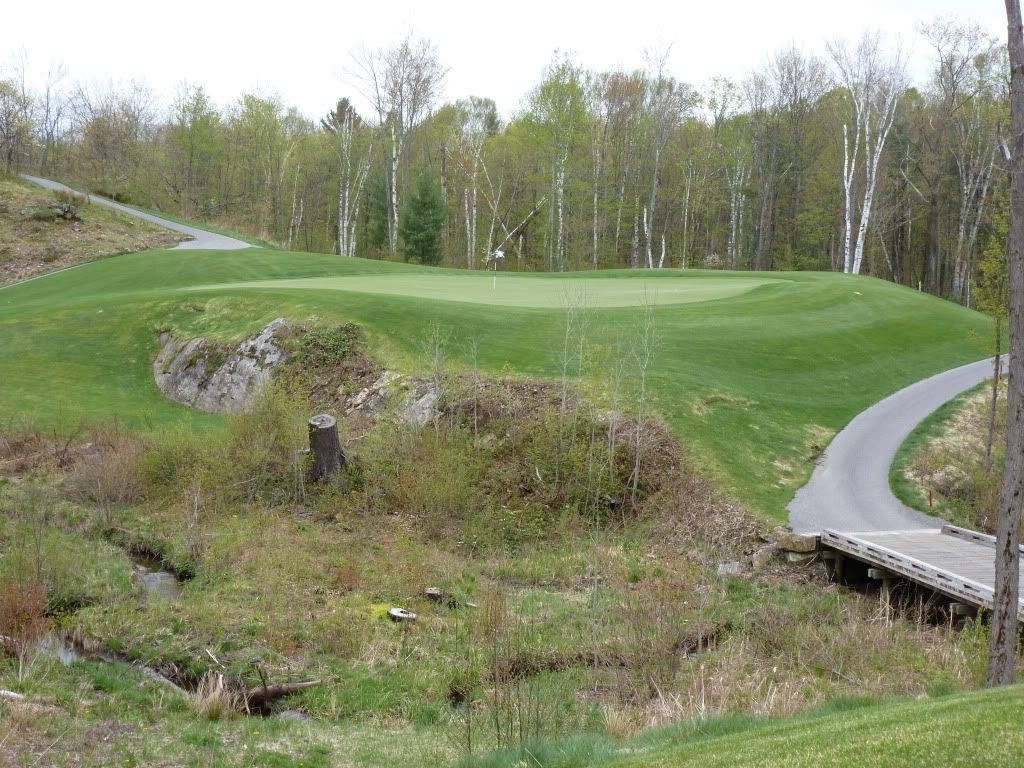
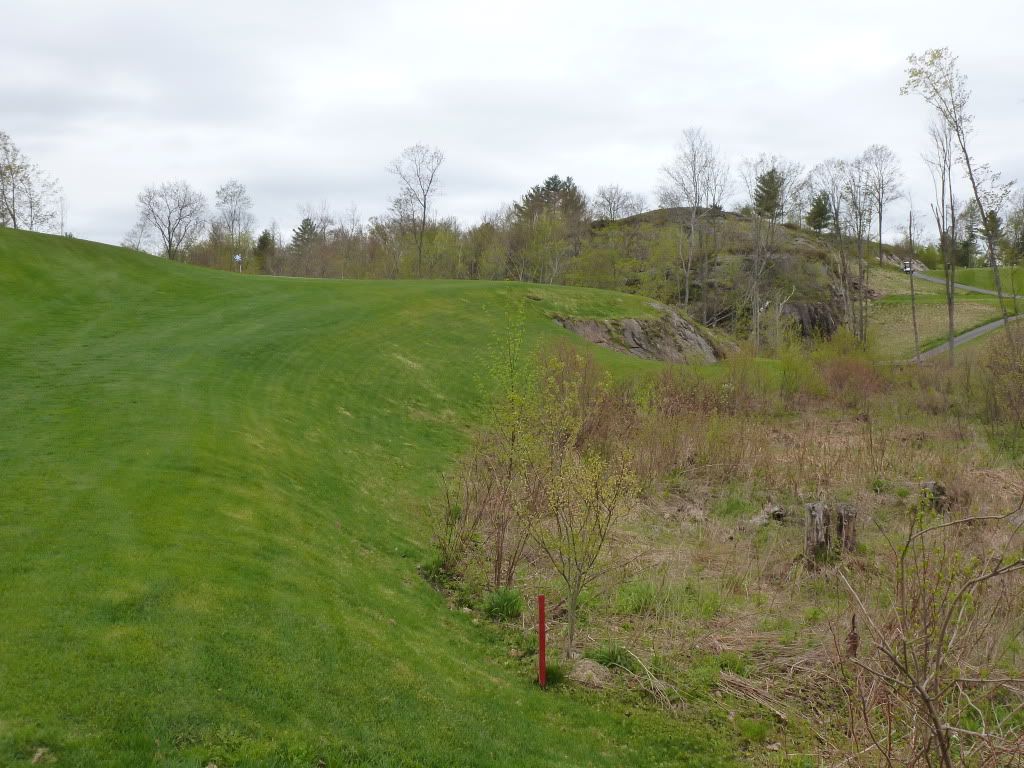
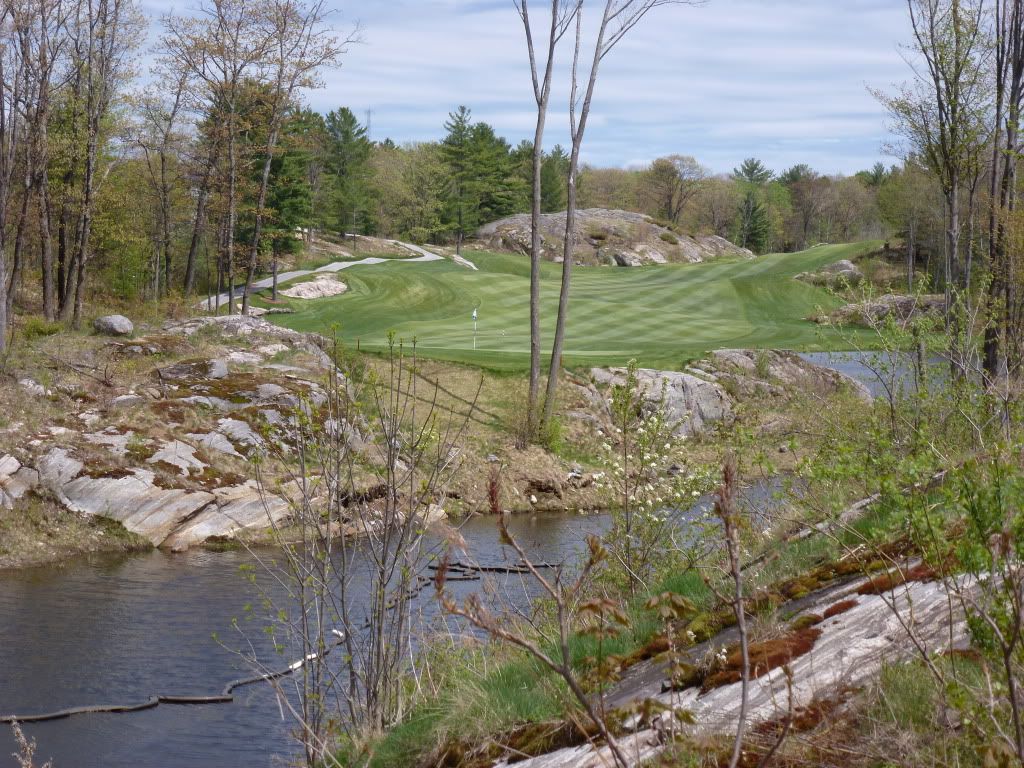
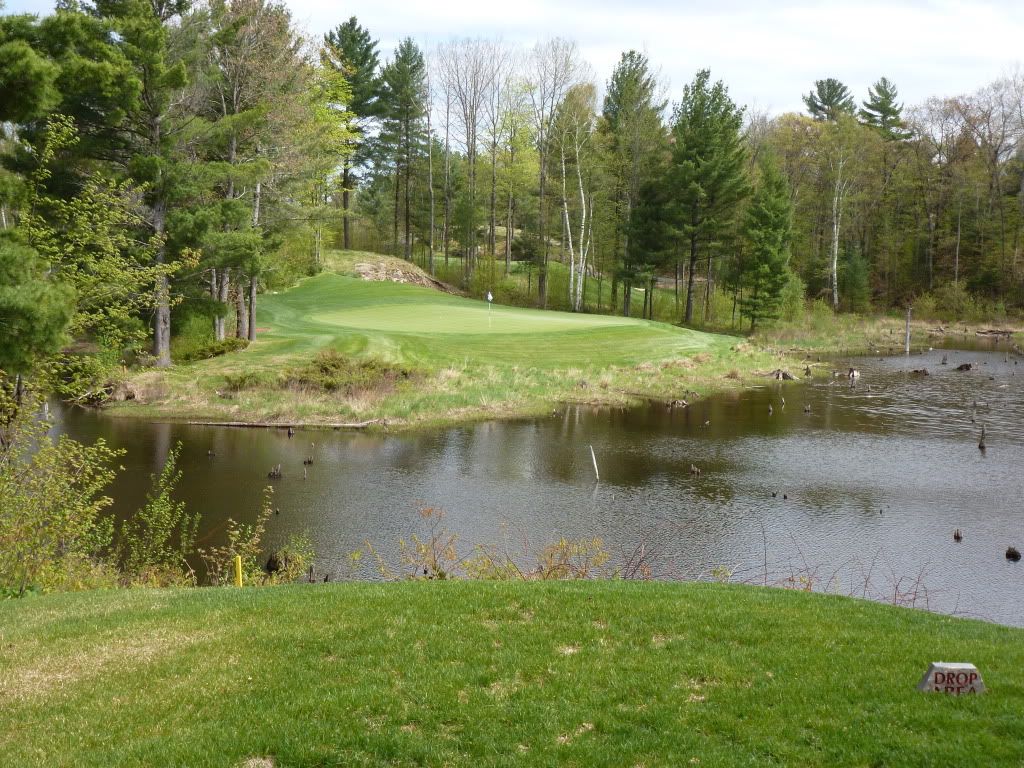
Hole 9: Par 4, 390 Yards - "The Narrows"
One of the most dramatic holes you will ever see. A very downhill tee shot (with a forced carried over hazard - about 220 yards) to a reasonably wide fairway. The layout of the hole and the small grouping of trees right give you a clue that you really want to challenge the longer carry over the hazard and find the left side of the fairway. However, it is not until you get down to the DZ that you see how big a difference it is to be on the correct side of the fairway.
 |
| Tee View |
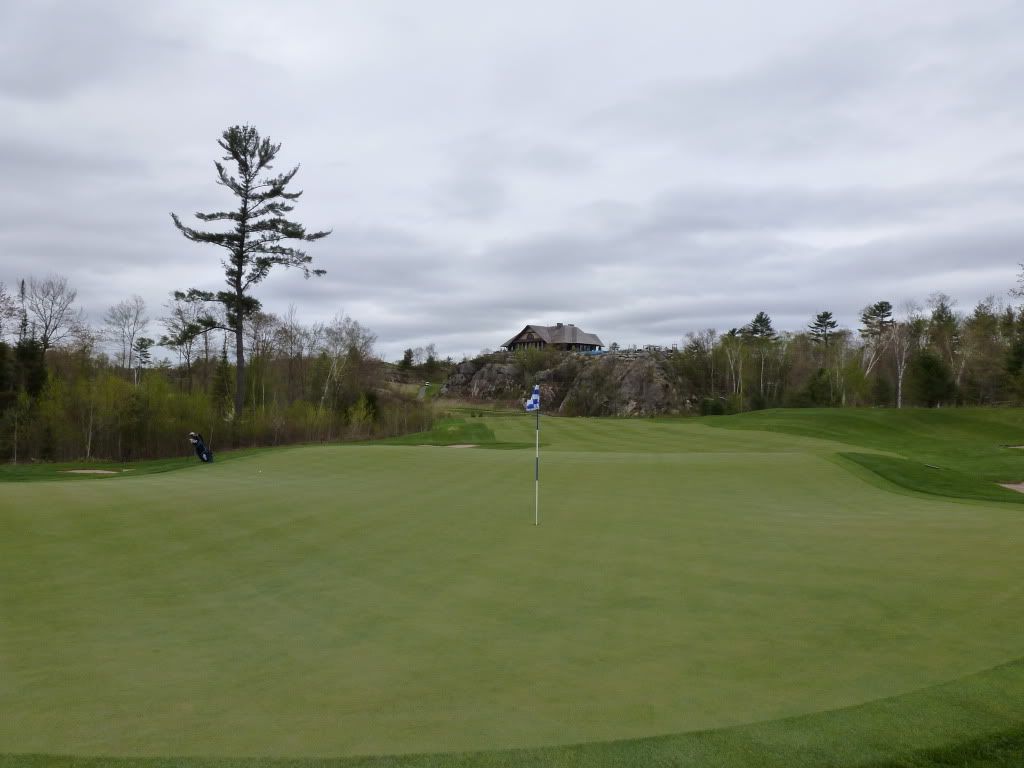
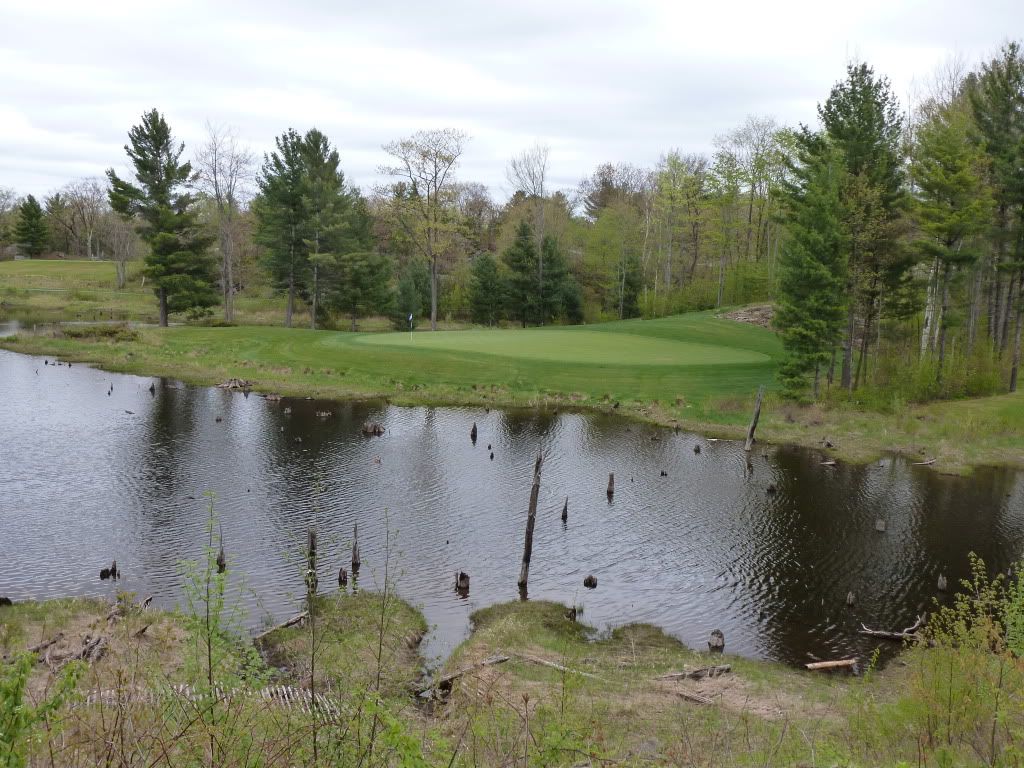
From the right, the green is completely hidden from view. From the left, one can see the top of the pin and a small piece of the green. Only a golfer that has been to MB before has any idea what awaits behind the rocks.
 |
| Approach from Right |
 |
| Approach from Left |
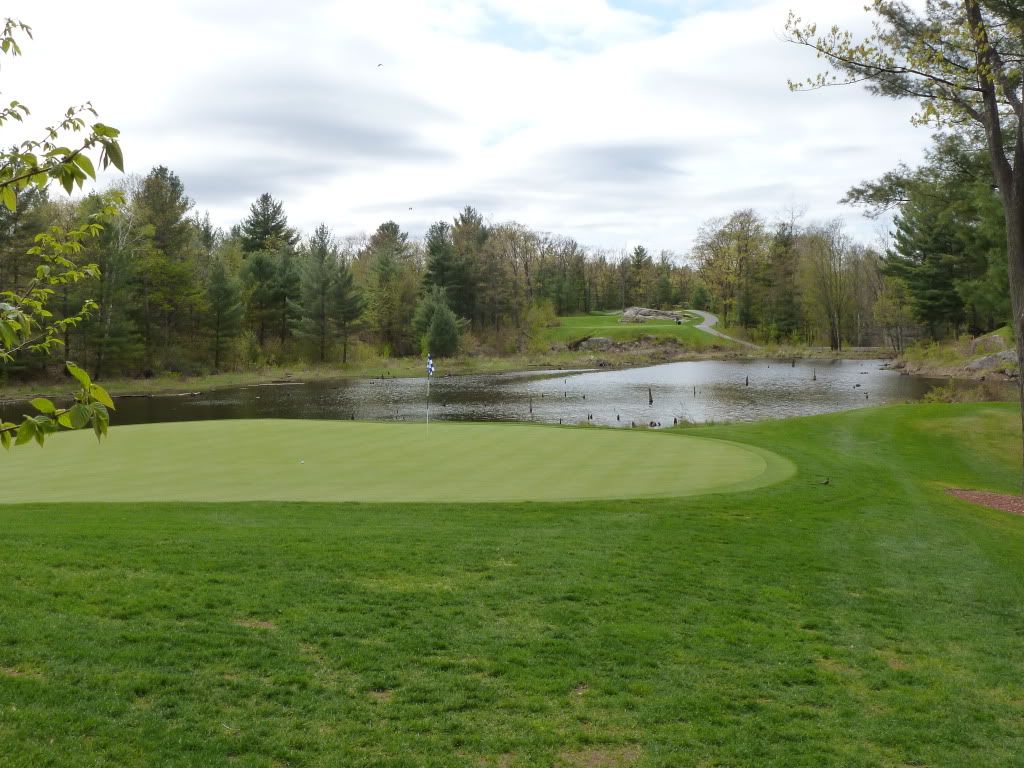
The green is very wide and shallow. Rather than surprise the player by what is found over the rocks, Carrick designed a wide enough green that anything (line-wise) close to a good shot should find the putting surface.
 |
| View from Behind |
Hole 11: Par 3, 173 Yards - "Bad Baby"
A stunning little par 3. One of those holes that makes you go "wow" when you see it. But this is no gimme. Despite all the room around the green, the fairly severe slopes surrounding the green make this target feel much smaller than it actually is. I can imagine many players tensing up on this tee.
The slope of the green allows a player several ways to get the ball close a pin tucked over the bunker.
 |
| Tee View |
 |
| Tee View Zoomed |
 |
| Green |
Hole 12: Par 5, 539 Yards - "Alps"
Despite its yardage, this one is reachable in two. This is one of the most undulating fairways you will ever see. The rocks in the center of the fairway are a bit of visual deception. A tee shot anywhere right of the rocks will use the fairway undulations to kick forward and toward the center of the fairway. However, a tee shot over the fairway to the left of the rock will find trouble, even though this appears to be the preferred/aggressive line on this hole that gently moves left.
 |
| Tee View |
Anything left of the rick will find more rock, thick rough and severe slopes right to left (making the lay-up, with water left, more difficult).
 |
| Tee Shots in the Left Side of the Fairway Will Kick into Rough/Rocks |
The bunker short-right of the green has a kind of floating feeling. I'm not sure it really comes into play or impacts strategy. Eye-candy again?
 |
| Approach from Left |
 |
| 12th as Seen from 14th Fairway |
Hole 14: Par 5, 560 Yards - "Himalayas"
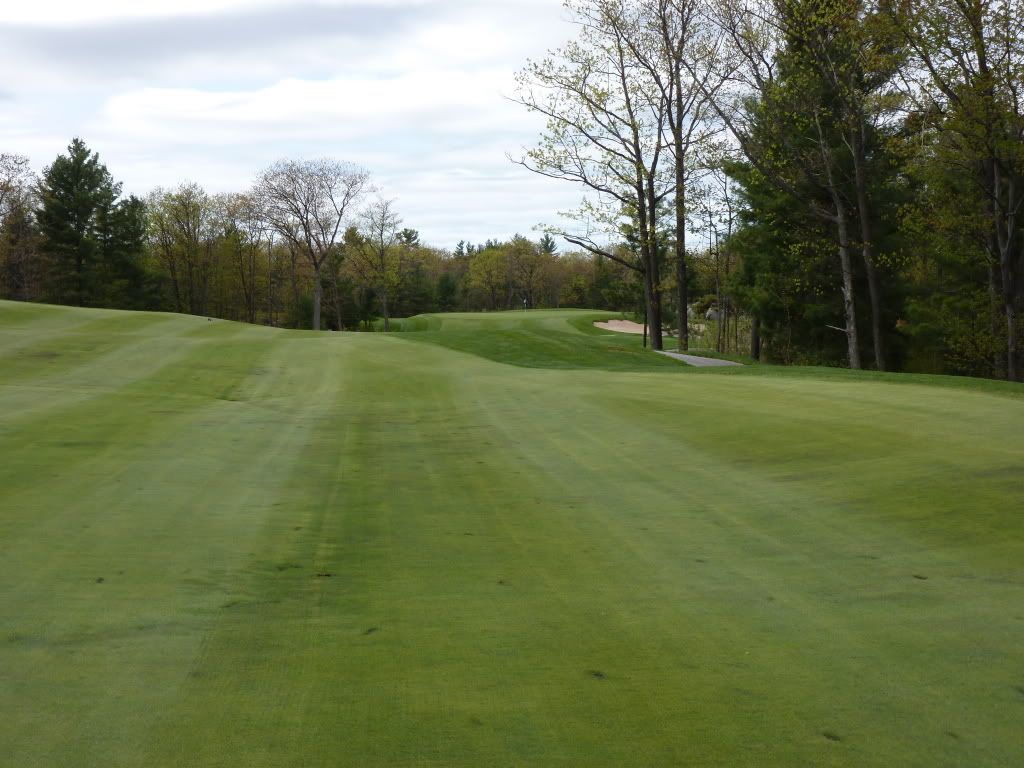
Another very dramatic tee shot. The rocks are certainly in play on this one. The aggressive line over the rocks requires a carry of about 230 yards, though it does not yield a significantly advantage as just about everyone will be laying up.
 |
| 14th Tee |
The second shot provides few visual clues, but fortunately the layup is relatively straightforward. A blind shot with no trickery.
 |
| View from Fairway |
The approach into the green can lull the player into a false sense of security. Even from as close as 100 yards out, a deep valley just short left of the green is completely hidden from view. The front right of the green is protected by a severe false front.
 |
| Approach from 100 Yards |
 |
| A Deep Gulley Guards the Front of the Green |
 |
| View from Behind |
Hole 15: Par 4, 445 Yards - "Alcatraz"
A long par 4 largely defined by the tee shot. Any approach from the right side of the fairway will likely be blocked out by a large tree. The player is forced to challenge the left side of the fairway, but a severe left to right cant makes it difficult to have a ball remain on the left. The slope can be used as a bit of a 'speed slot' to gain extra yardage off the tee.
 |
| Tee View |
 |
| Approach from Right |
 |
| Approach from Left |
Hole 17: Par 3, 214 Yards - "Waterloo"


No comments:
Post a Comment